Watercolour Flowers Week 5: Rose
May 27, 2022
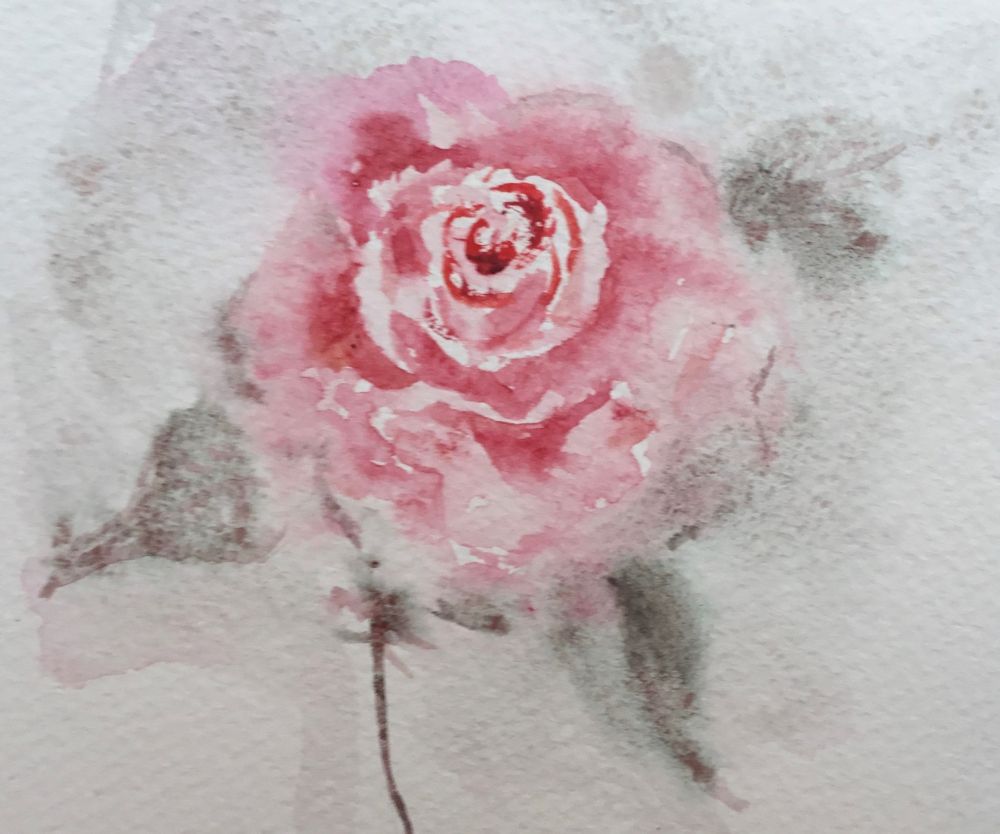
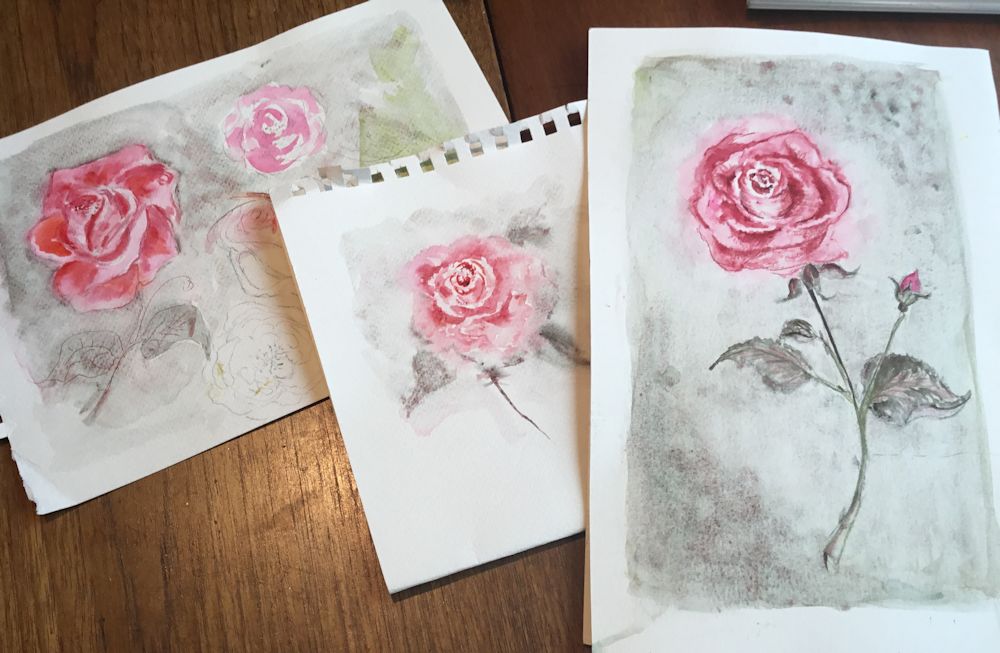
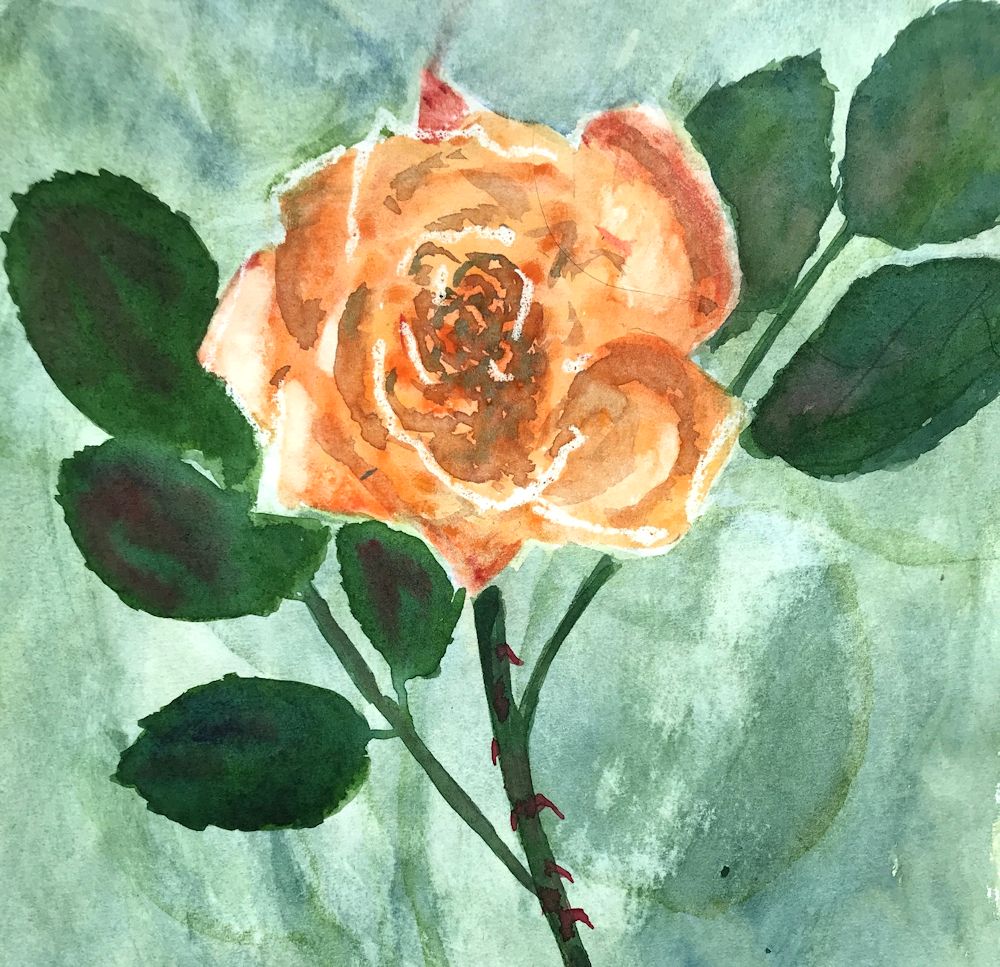
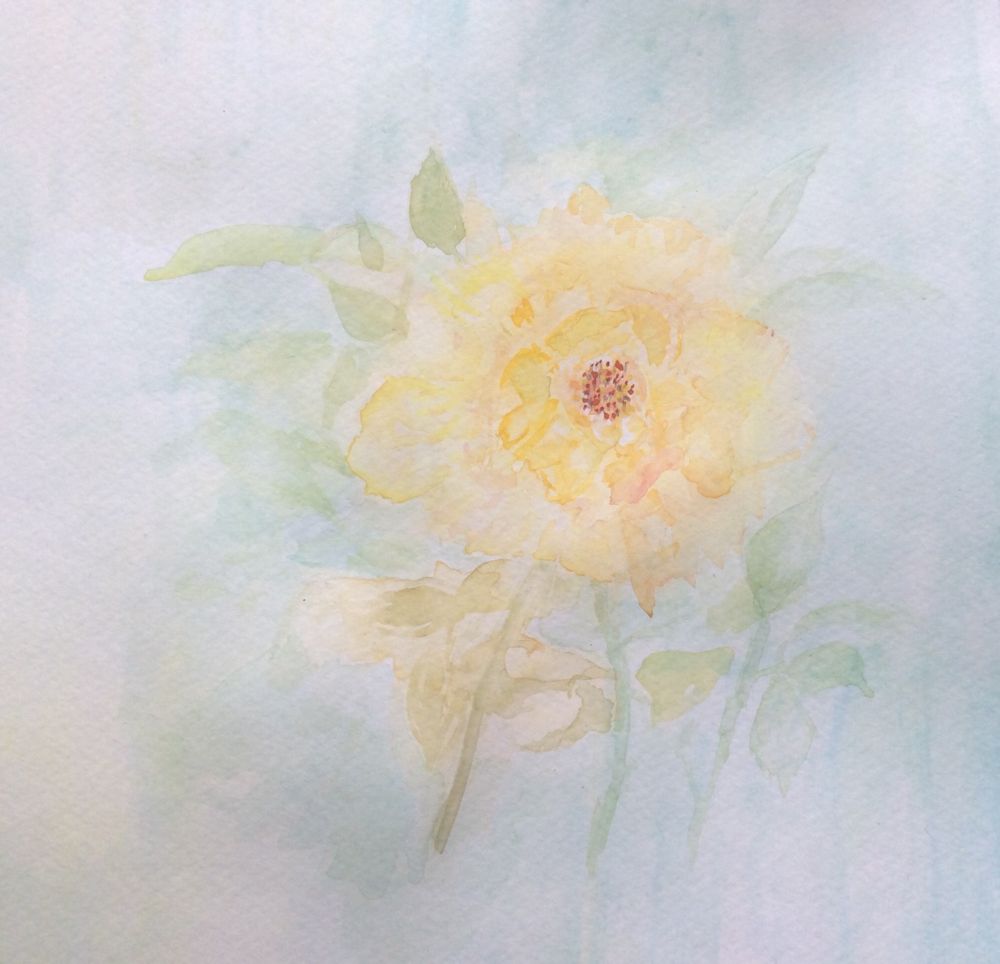
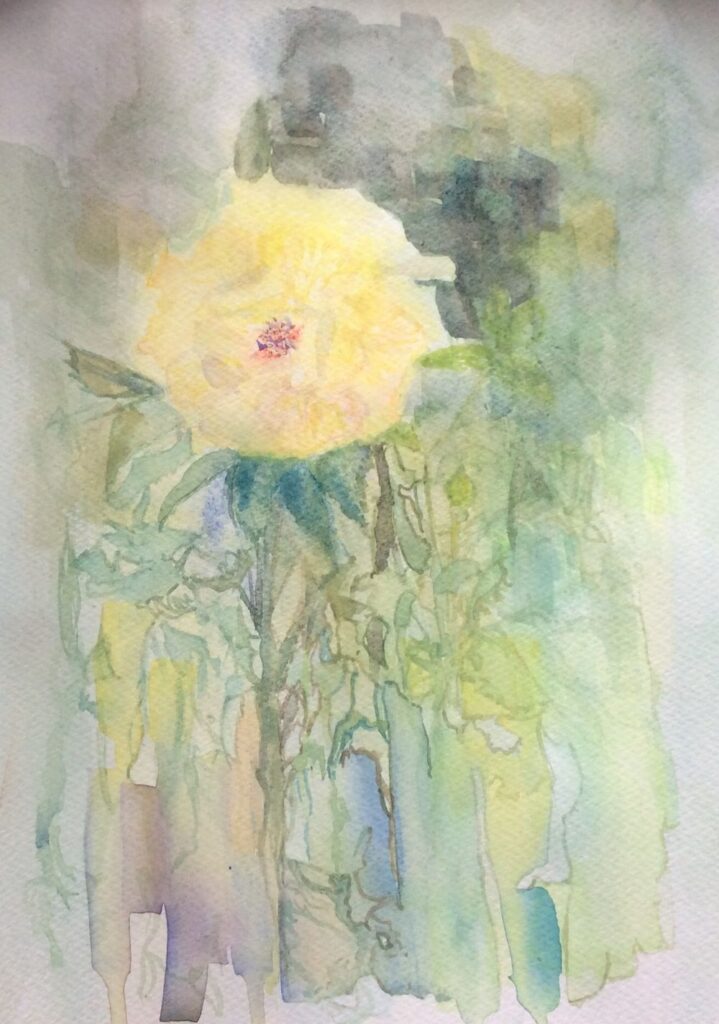
Painted mainly wet in wet
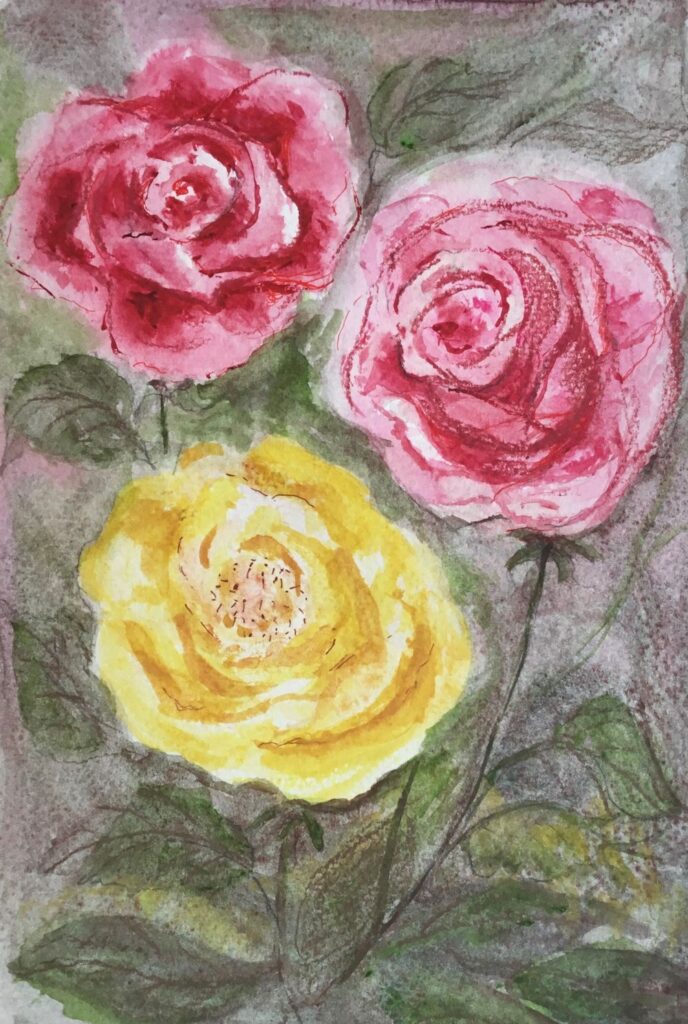
This week’s challenge is to paint a single rose or small group up to two and a bud. We’ll try two ways of working one largely wet in wet and also perhaps look at the use of masking tape in addition to the masking fluid used last week to make some interesting textures and compositions.
I could have stopped there.
Much of the time will be spent looking and choosing the pigments best suited to your particular rose, thinking in terms of using no more than three pigments.
1. Look at tone;
Thinking tonally becomes even more important when painting single flowers so it is important to take note of how light falls on the bloom. In strongly directional light the darker side of even the palest rose may appear quite dark. Conversely the better lit side of the deepest rose may appear surprisingly light in colour. Observe how the light affects each individual petal revealing their spiral arrangement. If a flower is seen against the light as when placed in a window with the light behind it, the whole form may appear dark and almost silhouetted against the incoming light.
2. Look at the form and shapes;
Try turning your rose so that you are looking straight down at the flower and take note of the spiral arrangement of its petals. Then turn it slightly away from you and notice how different it looks, finally turn the flower so you are looking at it from the side. It may be helpful to make rapid sketches of your rose at these different angles to familiarise yourself with the shapes.
3. Choose pigments
Decide on the pigments best suited to paint your rose. Try to limit this to three. This will help unify the study and help prevent muddy mixes especially if you are able to use transparent colours for most of the painting. Try out mixing colours in the palette as well as seeing what happens when one colour is dropped into another while it is still wet.
4. Background;
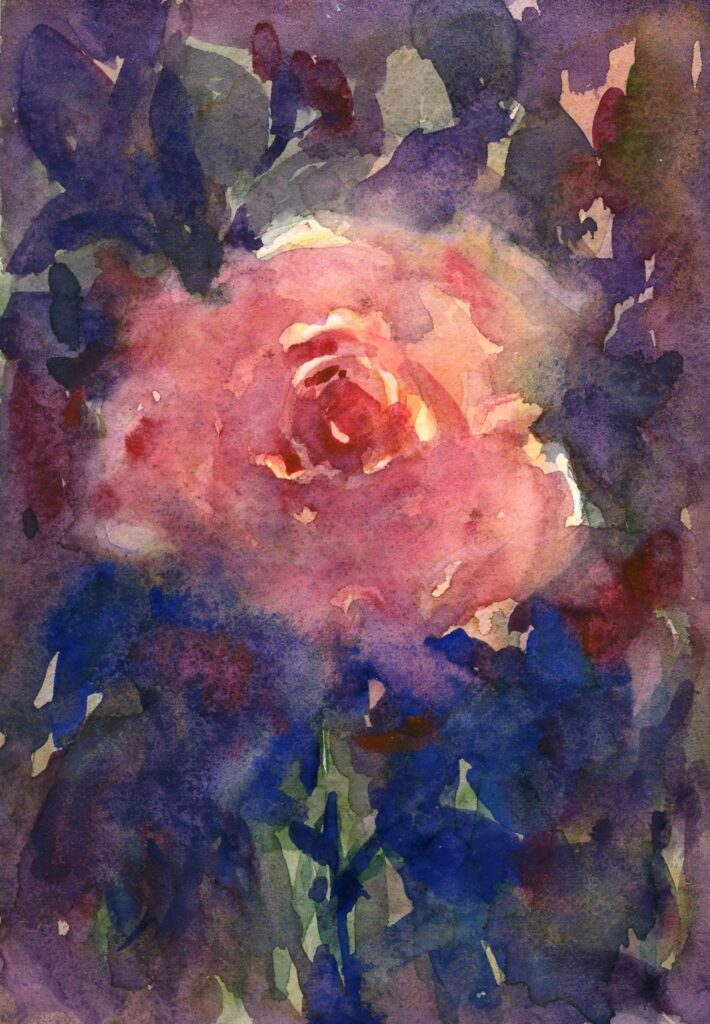
Rich dark background

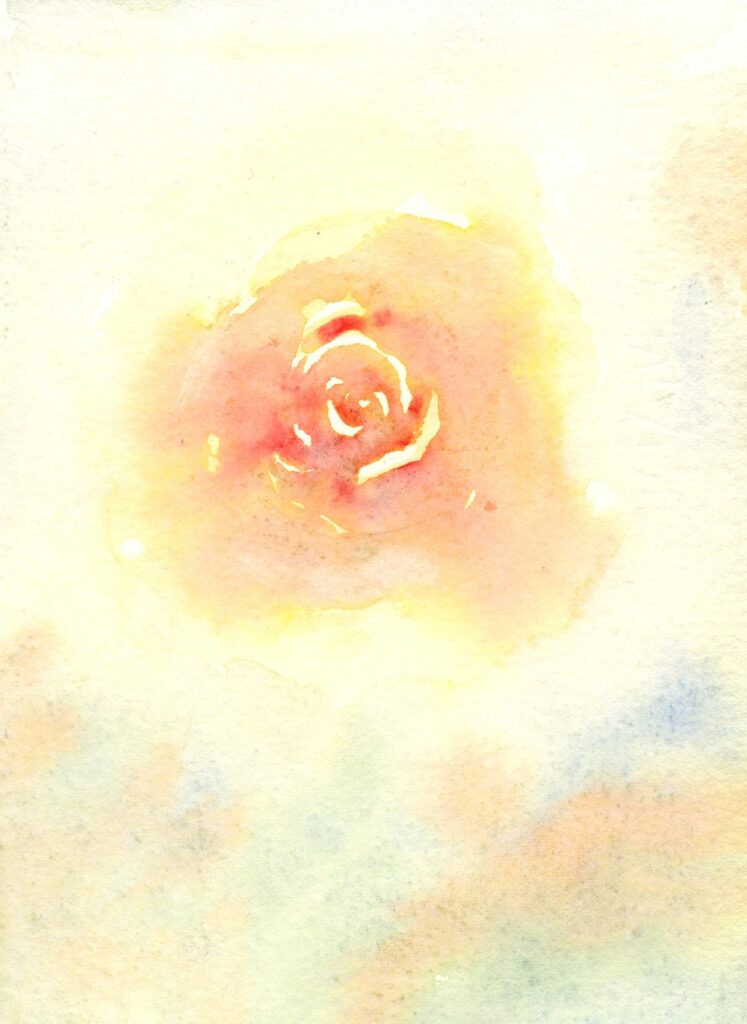
Pale background giving a much cooler look.
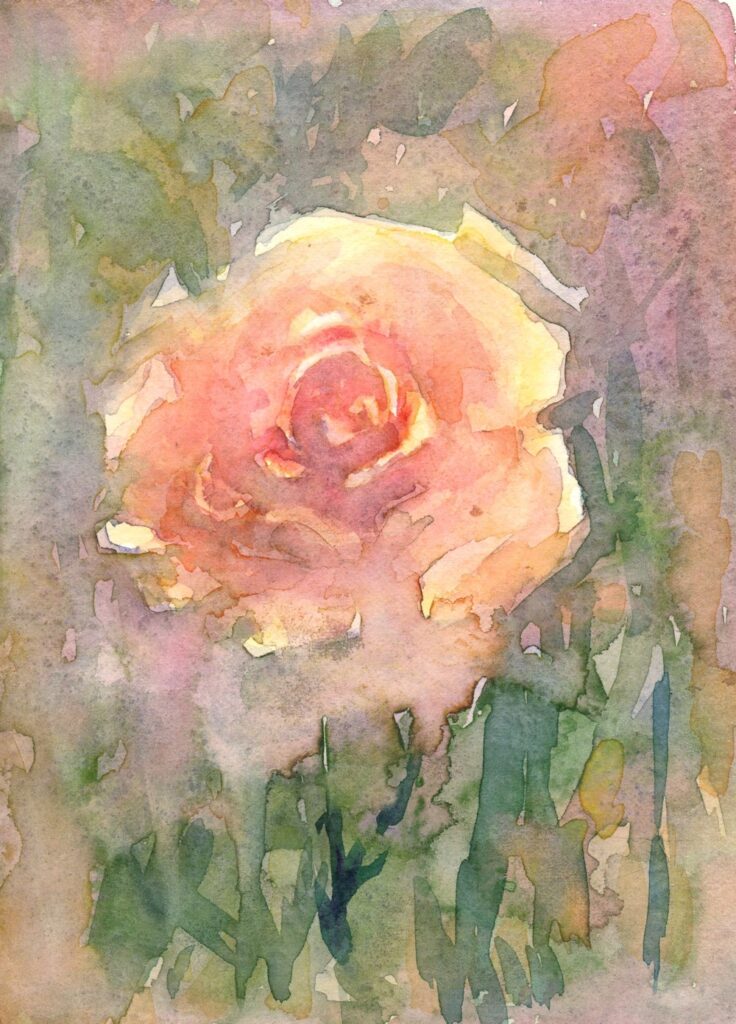
The background may be composed of the foliage surrounding the bloom, a colour and tone which is observed or may be your choice. The hue and tone of the background will greatly affect the mood of the study. Another important element will be to decide on the tone and hue of the background which can greatly affect the mood of the painting.
Another interesting approach to have fun with the composition and the background is to apply some initial washes and allow them to dry and then apply low tack masking tape. The demonstration below is how last week’s composition has developed so far. This could easily be done with a much simpler study and can be very useful if your background is a window or edge of a wall.

This was painted into in places, allowed to dry thoroughly before carefully removing the tape.
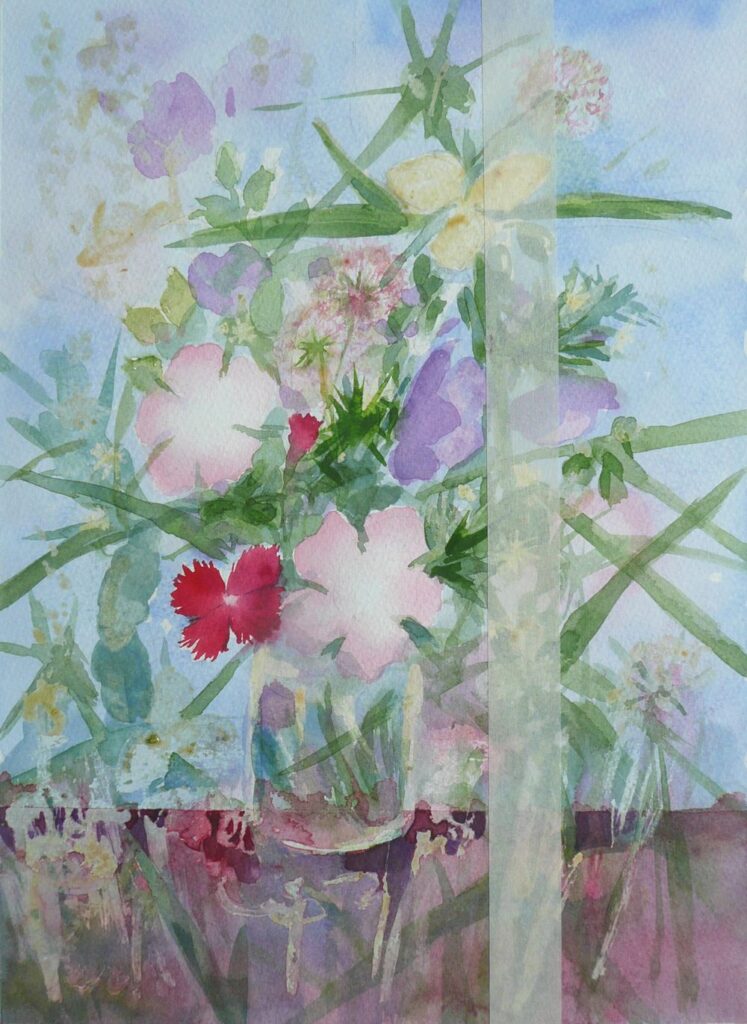
Further washes were then applied.
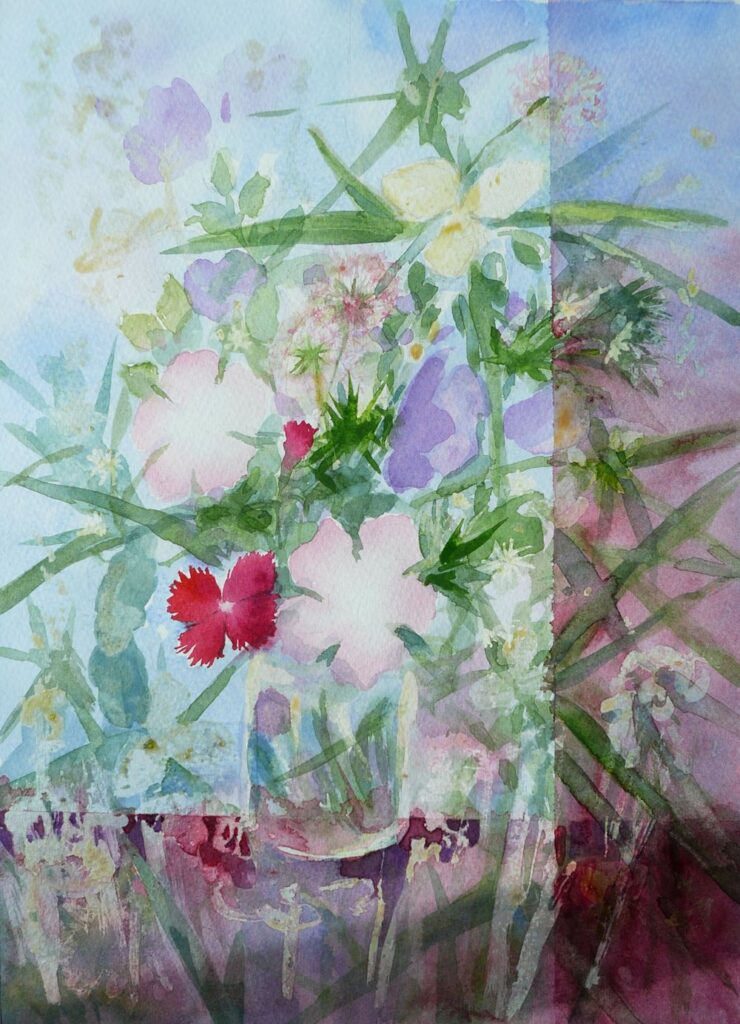
In this week’s session I will start a wet in wet rose and while the first washes dry I’ll progress the posy, adding more washes, a few details and a little gouache. Some of the masking fluid was very free mark making so now it has been removed I have a rather different painting to develop!
Do take a look at Trevor Waugh’s roses, Pinterest link below: https://www.pinterest.co.uk/jhall1282/flower-painting-in-watercolour/trevor-waugh/
and another look at Shirley Trevena’s work at
https://www.pinterest.co.uk/jhall1282/flower-painting-in-watercolour/shirley-trevena/
Have some small pieces of cold pressed watercolour paper at the ready or tape off some areas on a larger sheet for your wet in wet studies of a single rose. There is then scope for allowing washes to dry while another study is started.
A hair dryer greatly speeds the process!
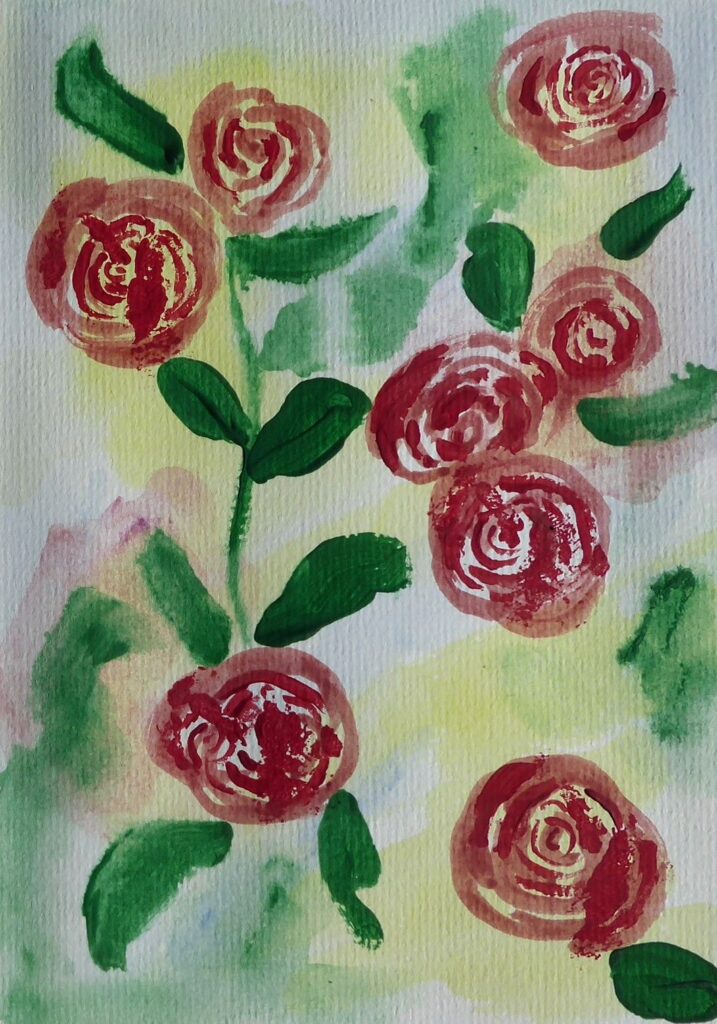
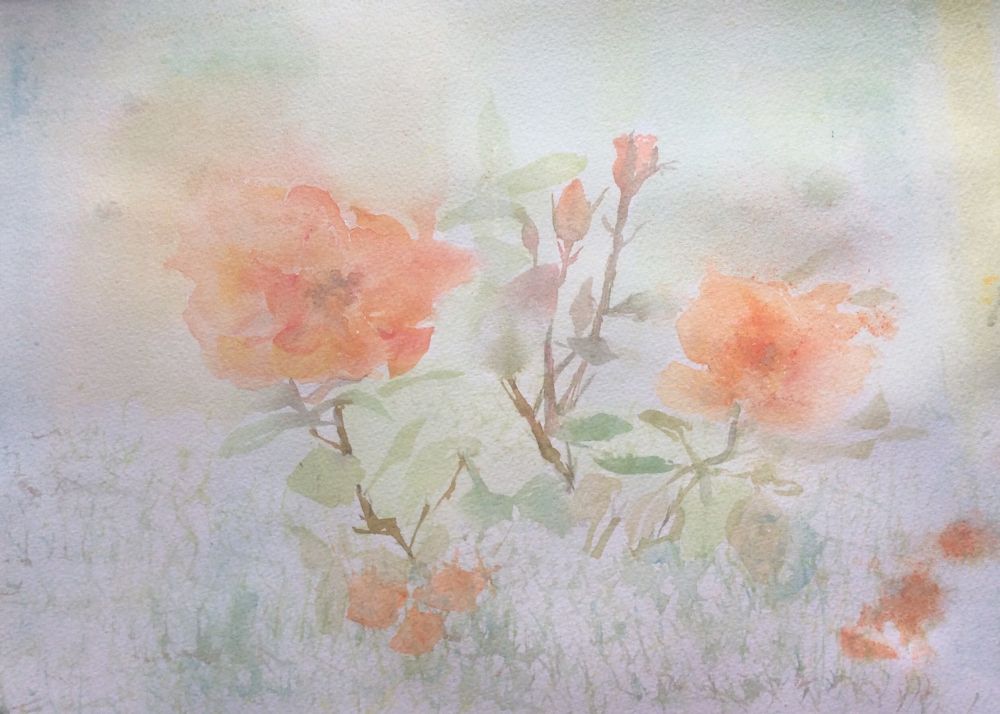
Your Paintings;
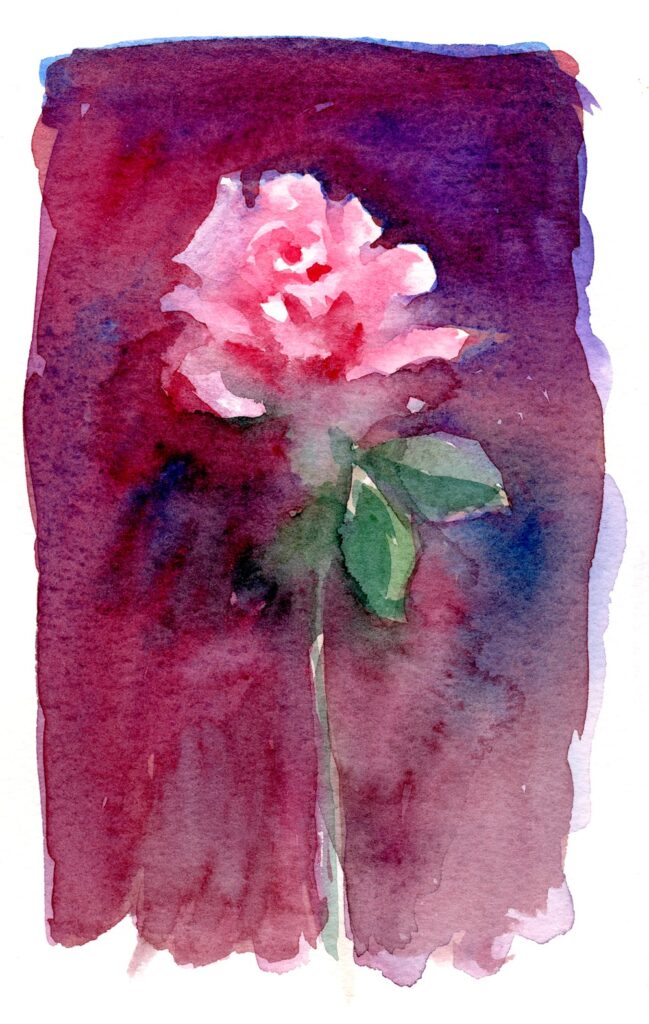
Painted wet in wet by Ann
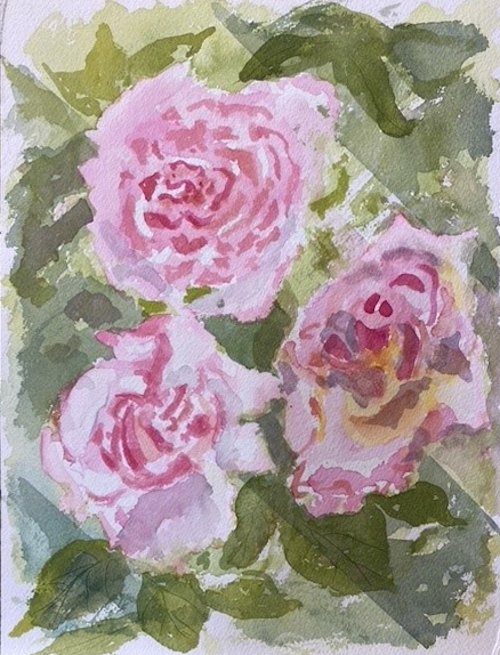
by Ann
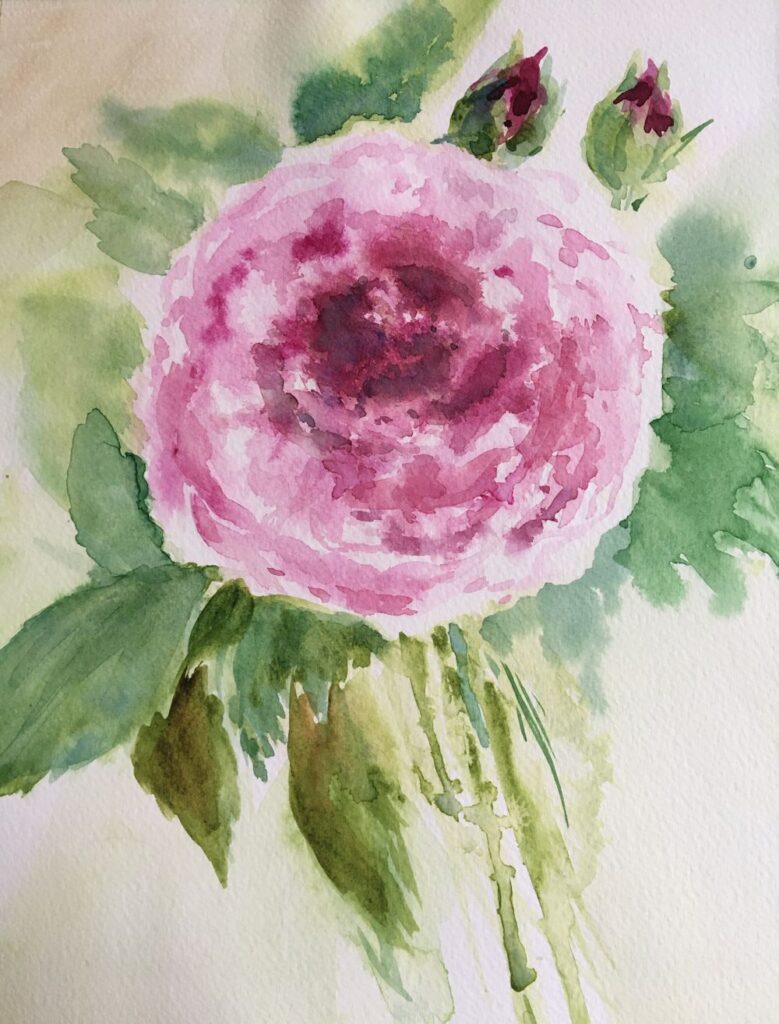
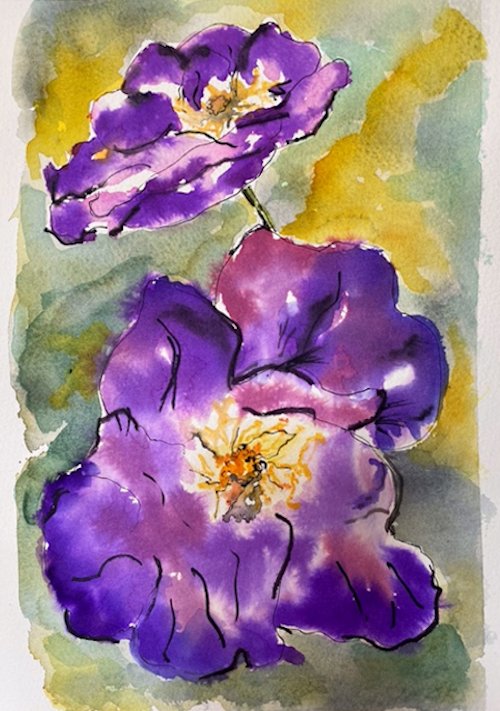
Started with wet in wet washes and then developed with drawing media
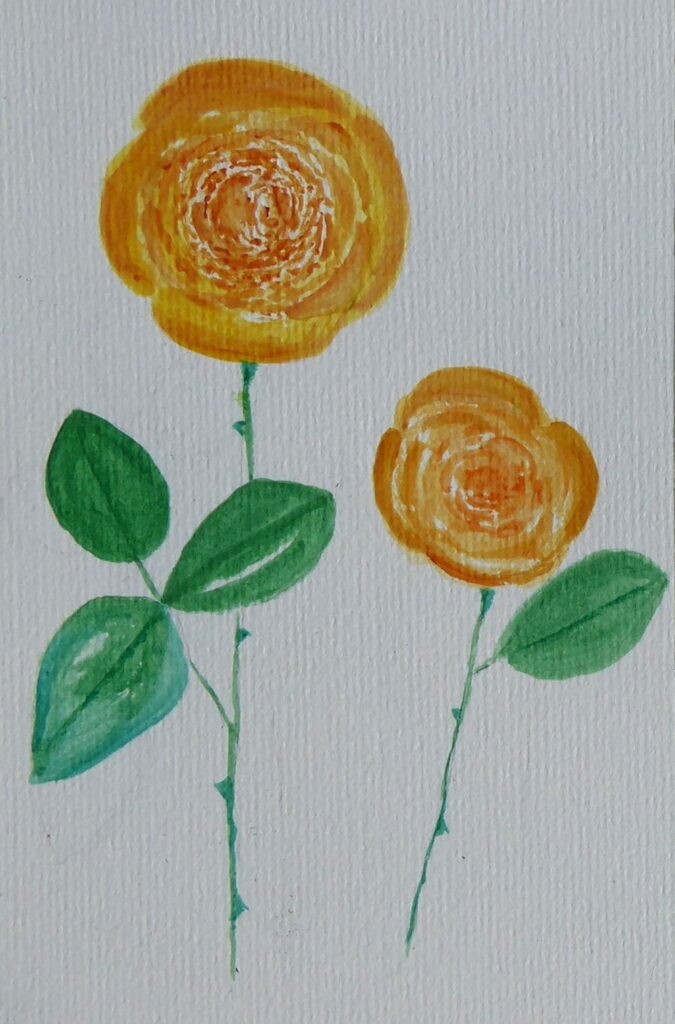
by Ann
by Maryon
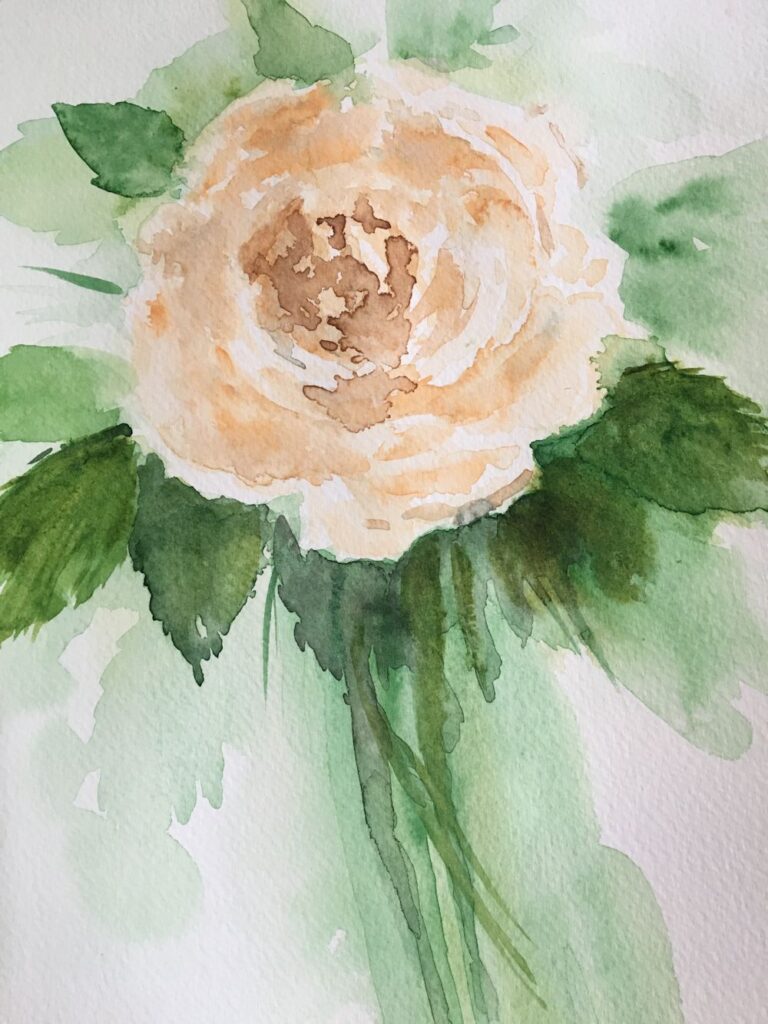
by Maryon
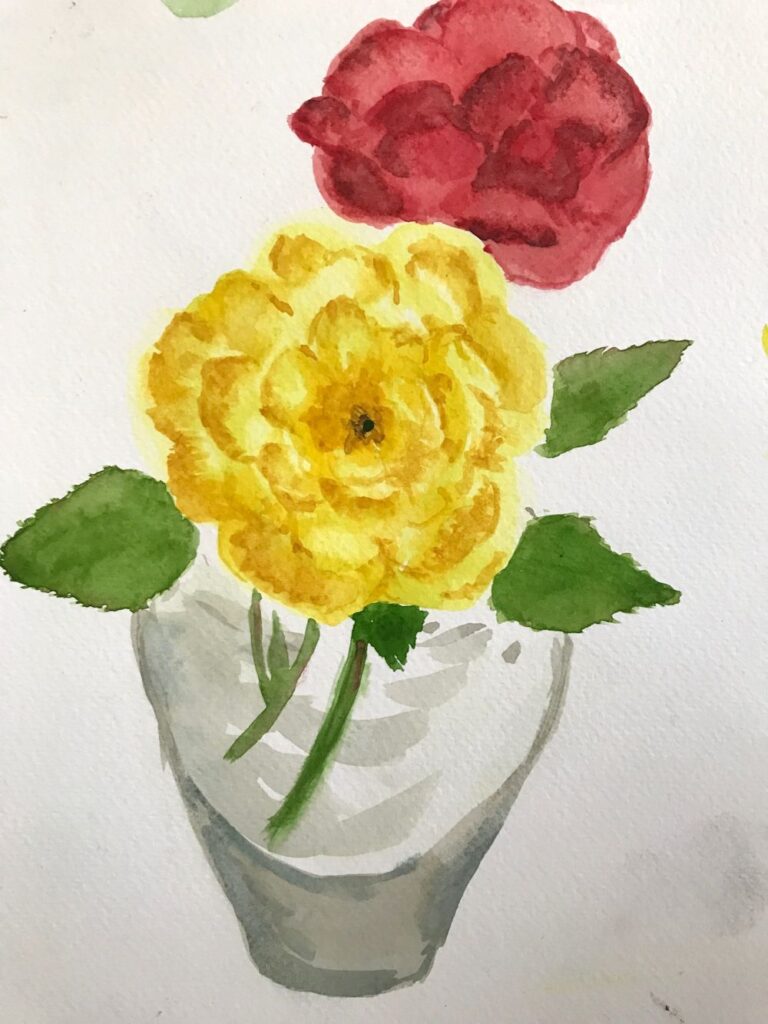
by Mali
by Mali
by Sandra
by Sandra
by Anne
by Anne
by Virginia
by Virginia
by Virginia