Monthly Archives: February 2022
Drawing Trees Week 1: The Whole Tree
February 23, 2022
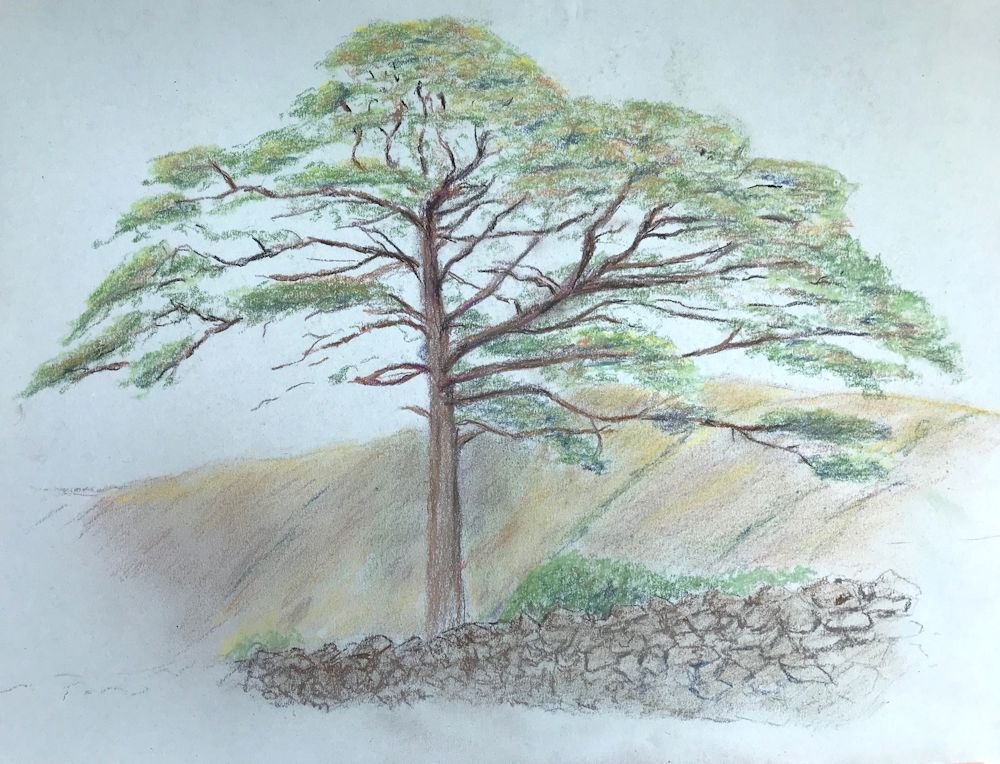
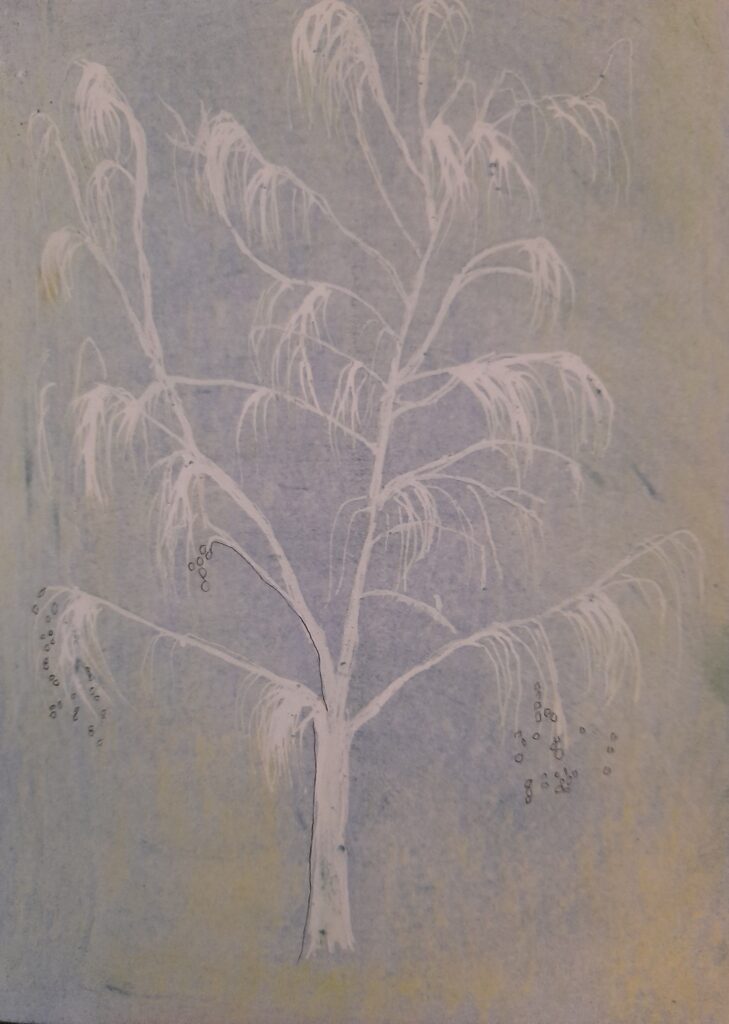
Pencil and Pan Pastel by Jo
Drawing and painting trees is a huge topic but as trees are very often featured in landscape painting as well as being exciting subjects in their own right, it seemed a good idea to explore depicting their structure and character.

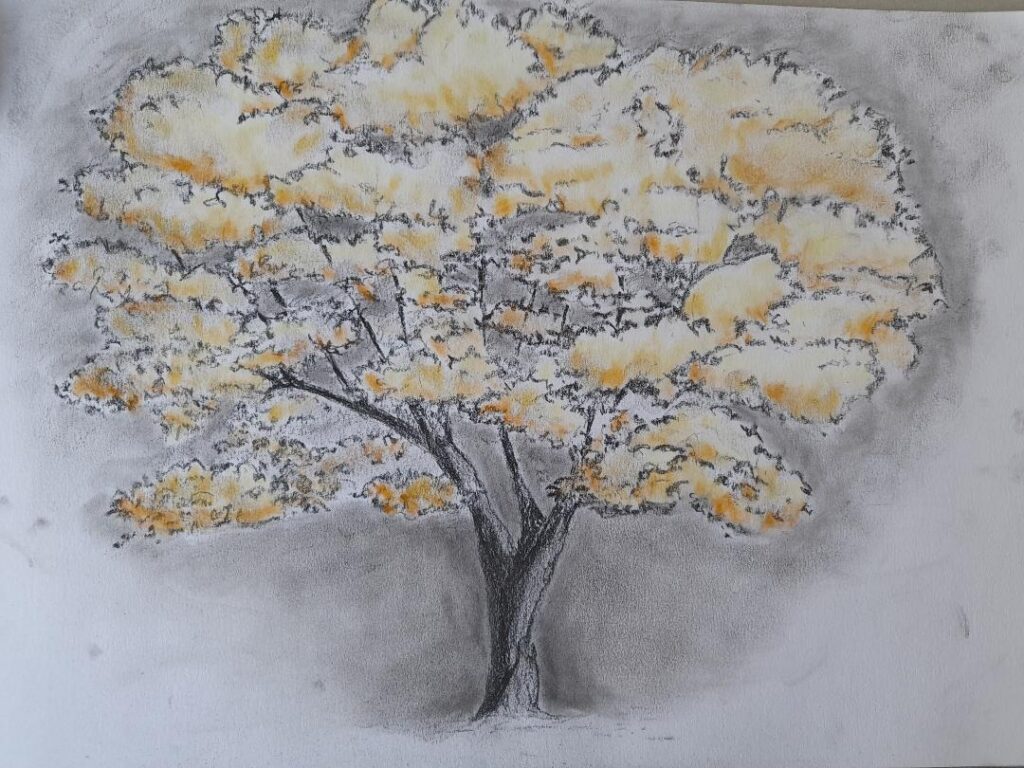
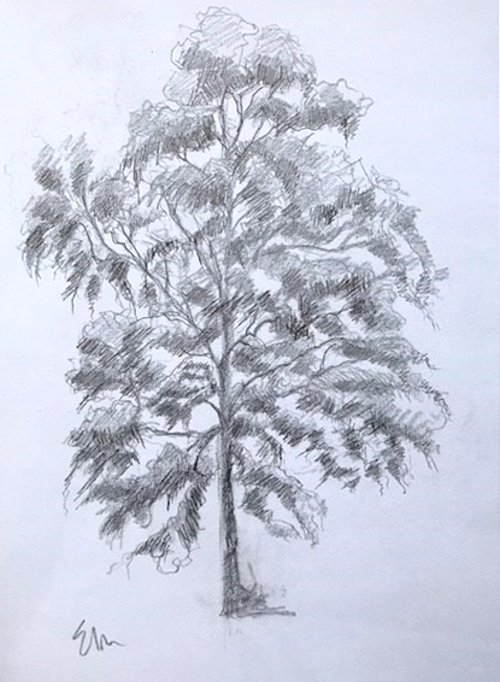
Sketch by Jo
Leaf masses drawn with side strokes of pastel
The first session will focus on strategies for beginning to draw whole trees. In week 2 we will take a closer look at; bark, burrs, and branching, then in week 3 draw lopped or fallen trees and exposed root tangles. For the three remaining weeks we will explore trees and their landscape settings for which you may continue with drawing materials or work in colour with pastel or water-based media.
Do look at the following Pinterest board, link below, for some inspirational ideas for drawing trees in literal, atmospheric and more abstract ways.
https://www.pinterest.co.uk/jhall1282/trees-in-art/
Some very basic notes on drawing trees are below followed by a list of the exercises for the first session. If you are already experienced in drawing trees just make a quick composition sketch and launch into a tree portrait using your choice of drawing medium.
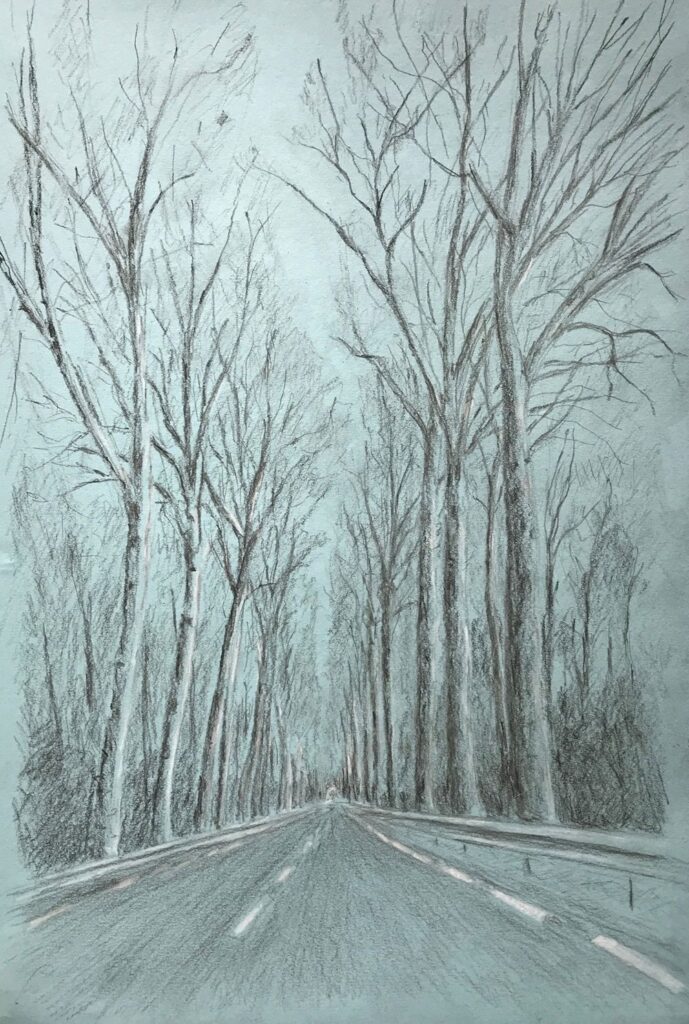
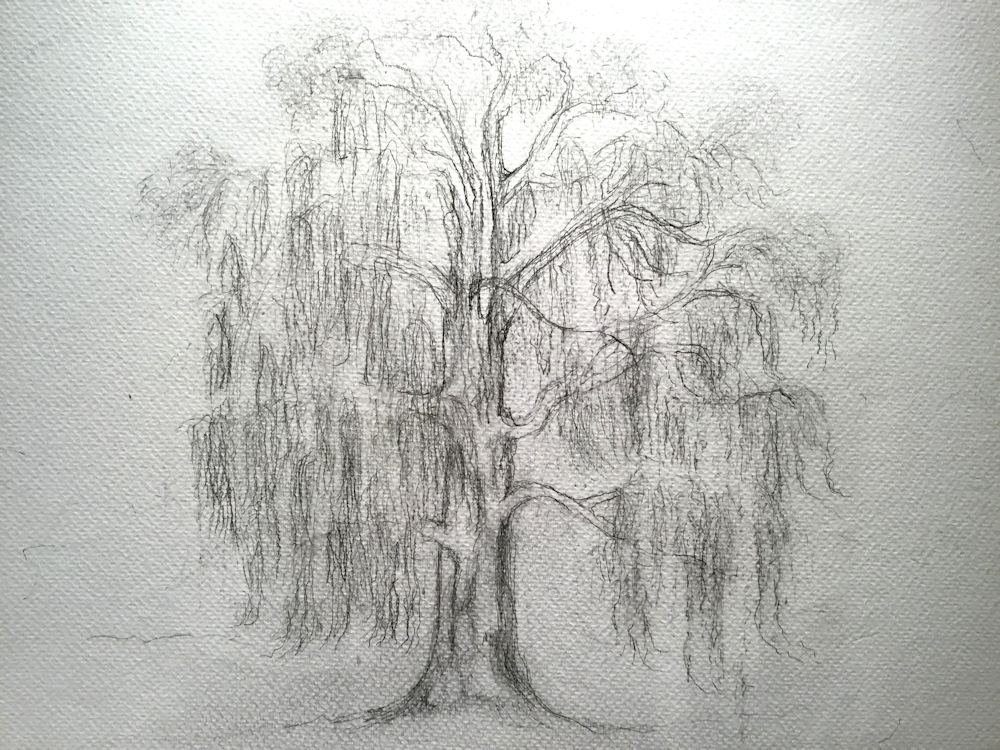
Pastel and charcoal by Jo
Memory drawing
We’ll start by looking at the overall shape of different trees and the first challenge will be to see how much you have already observed. Take a piece of paper, and from memory make small drawings of any kind of tree you can think of; e. g. cypress, oak, palm, fir etc. Do this rapidly then think about what gives each individual tree its character.
This may be;
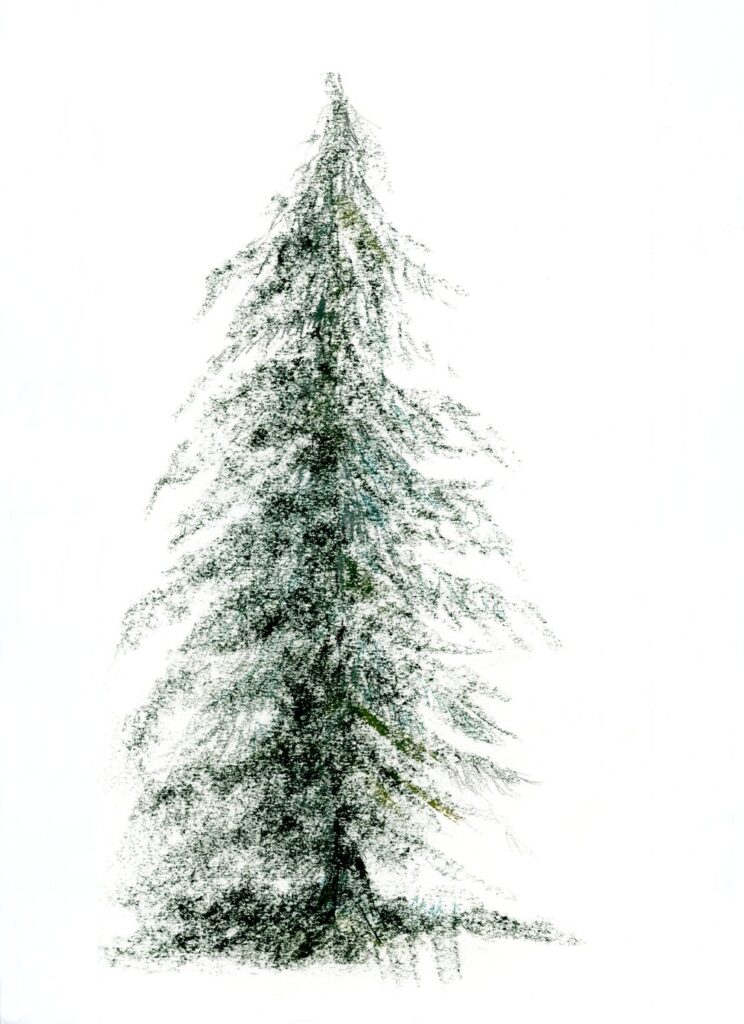
The overall shape and symmetry (fir trees)
Angle at which the branches spread out (oak)
How branches are so flexible and long they bend downwards (weeping willow)
Way in which individual leaves fan out from the trunk (palm trees)
Or
A mixture of some of the above characteristics and many more.
See practical session for materials and paper size.
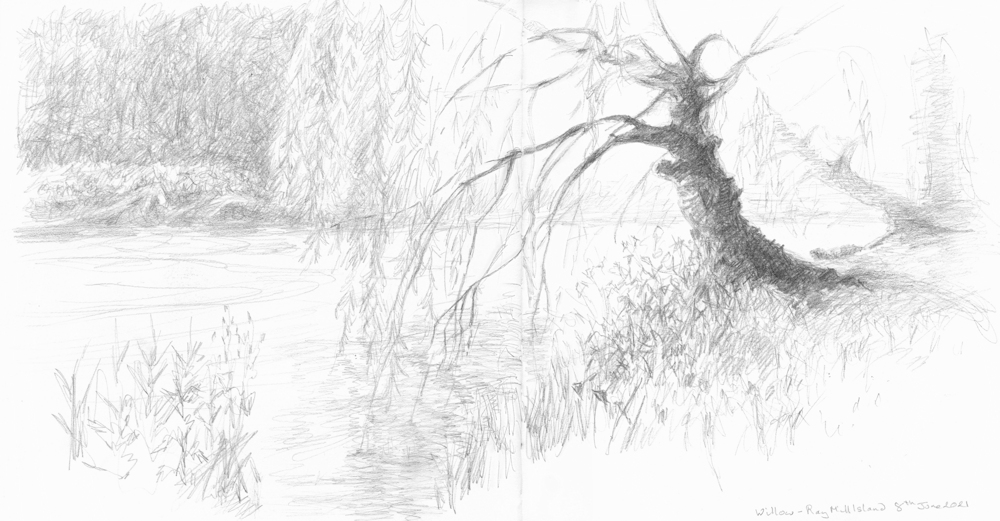
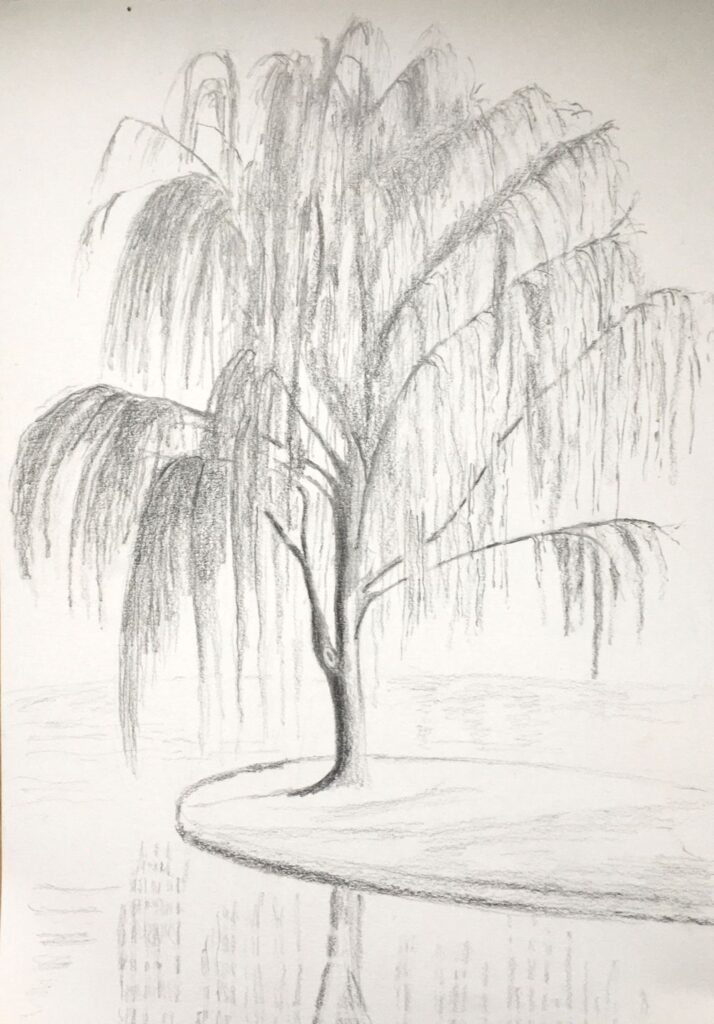
Pencil sketch
Now look at a real tree, outside or from a photo, and observe it, questioning what gives this tree its particular character. The notes below don’t describe the only way to start a drawing but give a very straightforward method for coming to grips with a variety of tree forms.
Starting to draw
It can be useful to mark where the trunk is and indicate the main branches lightly and then mark out the general outline of the whole tree by a series of light dots and dashes. In this way you will ensure the overall proportions are right and the girth of the main trunk can be drawn the correct width.
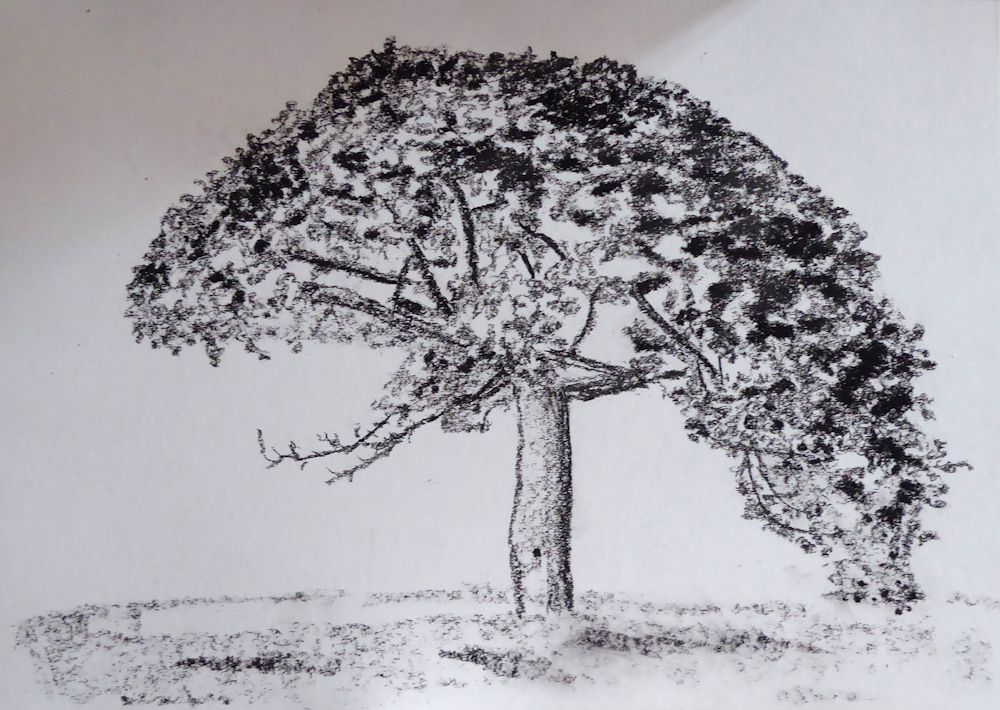
When drawing a deciduous tree in Summer or an evergreen the next stage is to indicate the shapes of the main masses of leaves. These can then all be shaded lightly and more densely shaded on parts of each leaf mass that is in shadow. In the example below light is mainly from above. The lower parts of each leaf mas is darker than the upper side and the whole of the lower part of the tree is darker than the top. Look out for the differences in tone when one side of a tree is in direct sunlight.
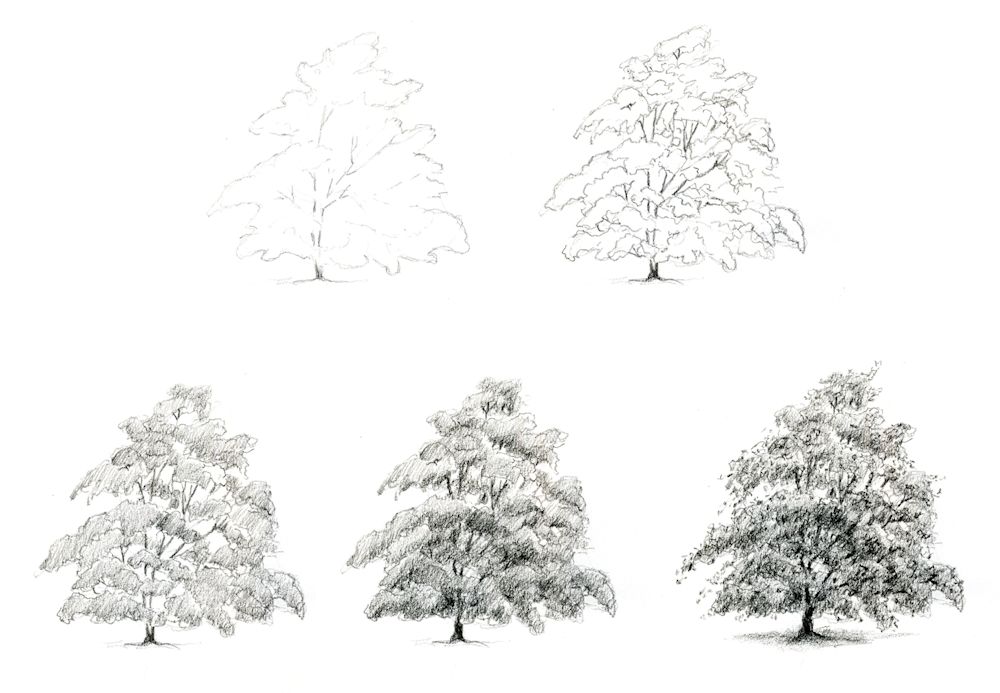
Drawn with an HB pencil
Think about how you might draw a palm tree or a fir tree
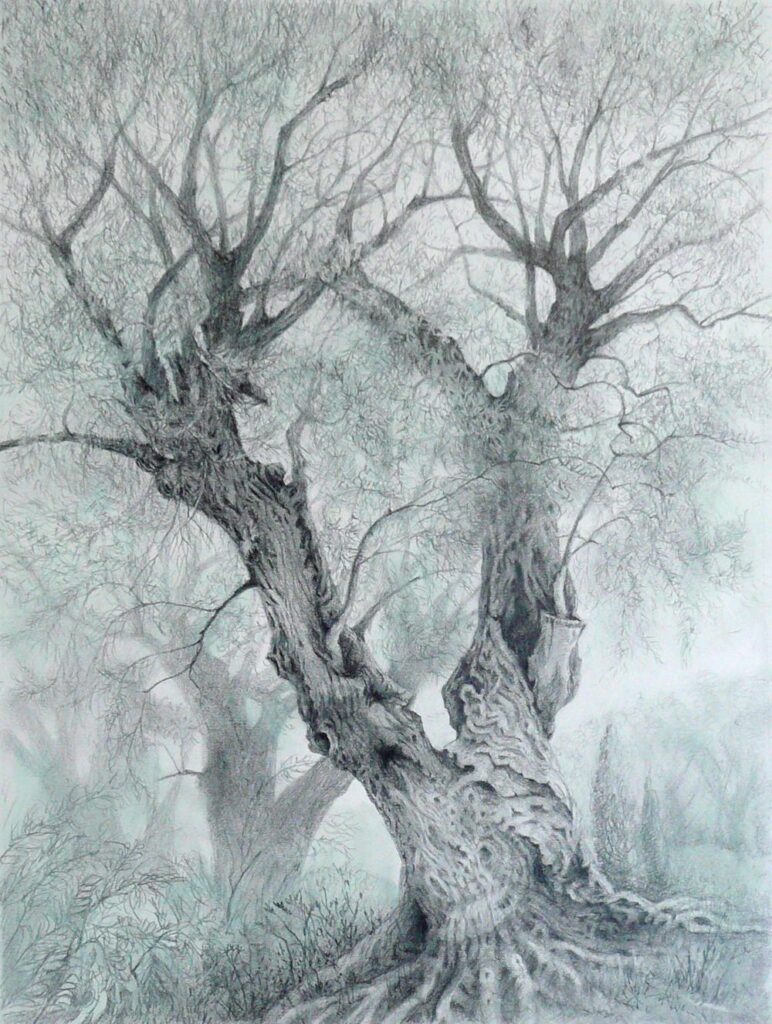
Adding texture and detail
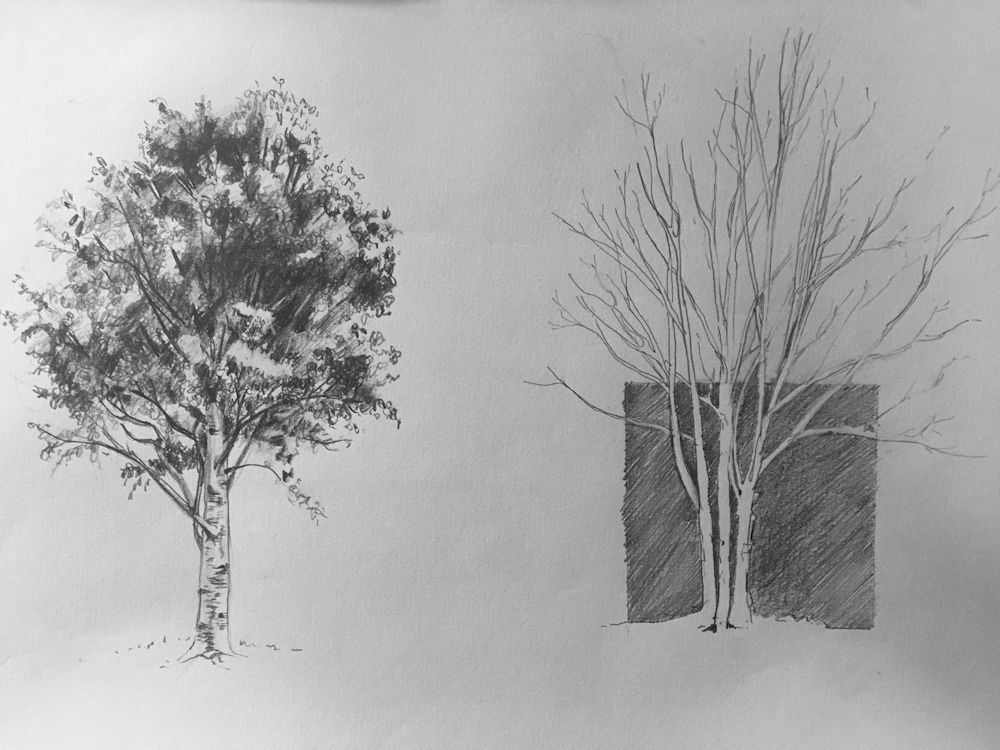
After that you may like to texture the foliage suggesting rather than drawing leaf shapes, and also texturing and drawing any useful detail on the main trunk and branches. For instance, when drawing a silver birch tree, it would be essential to add the distinctive dark marks on the main trunk and branches but may look fussy if similar marks were added to all the branches.
Only if you choose to draw a tree with really large leaves like a palm or banana tree will you be drawing individual leaves and associated structures such as dead leaf bases in any detail, so although the strategy will be similar you will be looking at the overall shapes of large leaves instead of clouds of leaf masses.

Ink sketch by Jo
The best way to familiarise yourself with trees is to have a small sketchbook A5 or even A6 that will tuck into a pocket or handbag and draw with a pencil or ball point pen on every occasion you meet a tree, whether you only have two or the luxury of twenty minutes to sketch!
Practical
Use cartridge paper A4 or A3 and any drawing medium; pencil, ball point, pen and ink, conté crayon, thin charcoal stick or charcoal pencil,
1.Memory drawing: use an A4 or A3 paper and make several drawings of as many different kinds of tree as you can from memory. These should be tiny, two or three inch high thumbnail sketches, all to be made within about 15 minutes.
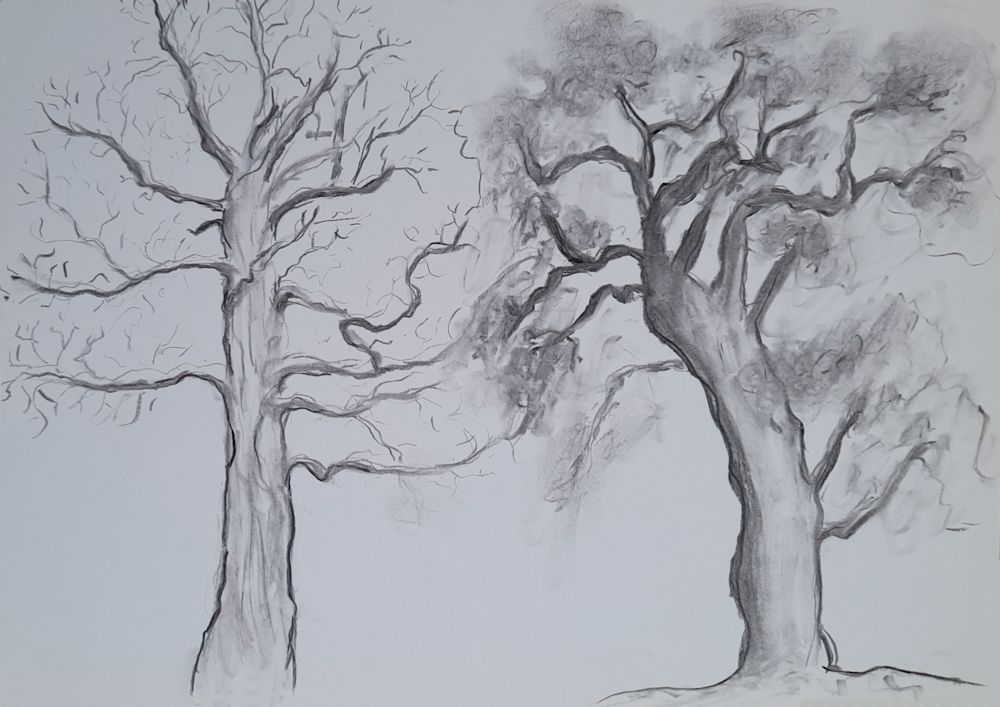
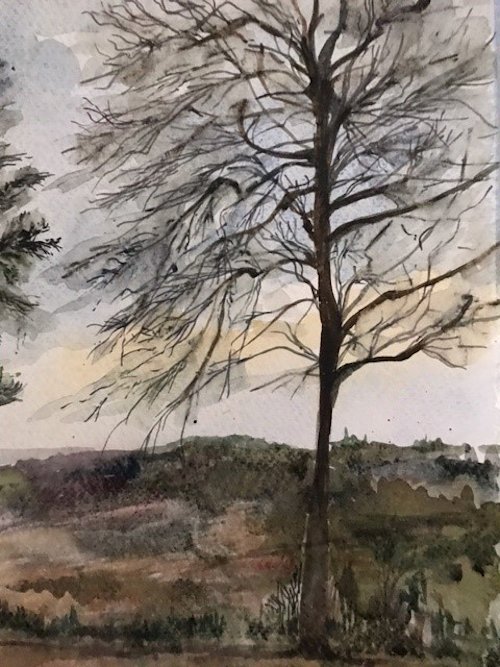
2. Drawings of two different trees or the same deciduous tree in winter and summer. This time work from observation, direct or from a photo reference. Take each drawing to the stage where the masses of foliage have been blocked in with directional shading or the tiny branch ends have been suggested. Both drawings to be made on the same sheet but still fairly small, between five and eight inches high. Take about 20 minutes for this
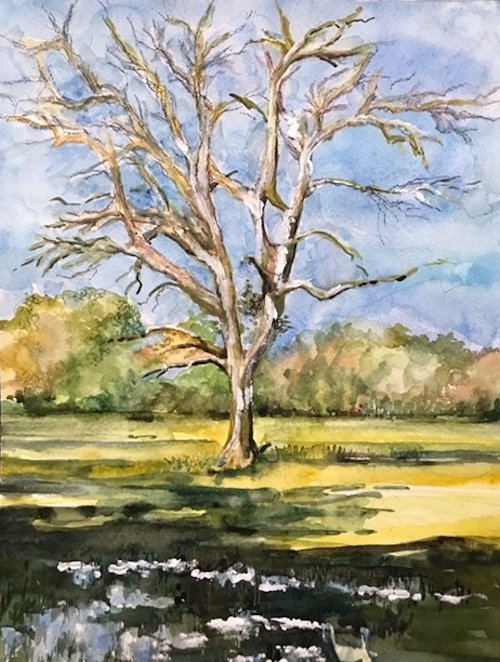
3. Make a tree portrait of the tree of your choice at a much larger scale to fill an A3 or larger sheet. The size may partly depend on the drawing medium i.e. smaller for pencil work A4 to A3 and larger A3 to A2 for a study in charcoal or conté crayon. If toned paper is used white may be used for the lightest areas. Working larger and for longer will enable you to draw more details. Add only what helps to communicate the character of the tree and strengthens the composition. Make sure the overall proportions and structure are in place before adding texture and detail, and constantly review the tonal balance of the drawing as you work. Larger paper may be used for a pencil drawing if you are working with very soft pencil in a loose way or have a lot of time to spend on a detailed study.
Spend between an hour to an hour and a half on this or longer if you are producing a highly detailed work.
Your drawings:

by Anne H
Pastel by Mali
Charcoal and white pastel by Mali
Charcoal by Anne C

by Maricarmen
Charcoal by Maricarmen
Charcoal and pastel by Liz

Charcoal by Ann


by Virginia

HB pencil on A4 paper by Maryon
HB pencil on A3 paper by Maryon

Charcoal and graphite sticks on A3 paper
by Maryon
Charcoal by Heather

Charcoal by Heather
Pencil by Sarah (before session)

pencil by Sarah
Still Life Week 6: Looking with David Hockney
February 11, 2022
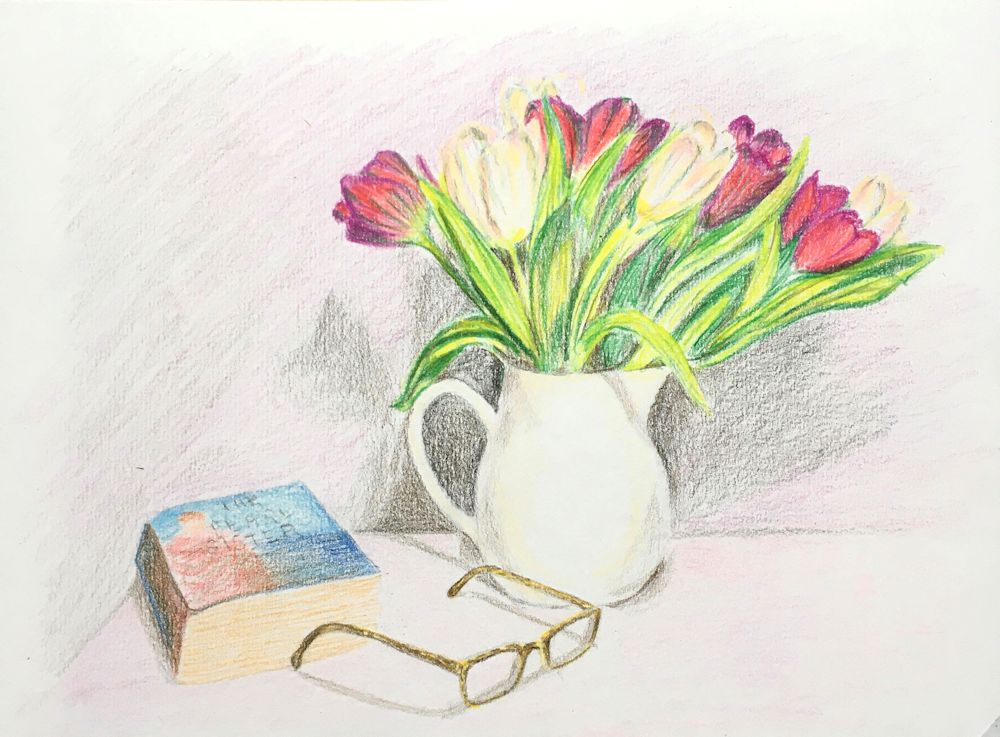
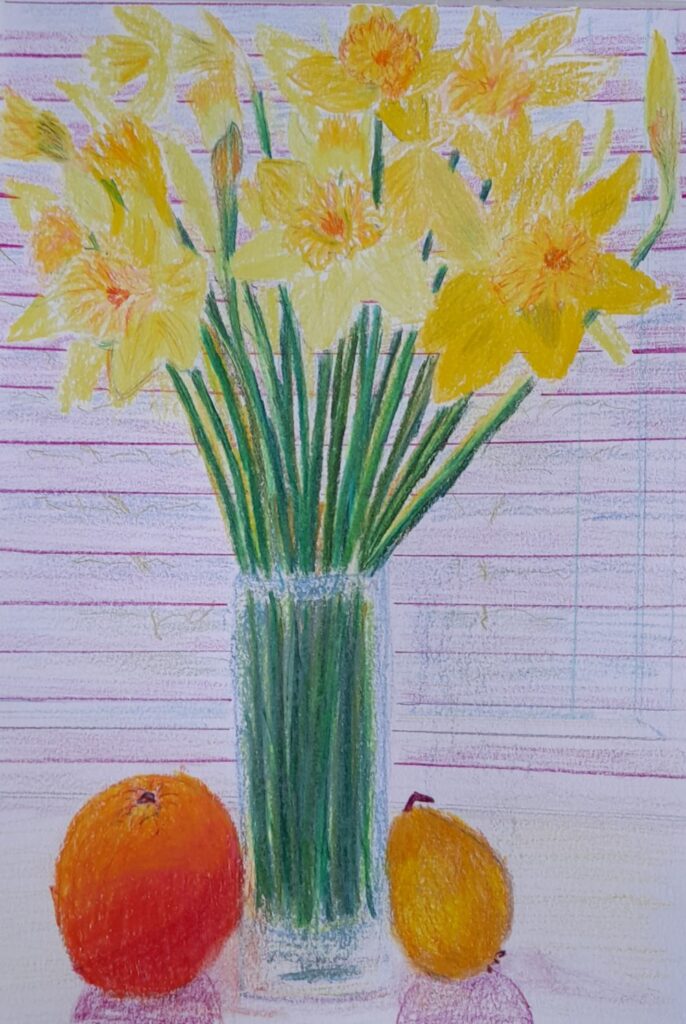
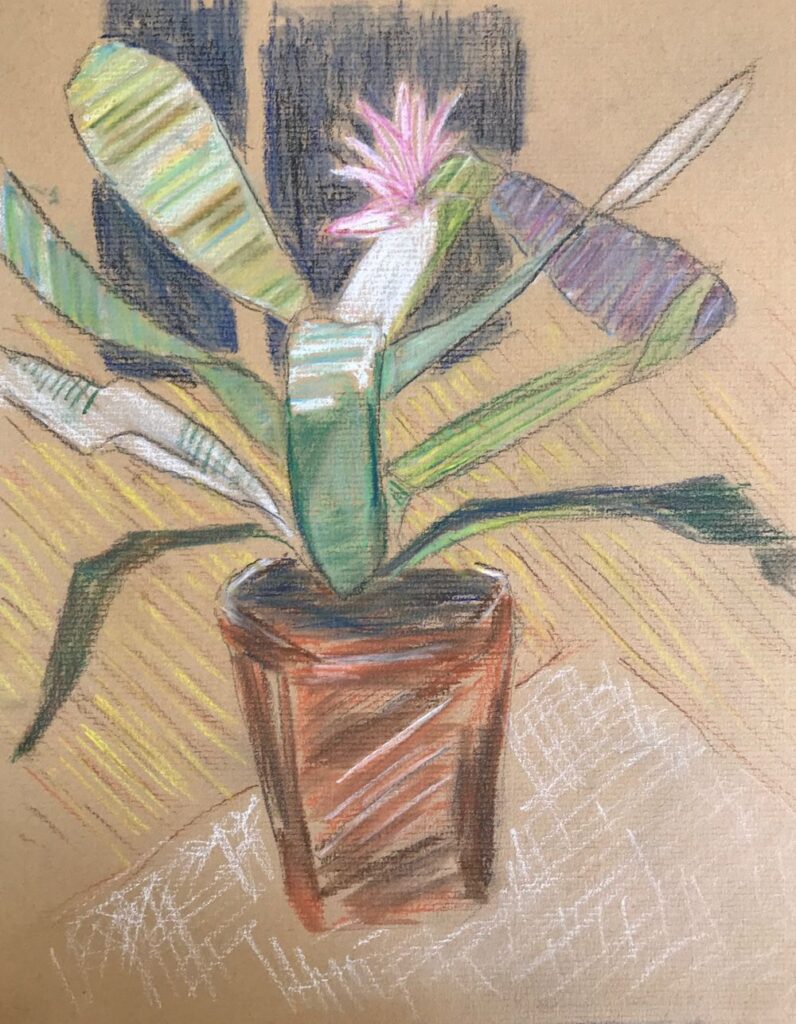
Coloured Pencil Sketch by Jo
For the last week the challenge will be to make a still life drawing taking inspiration from the coloured pencil and crayon drawings of David Hockney, born in 1937. He made a number of still life drawings in the late 70’s, sometimes of tables in restaurants and also of plants in pots, including a very representational drawing of a yellow jacket, hat and a suitcase on a chair.
Examples of these can be seen on my still life Pinterest board at
/https://www.pinterest.co.uk/jhall1282/still-life/hockney-david/
together with examples of Hockney’s etchings, lithographs and i-Pad drawings.
Some are relatively simple drawings, for example the two peppers, but note the proportion of white space and that it appears “right”. One deceptively uncomplicated but elegantly drawn composition is of a double bed with a green cover where an astonishingly even tone of green has been laid down.
It’s worth studying these works for the techniques used in drawing; where Hockney used line and where he hatched or scribbled or made other marks that show us what he was observing. Look for fast frenetic marks as in the drawing of peppers and where he uses slower marks.
Is it possible to tell what the artist is feeling? Look at that smooth green pasture of a double bed for instance. Look out for instances where Hockney works up some areas more than others, literally drawing our attention to what he thinks is important.
Also study the structure of the compositions and where composition relies more on line and form and where composition depends more on colour and shape for impact.
These days we are probably more familiar with Hockney’s later i-Pad drawings of still life subjects and you are invited to take inspiration from Hockney for your coloured crayon or coloured pencil drawings. Worry not if you have no access to coloured pencils, just draw with a graphite pencil or pencil plus pastel or pastel pencil.
I hope to add my as yet unfinished work, inspired by the other artists we have taken inspiration from over the last few weeks, to this post. meanwhile I am very much looking forward to seeing your Hockney inspired drawings.
Your Drawings inspired by David Hockney:
Coloured Pencil Drawing by Heather C
by Pam
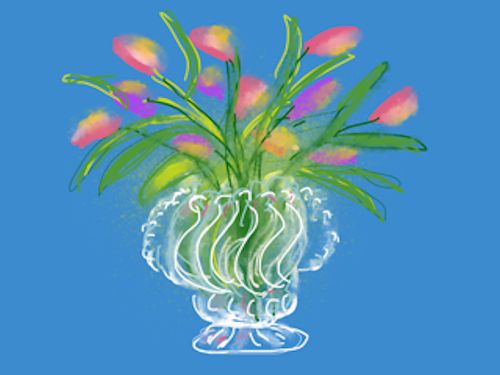
i-Pad drawing by Maricarmen
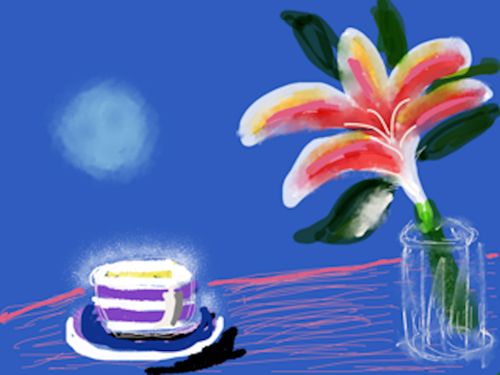
i-Pad drawing by Maricarmen
by Maricarmen
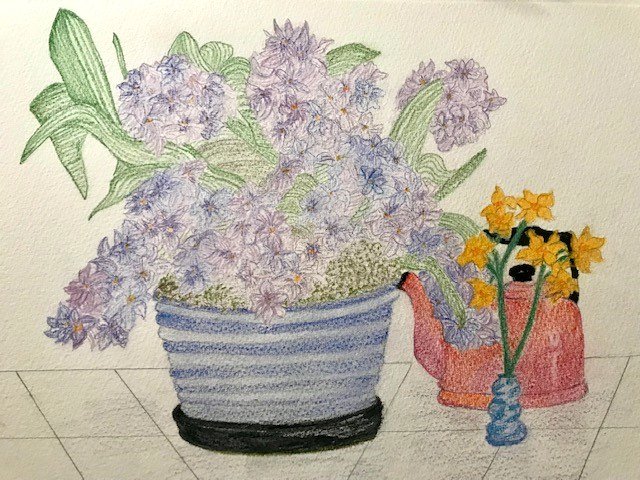
Coloured pencil drawing by Heather N
Coloured Pencil by Ann

Coloured Pencil by Ann
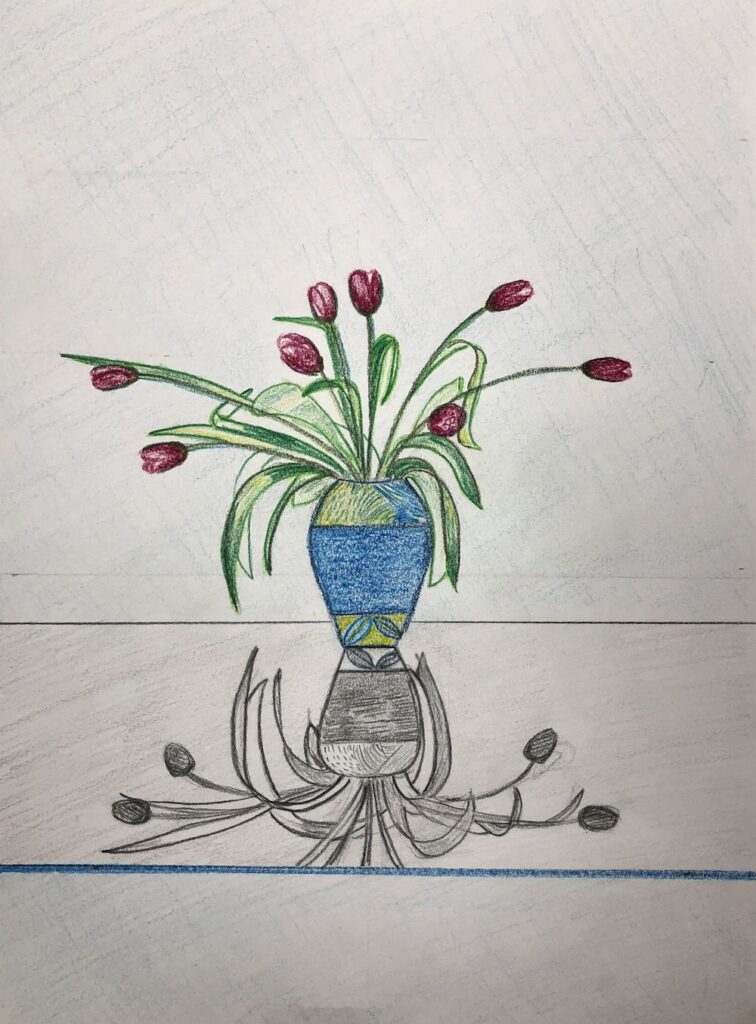
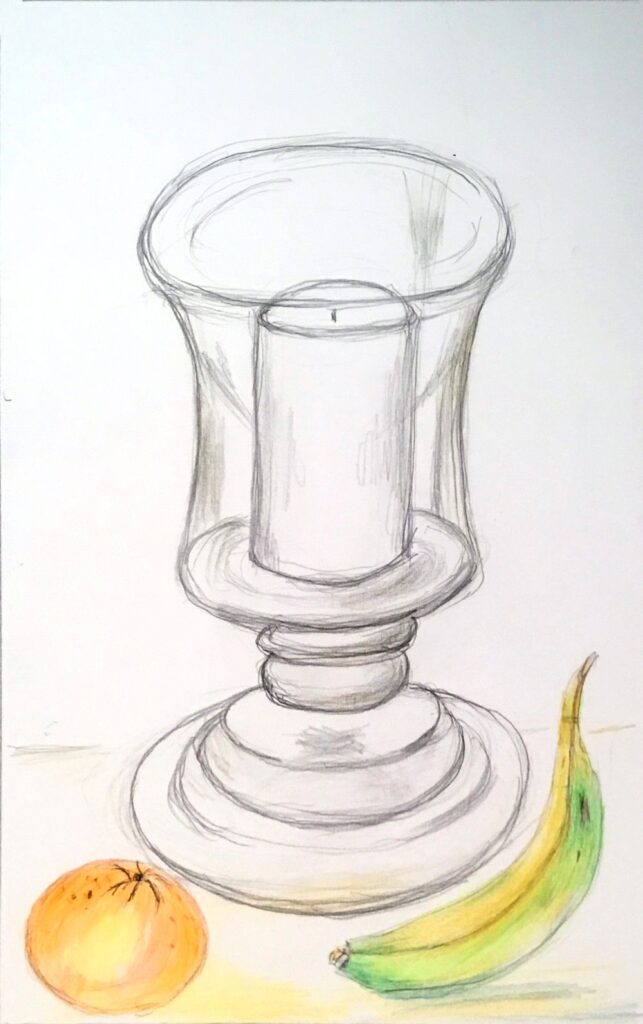
Pencil drawing by Virginia
Pastel Pencil by Mali
Coloured Pencil by Anne
Pastel Pencil by Mali
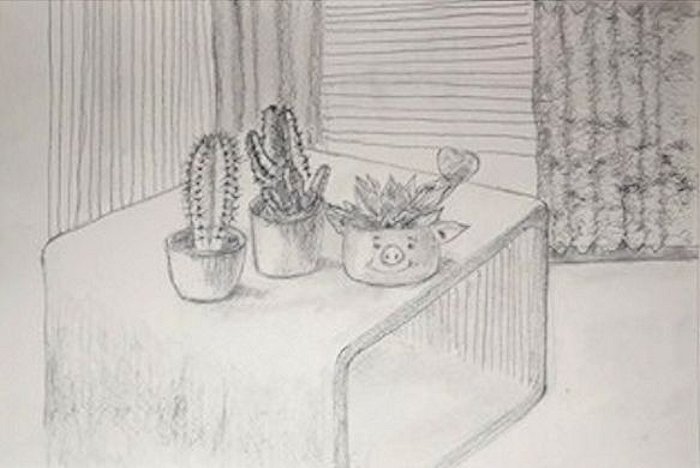
Rotring Pen drawing by Sandra
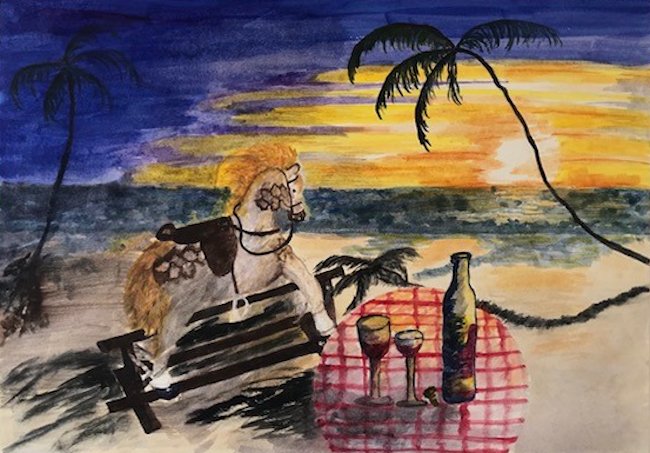
Still Life Week 5: The Magic of Mary Fedden
February 2, 2022
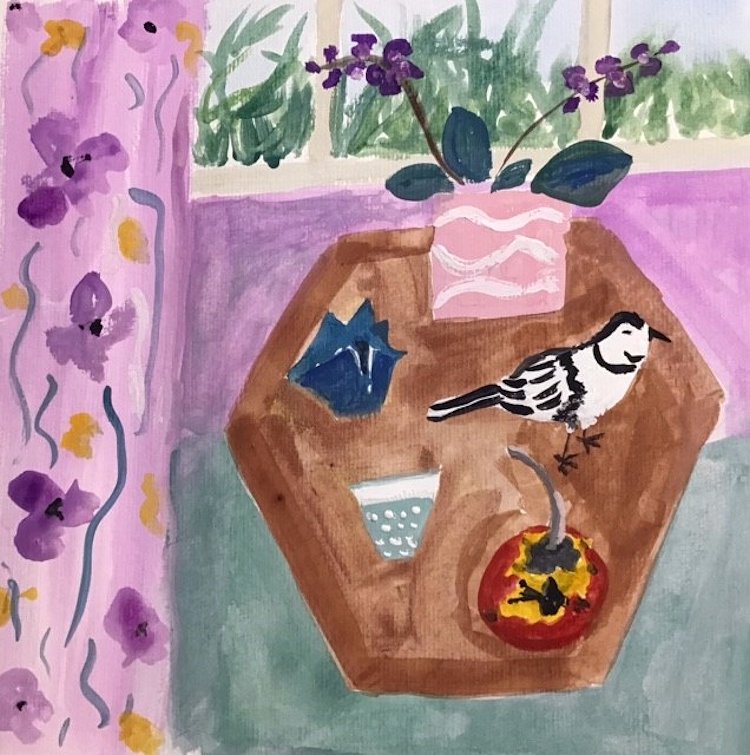
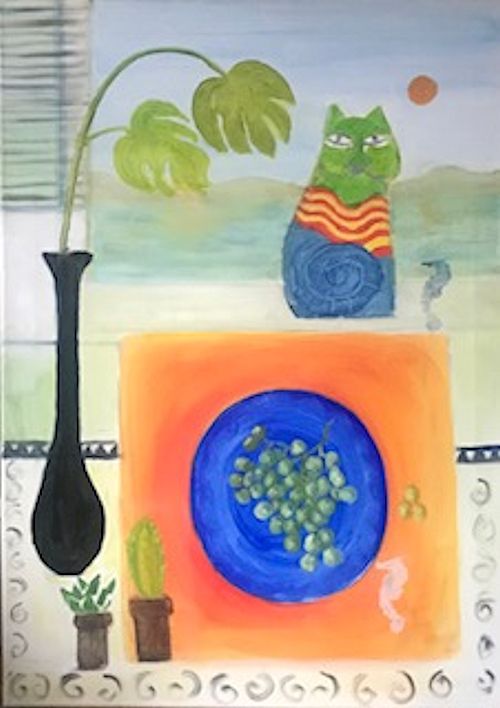
Mary Fedden OBE, RWA, RA was born in Bristol 1915 and remained a popular and acclaimed painter till her death in London in 2012. Fedden knew from an early age that she wanted to be a painter and trained at the Slade from 1932 to 1936, a pupil of the theatre designer Vladimir Polunin.
After her time at the Slade Fedden worked on portraits and stage designs for the Sadler’s Wells Theatre, followed by teaching in Bristol till World War 2 broke out when she served in the Land Army, the WVS and as a driver for NAAFI in Europe.
She admired the early works of Ben Nicholson and his wife Winifred and also the still life paintings of Anne Redpath and the French painter Henri Hayden. She also received commissions for many mural works including one for the TV pavilion at the festival of Britain.
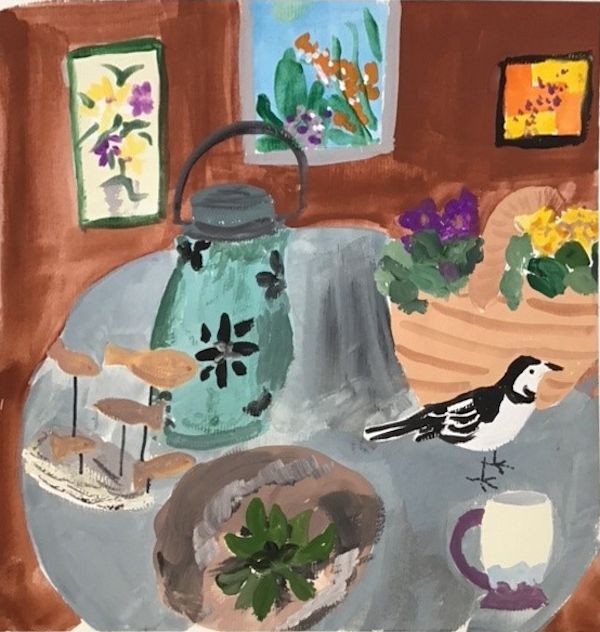
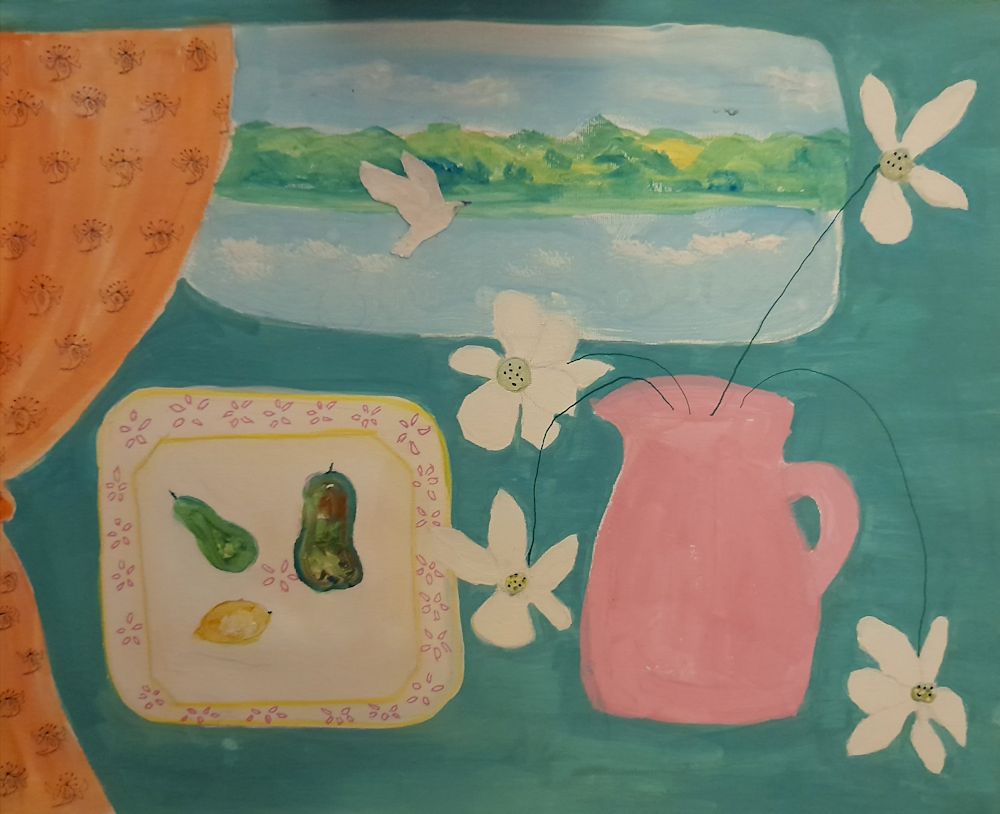
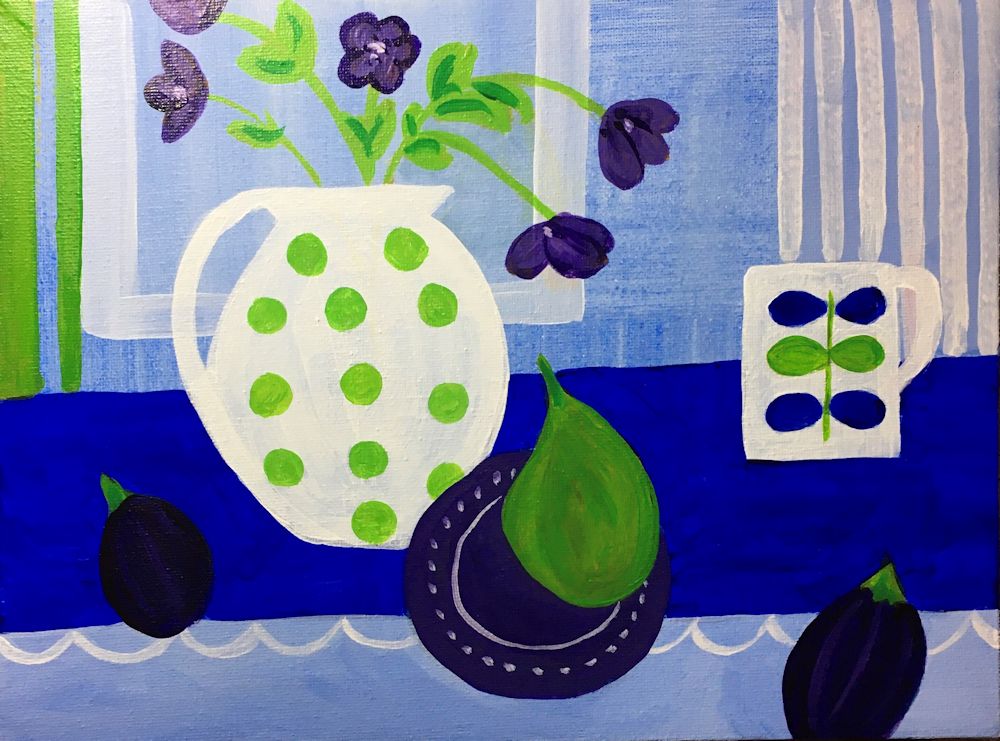
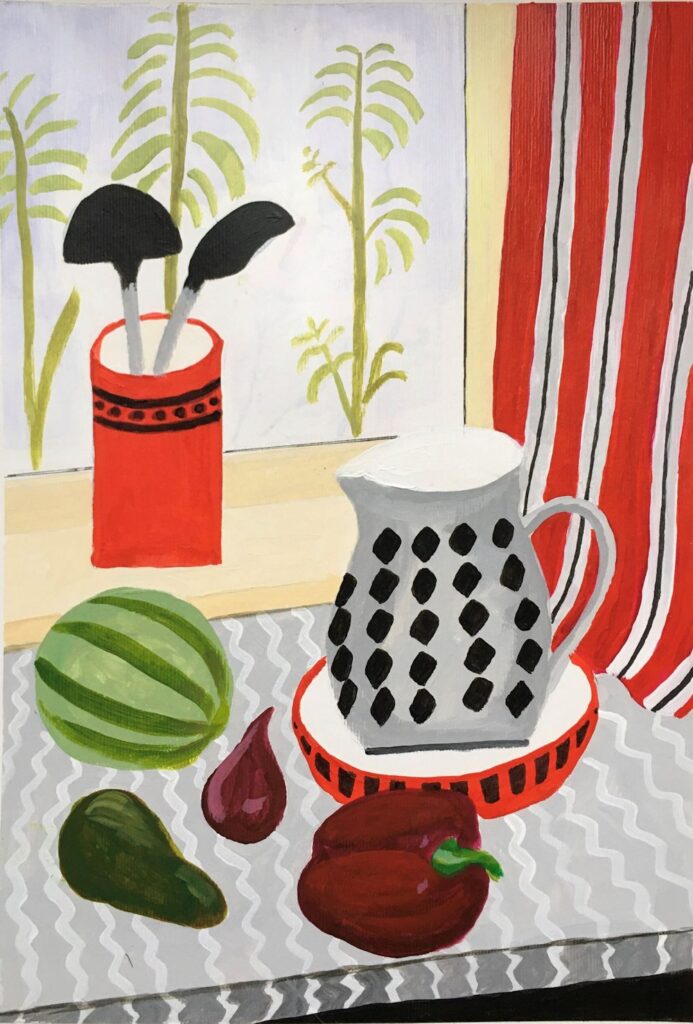
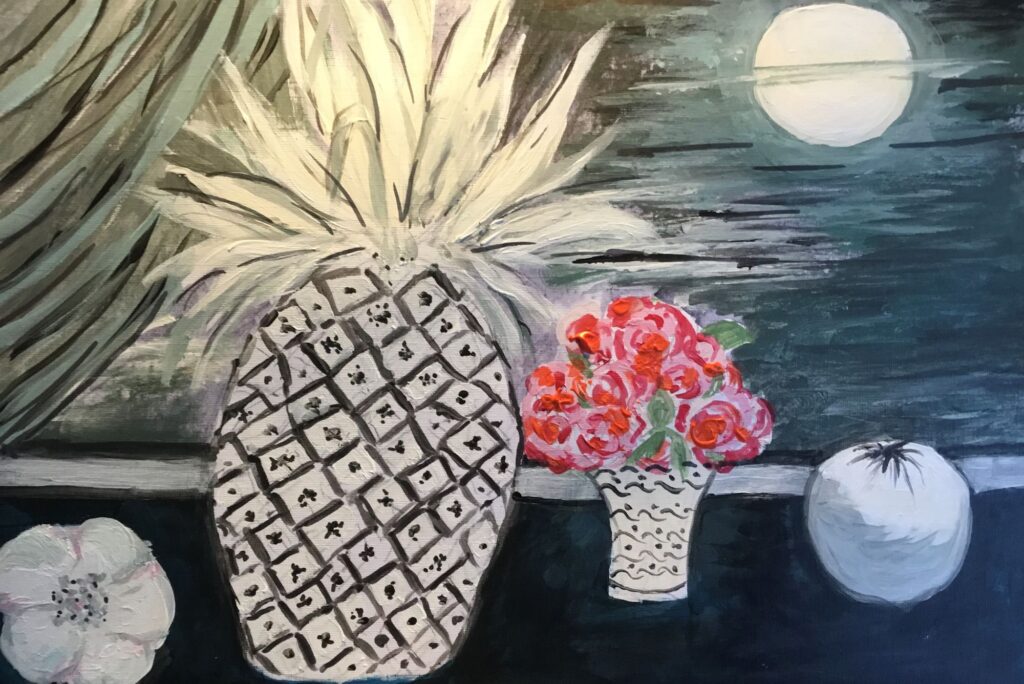
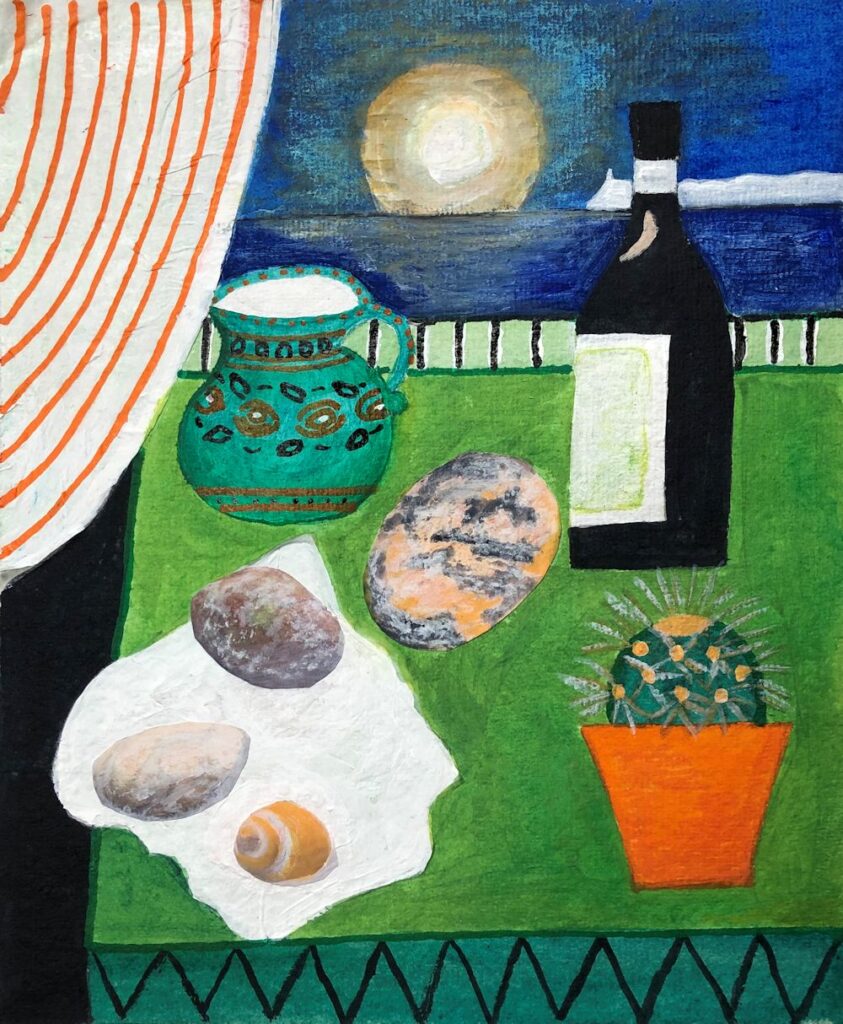
It was after the war that Fedden developed her own way with painting flowers and still life subjects and I believe was still greatly influenced by a sense of drama from her stage design days. Fedden’s still life works seem to me very theatrical, like little sets for the objects that they contain. These sometimes have landscape or window backdrops and the shapes are somewhat flattened as in Nicholson’s early works. She certainly breathes magic and wonder into quirky and ordinary objects alike. In one painting a teapot and an Auricularia has a background of an erupting volcano and a zebra in the middle ground! Such juxtapositions abound in her work and one can only imagine the stories behind them. Some examples can be seen on the Pinterest Board, link: https://www.pinterest.co.uk/jhall1282/still-life/fedden-mary/
Fedden did work in oil but favoured working in gouache, especially on rough textured hand made Indian papers. Her compositions were not set in stone from the beginning, rather she would make a few guidelines and improvise as she went along. She had a wonderful vocabulary of brush strokes and painted exclusively in the studio from the many drawings made in her sketchbooks. Do look at the short U-tube clip to watch her painting. Link: https://www.youtube.com/watch?v=BxOOKRhllPw
Many works also include some elements of collage. As well as quirky objects subjects often included a light source, a candle or lamp to dramatic or rather romantic effect as in “lilies at Moonlight”..
Looking at the works of Mary Fedden gives an interesting link with Ben Nicholson whose early work was one of her influences and next week’s artist, David Hockney who was one of her pupils at RCA.
For more of Fedden’s work see the link to “115 works by Mary Fedden” below:
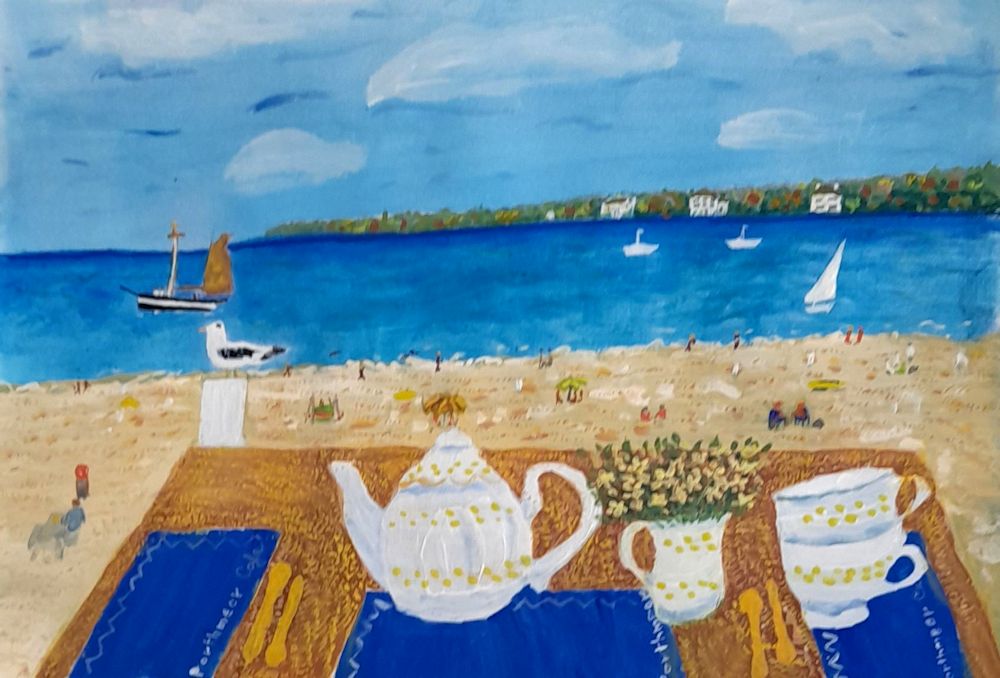
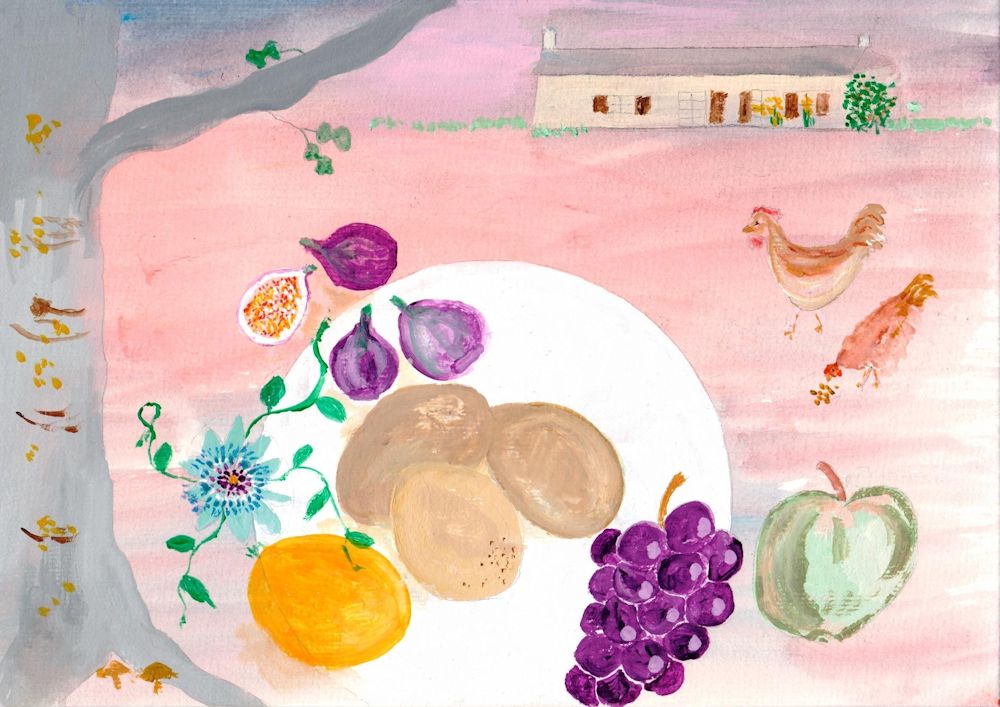
Your challenge this week is to find an unusual gathering of objects and make a magical still life study from them. Think about the setting and especially the tonal balance in your painting as well as the colour. Suggested media: gouache, watercolour or acrylic with perhaps a collaged element.
Your paintings:
by Sandra
by Sandra

by Mali
by Maricarmen
by Anne
by Virginia
by Kate
by Heather C
by Heather C
by Heather N
by Ann
Mixed media with collage by Pam