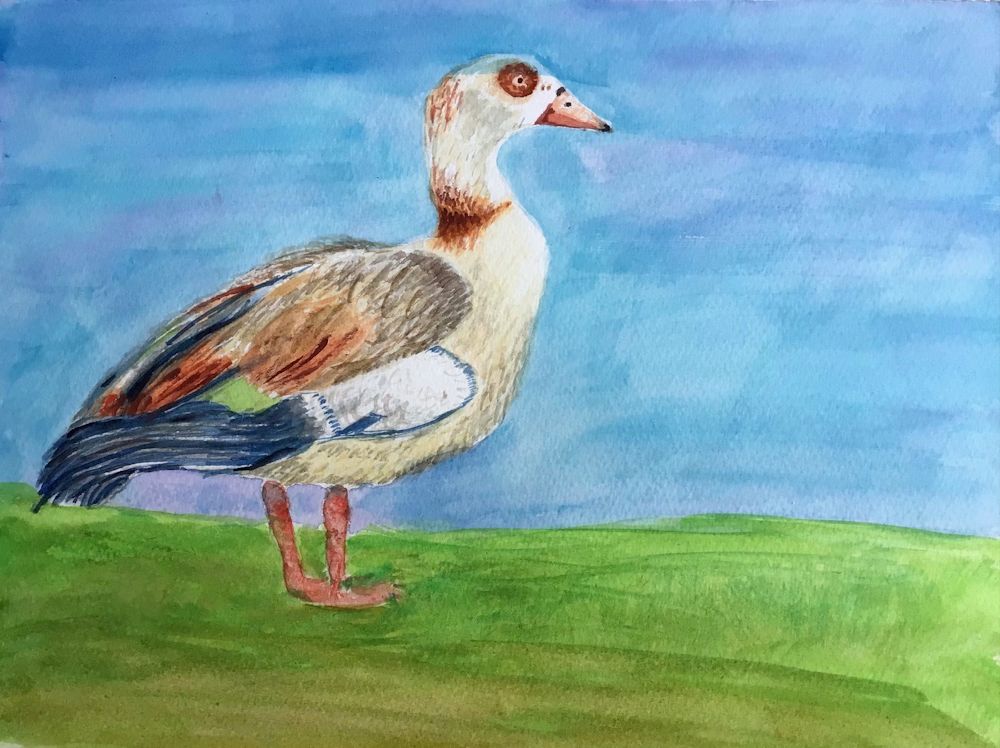
Category Archive: Birds and Animals
Waterbirds in the landscape Week 6: Coots and Moorhens
October 8, 2023

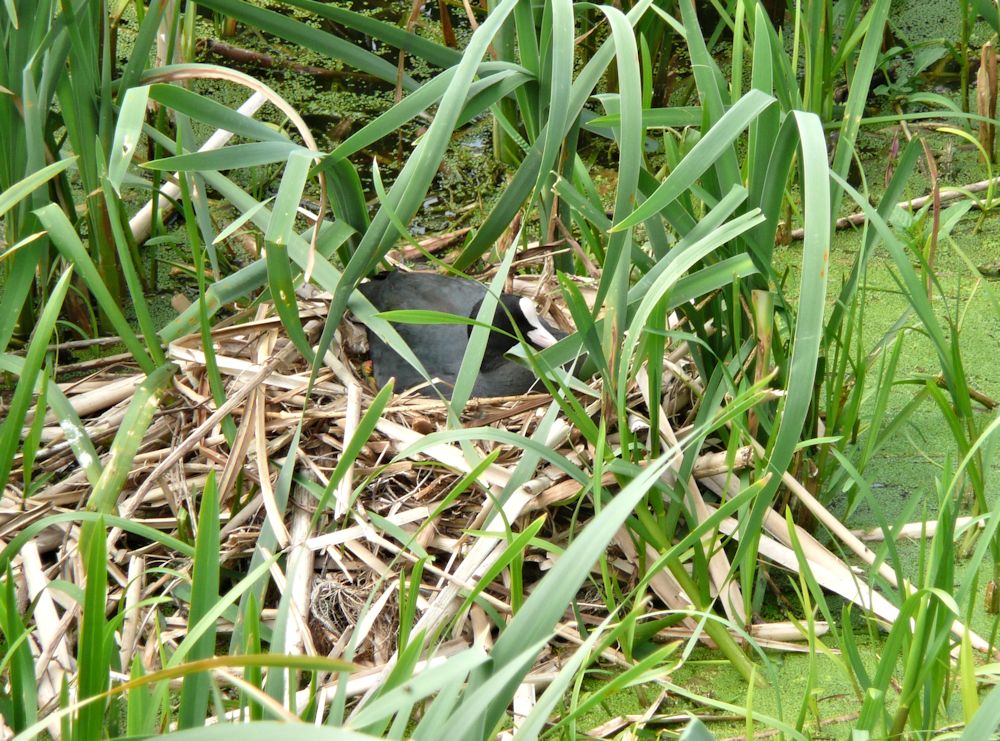
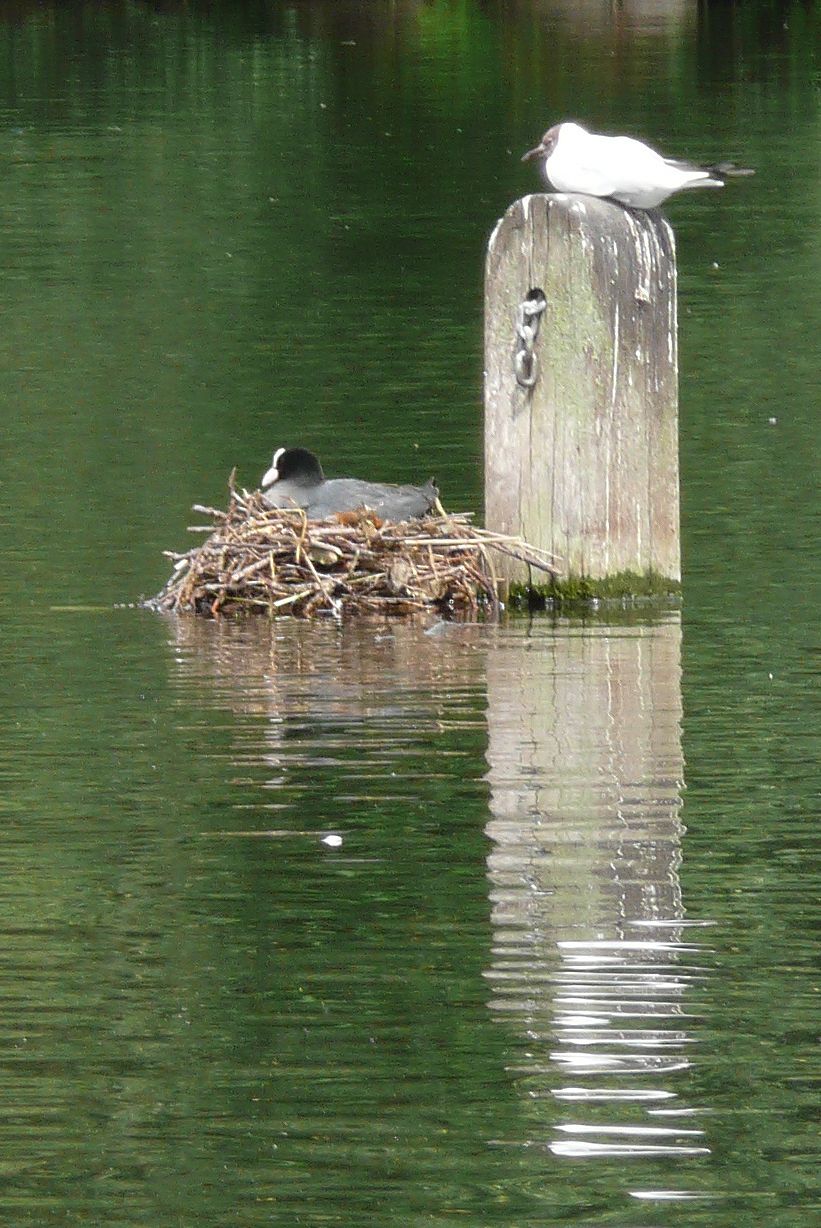
This week we have moved back to birds that definitely spend very little time flying, the coots and moorhens. Both inhabit similar riverbank situations nesting among reeds and waterlilies, however the coot prefers more open areas of water then the moorhen. Coots are the birds with a white oval shield which extends from the pale beak to the forehead. They have large feet with pale grey lobes rather than webbed feet like ducks and geese.
Try painting this bird either relatively close up with its reflection or as part of the wider landscape. Alternatively you may like the challenge of painting a coot on its nest among a calligraphic pattern of reeds; the pale straw colour of the dead leaves used for the nest contrasting with the green of the live leaves.


this coot swims along at the edge of the Great Ouse

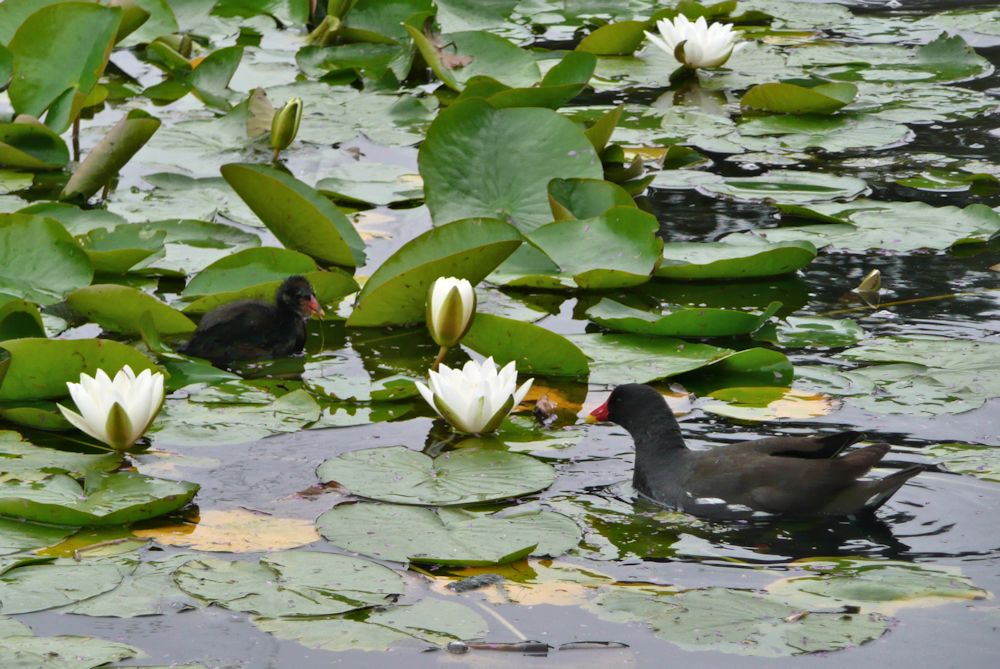
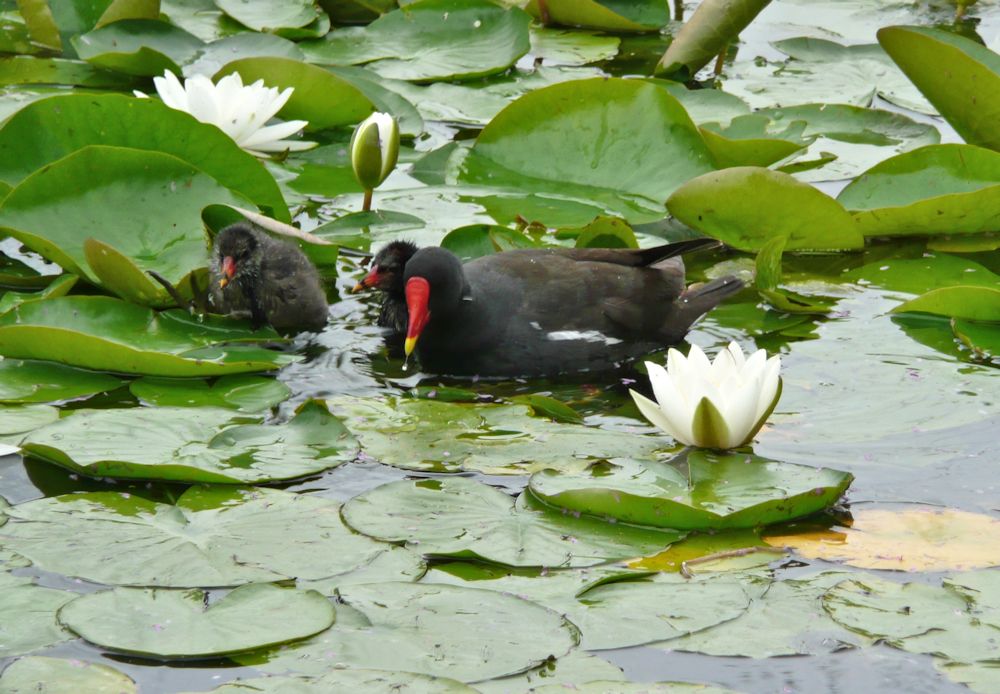
The Moorhen is also black but with a red and yellow beak, white under-tail coverts and some white wing feathers; see below.

This week make a painting that is as much about the habitat of one of these birds as about the bird itself. We’ll discuss this during the session.
Your paintings;

Watercolour by Maricarmen
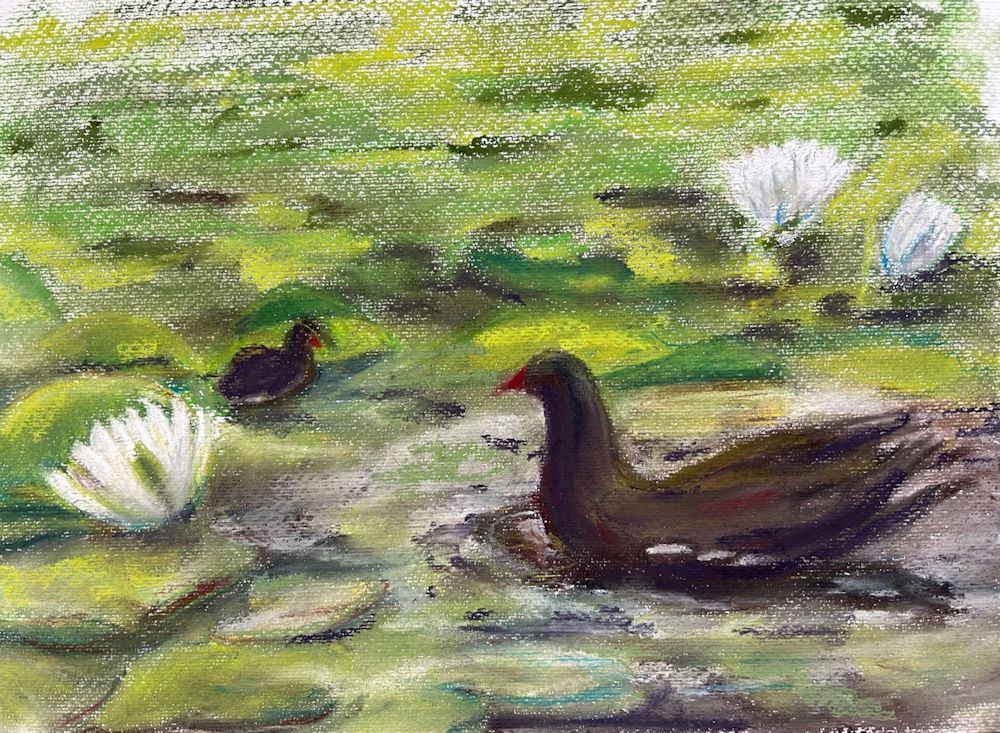
Pastel by Mali
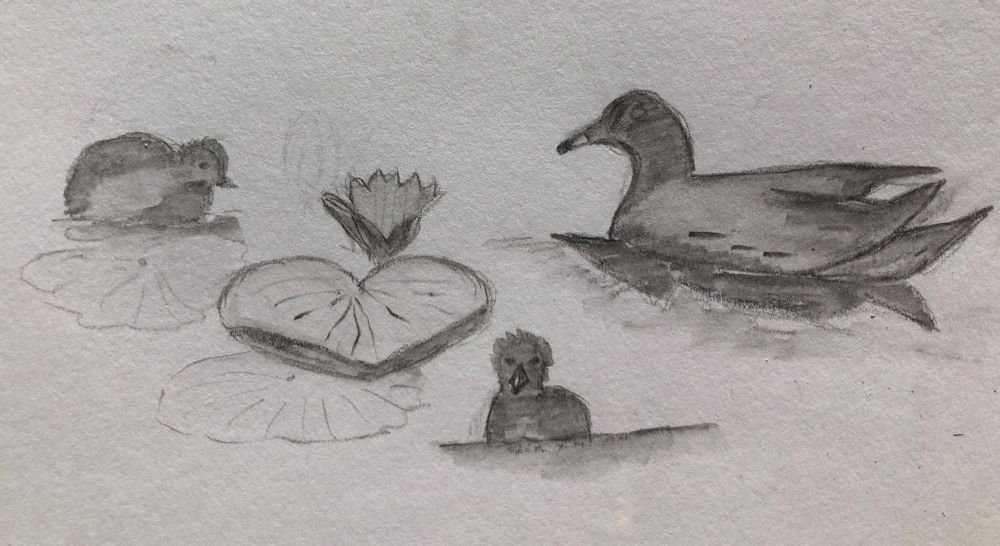
Sketch by Pamela

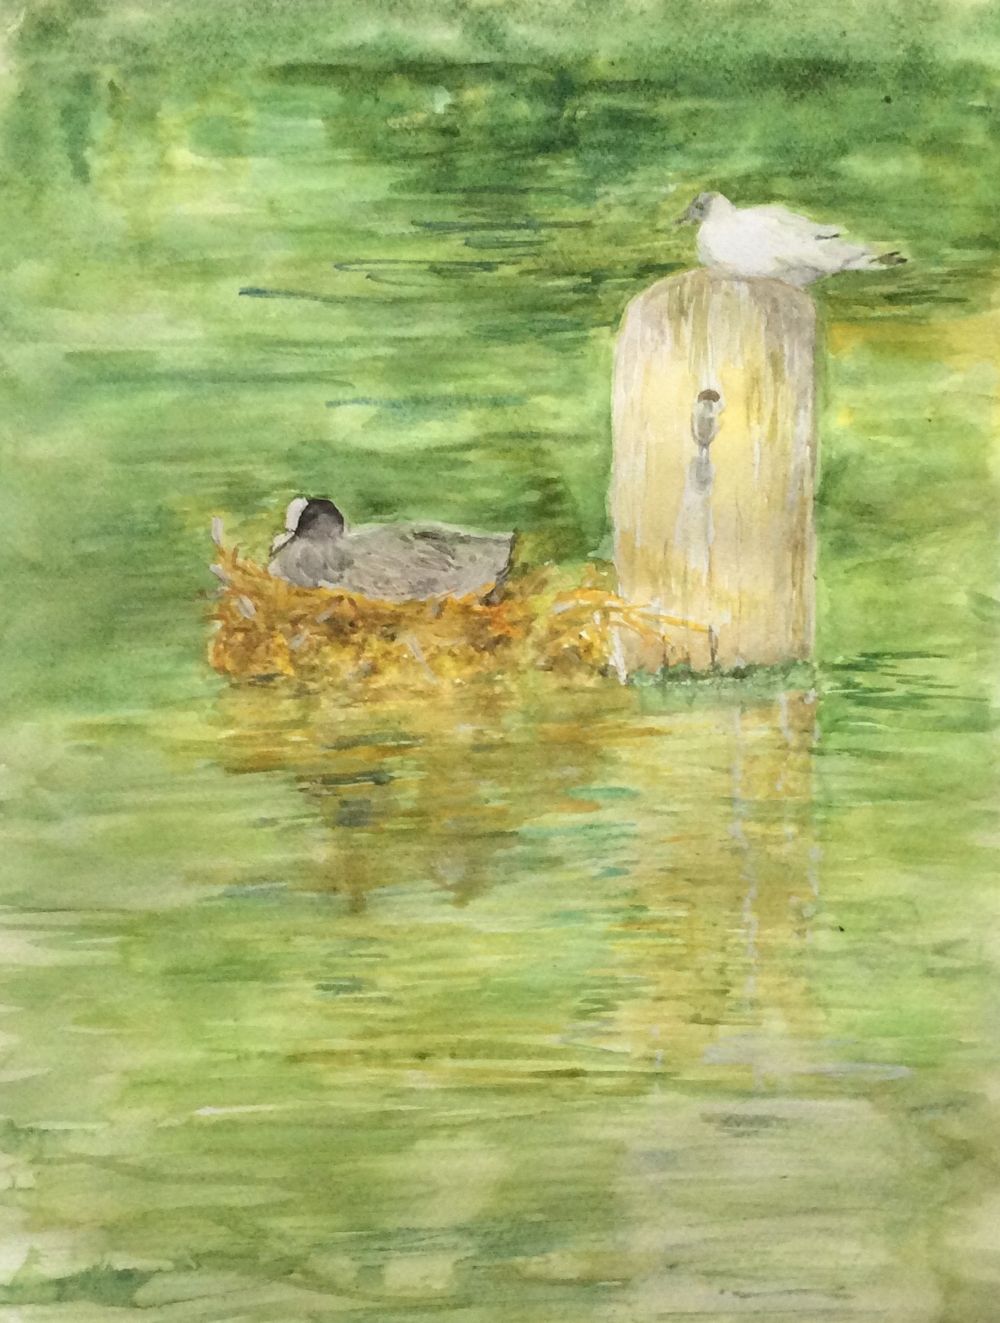
Acrylic by Pamela
Watercolour by Virginia
Waterbirds in the landscape Week 5: Gulls
October 2, 2023
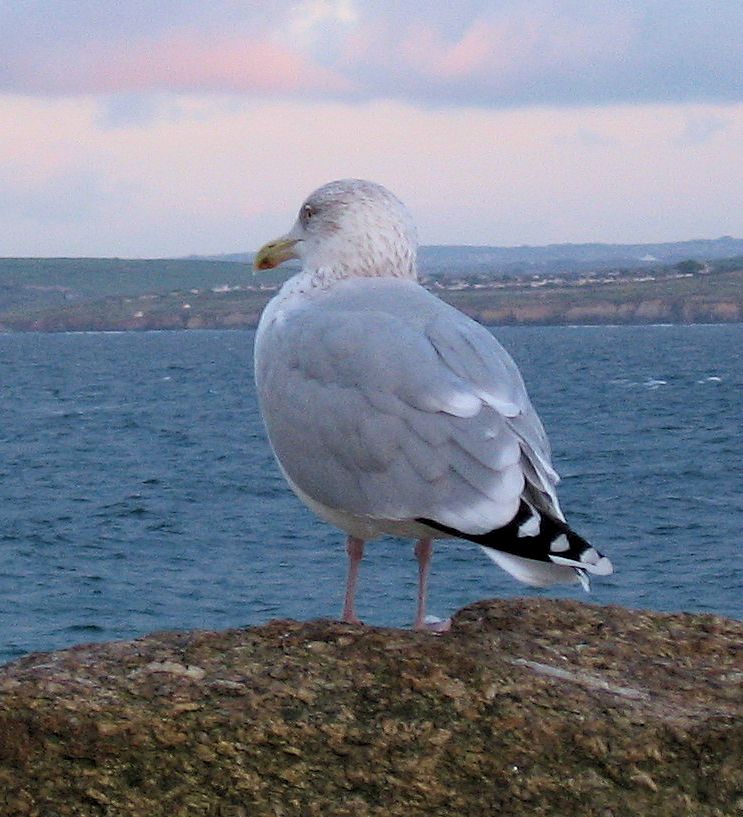
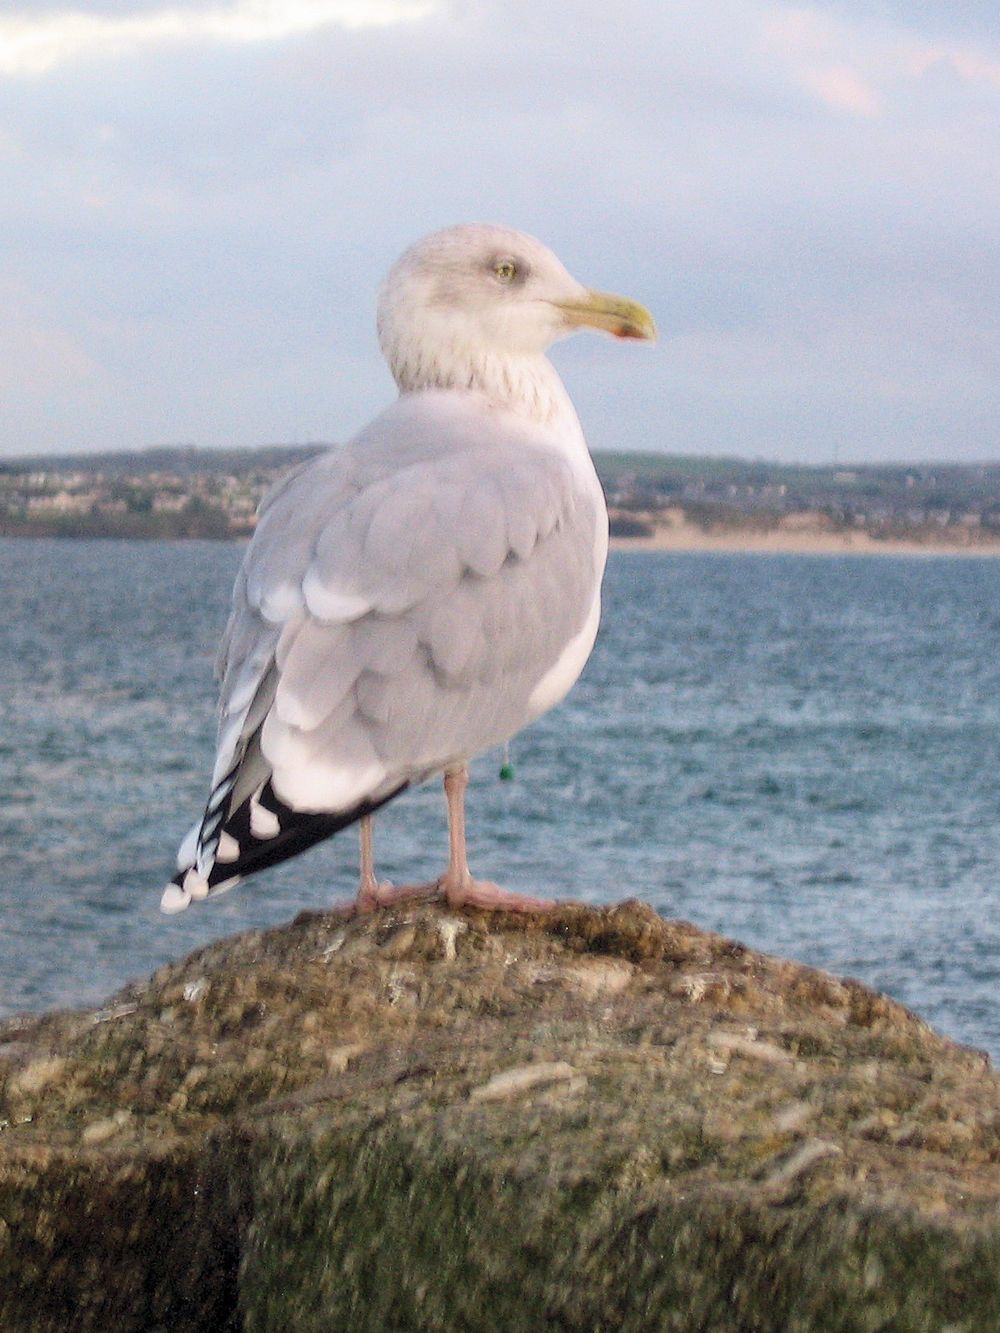
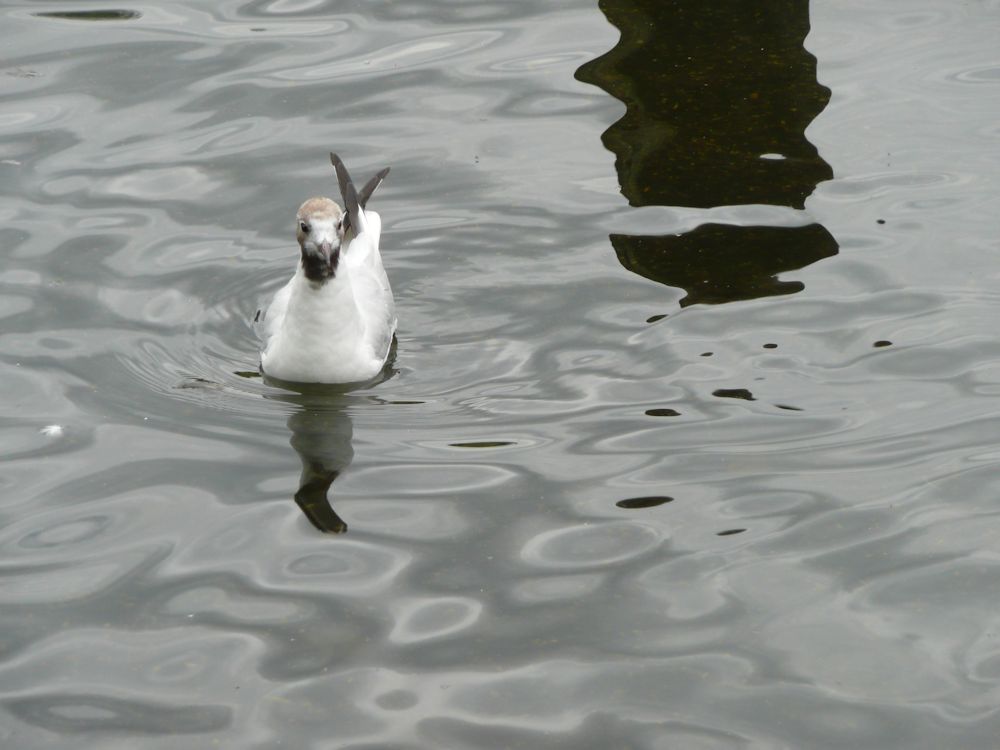
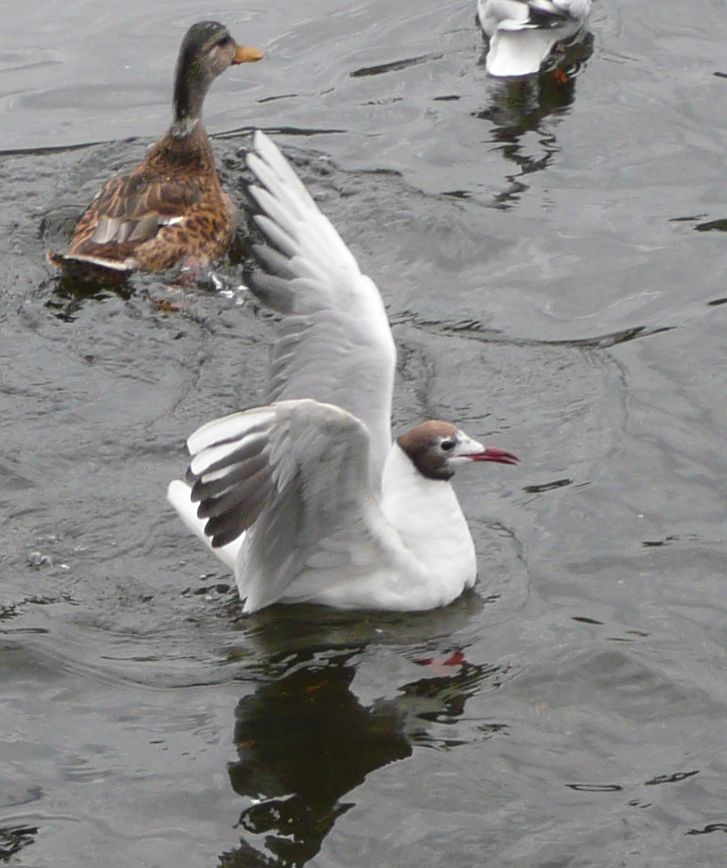
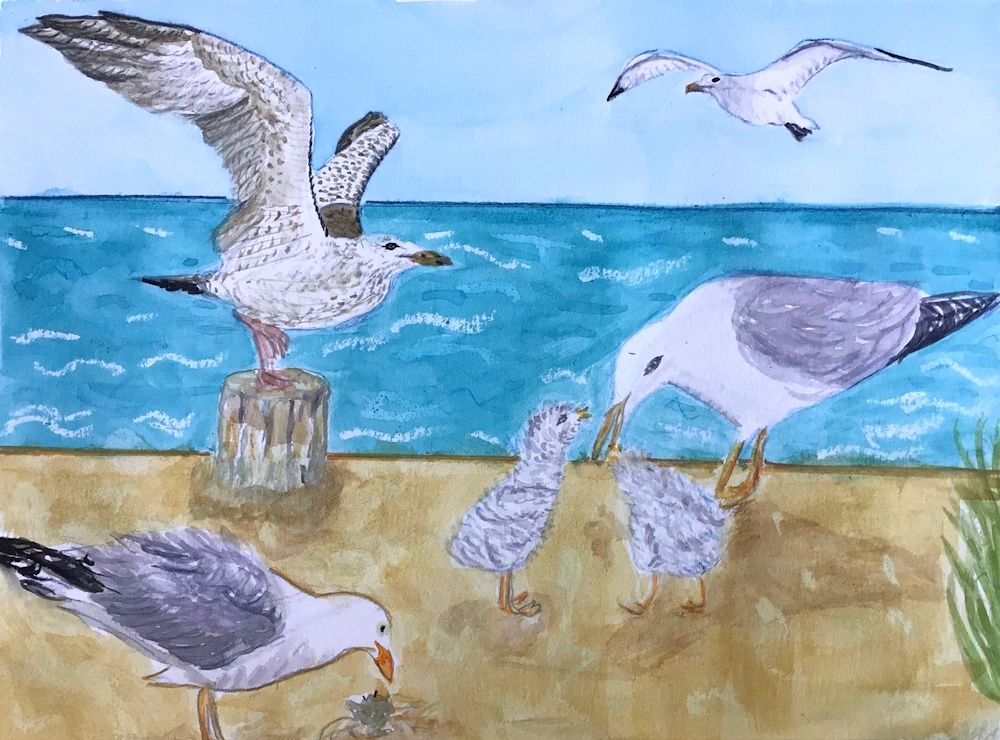
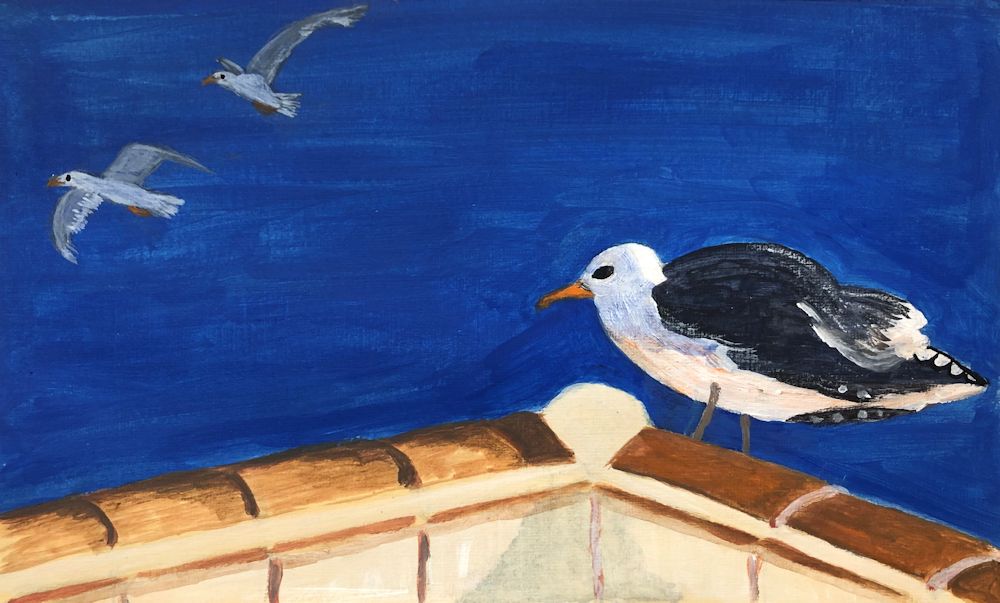
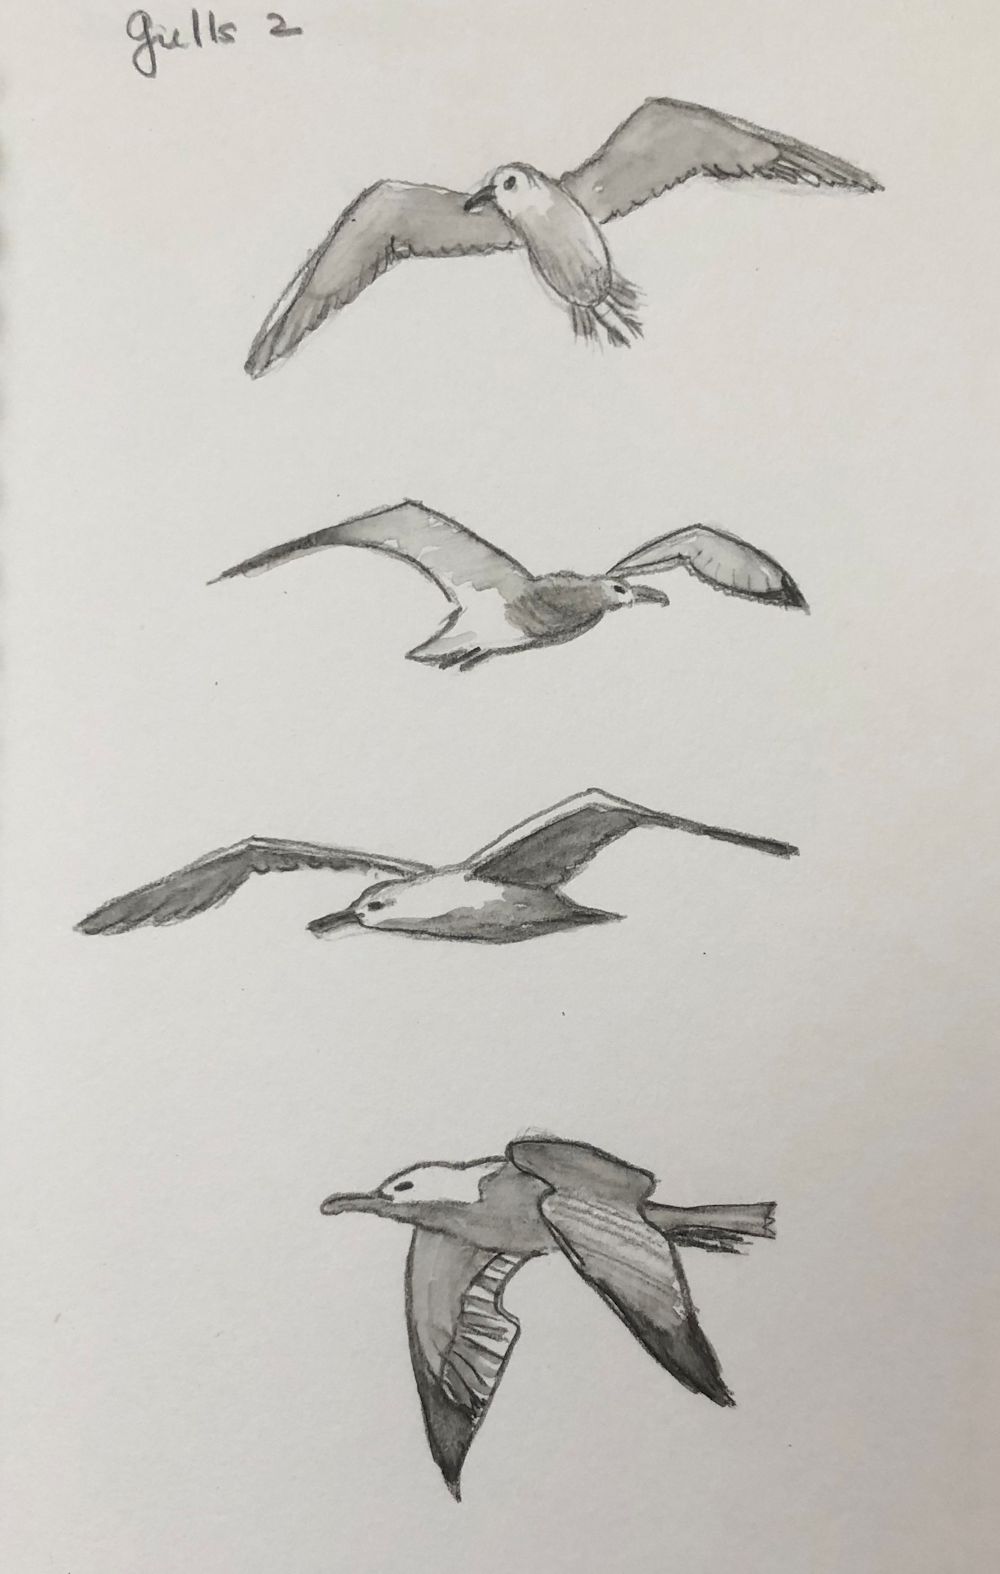
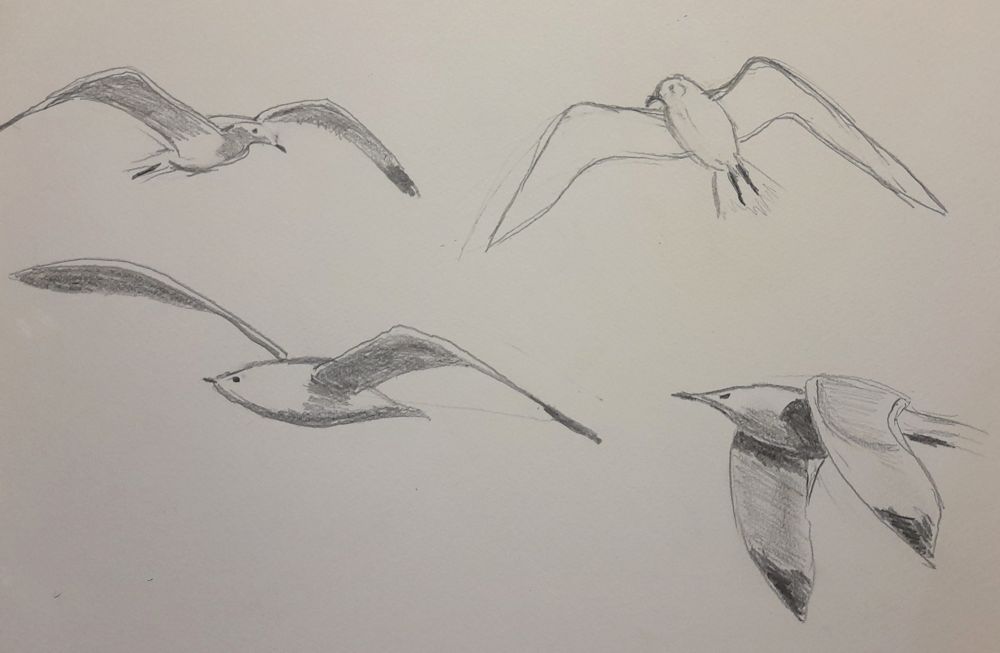
This week we’ll be looking at gulls, on the coast and further inland. Gulls spend a lot of time in the air and during the session we’ll be sketching birds in flight, on the water, and standing, before planning a painting. The herring gull above is probably one of the most familiar. It’s neck is quite stocky, head and front are pale/white, wings a slate grey with black and white wing tips and its legs are pink.
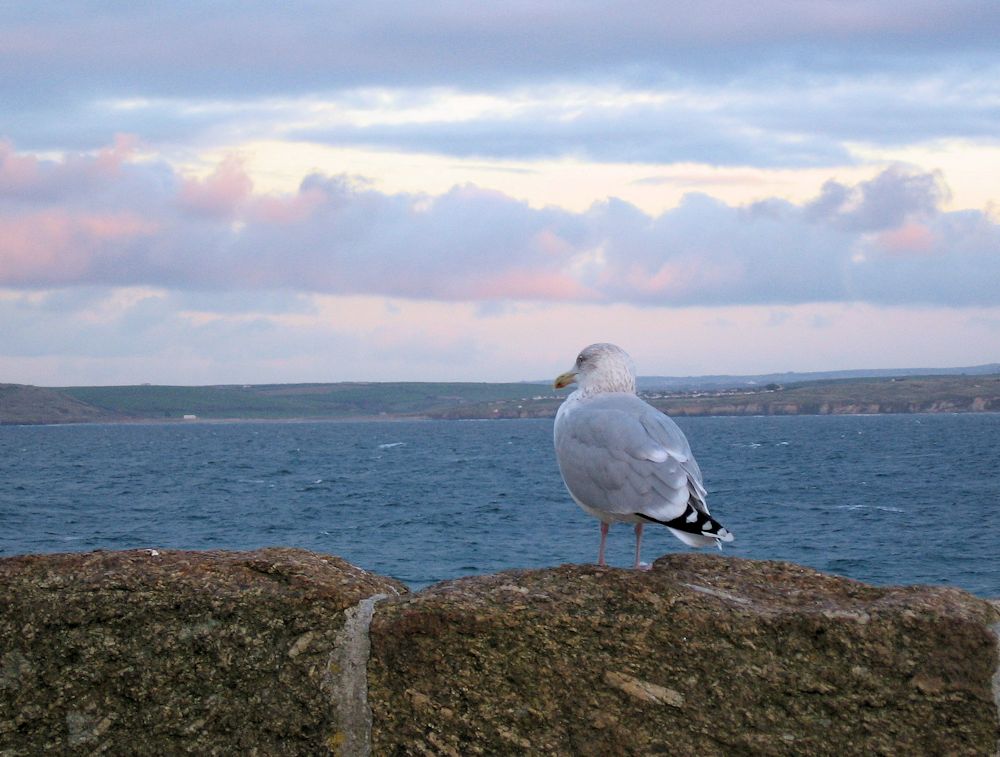
You may like to start drawing with the head, but another way is to look at the body shape as it appears from the angle the bird is being viewed. From the side the body and wings when folded form an almond shape, flatter along its back and with an added point for the wing tips. The thick neck and head shape scan then be worked on, the beak added and then the legs positioned. To ensure the bird is well positioned with relation to what it is standing on, it’s a good idea to draw this in early on and then draft the main shapes tentatively at first so that adjustments can be easily made before adding more definite marks. As you become more accustomed to the shapes, accurate observation will allow more confident and accurate lines to be made earlier on in the work.
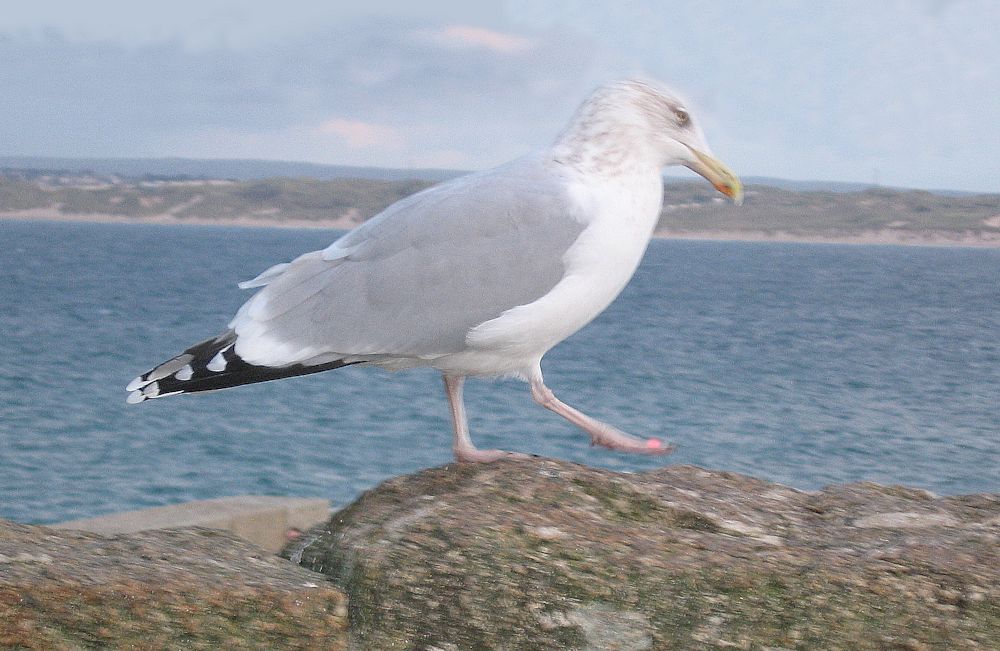
Remember to look at the overall length and breadth of the bird and where it is to be placed on the page. If much of the landscape is included think about the scale of the bird in relation to its surroundings.


You may like to consider a painting with more than one bird and/or different kinds of bird.
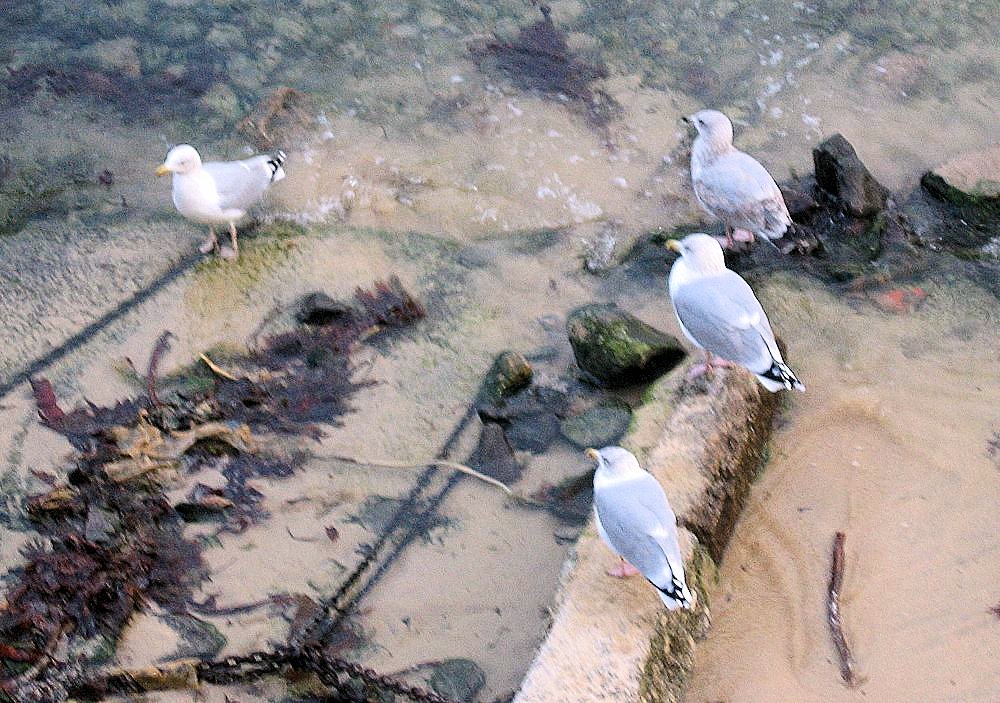
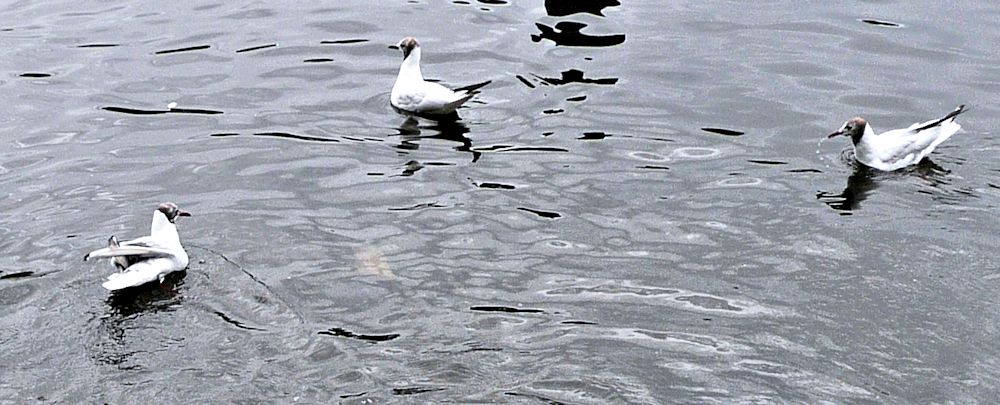
The photos below were taken in Kensington Gardens where there were herring gulls, great black backed gulls and black-headed gulls; some of which looked distinctly brown headed!


As in previous weeks think about the composition of your painting.


The image above gives a good clue to next week’s session when we’ll be looking at Coots and Moorhens.
Your Drawings and Paintings:

Acrylic by Mali

Sketch by Mali
Watercolour by Maricarmen

Sketches by Maricarmen
Acrylic by Pamela

by Pamela
by Pamela

Watercolour by Virginia

Sketch 1 by Kate
Sketch 2 by Kate
Waterbirds in the Landscape Week 4: Swans
September 24, 2023
Photos in this post are taken by me or my younger son and we are happy for you to sketch from them.
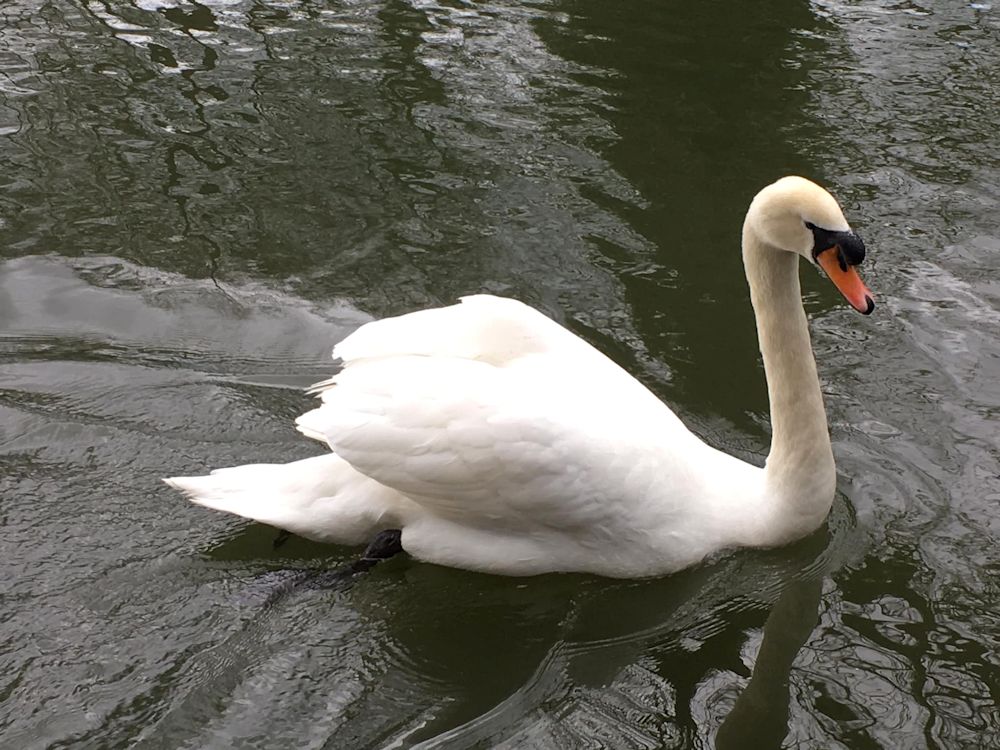
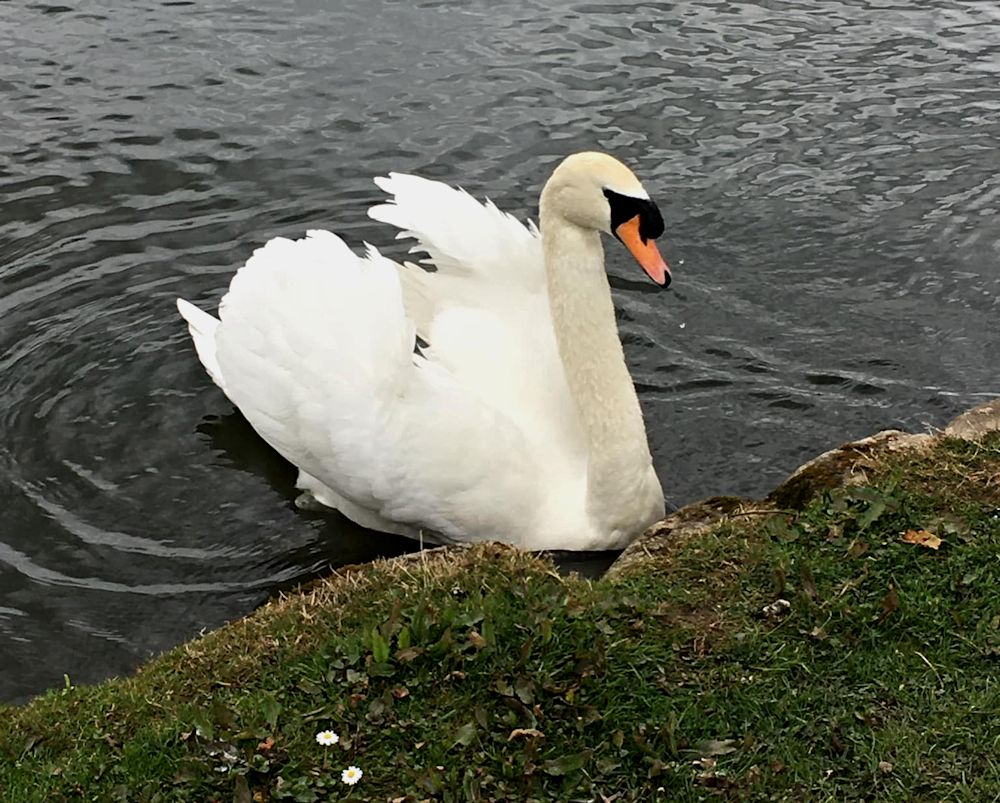
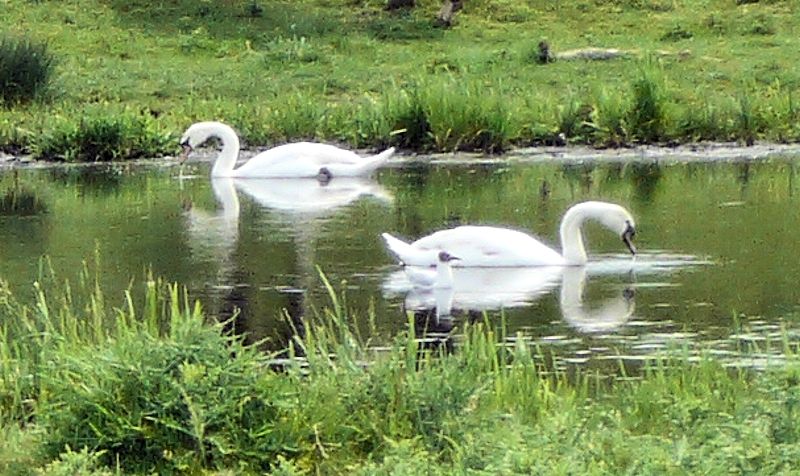
This week we are looking at the Mute Swan. It is the one you will all be familiar with and is easily distinguished from Bewick’s and Whooper swans by its orange beak and the bump above its beak. The other two swans are mainly winter visitors and have black beaks with a yellow patch. They also hold their necks more stiffly upright than the mute swan.
We’ll start by looking at the general form of the swan, mainly in the water, but I would also like you to consider the surrounding landscape paying particular attention to how much of the wider stretch of water and riverbank you would like to include in your painting.
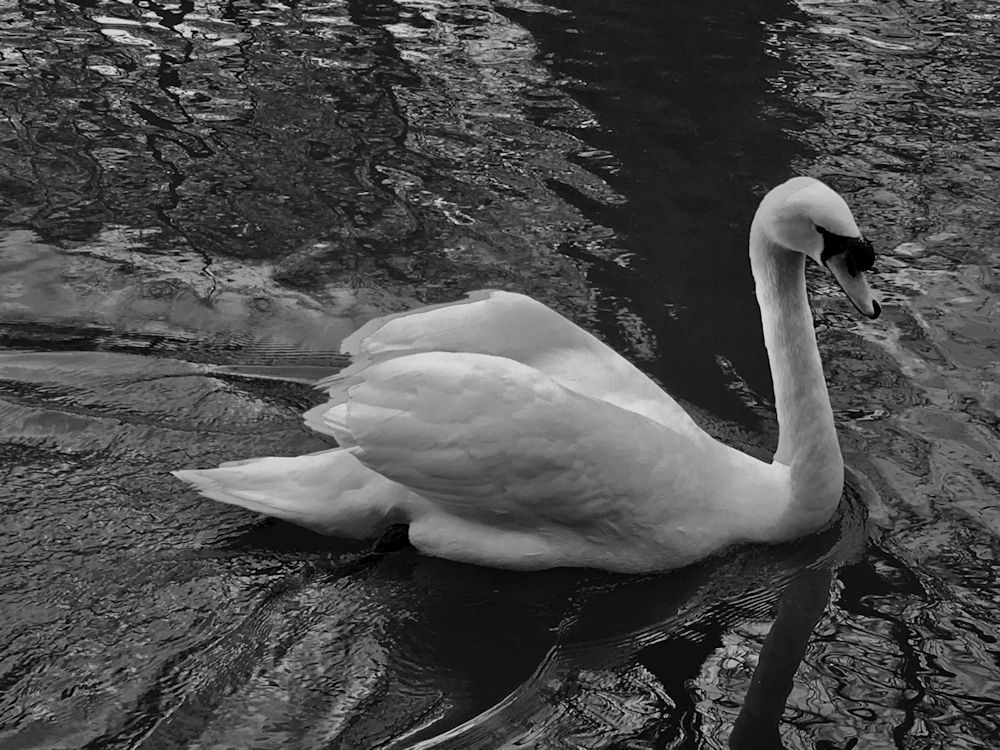
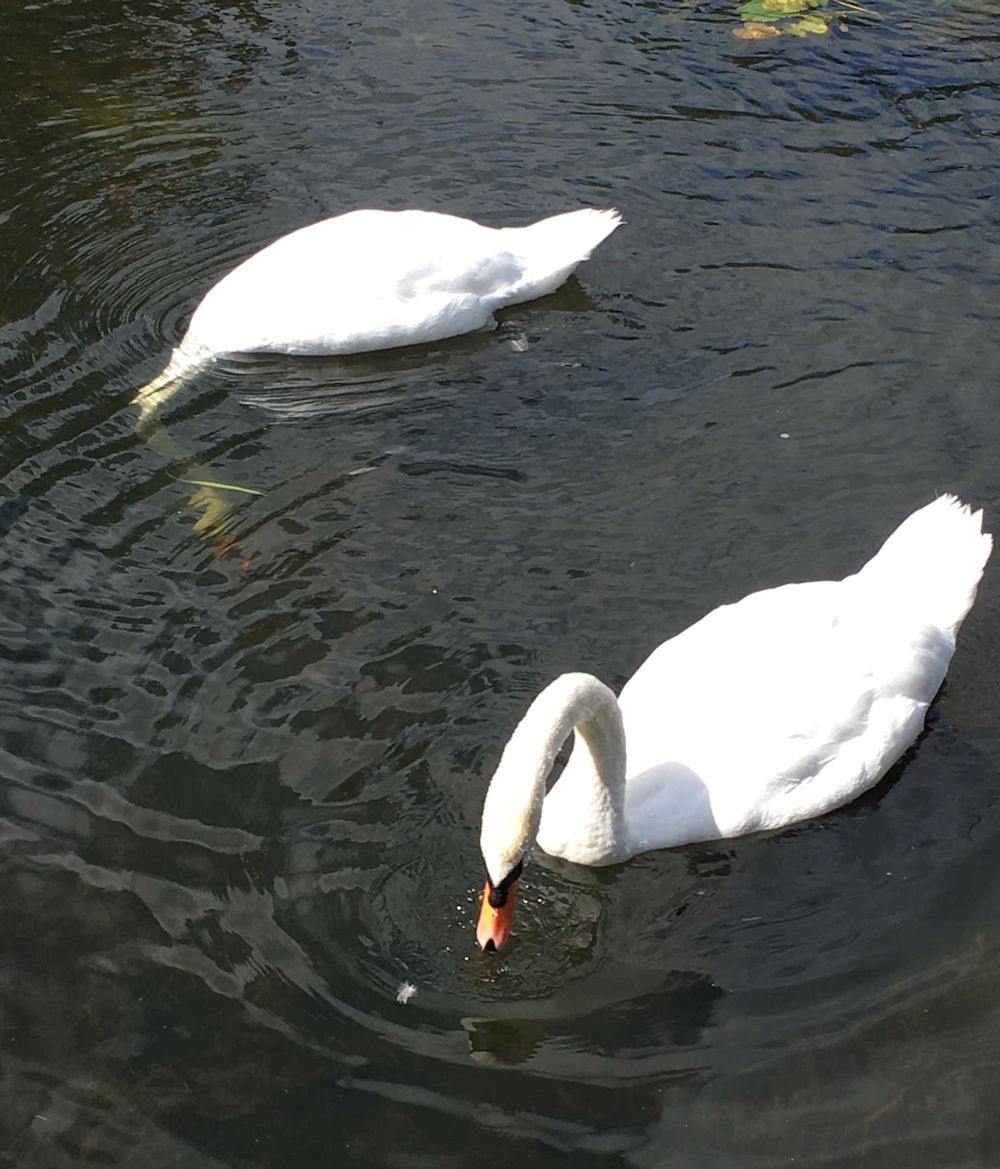
Unlike the geese and ducks swans often swim with their wings slightly elevated as in the photo above but as you will see from photos later in the post they are just as happy to have them closely folded. Take some time to look at the grey-scale image above. The body is lying fairly flat in the water. Its tail feathers when down come to a graceful point and it is easy to see the form of the wings and their relation to the body and neck. Look at the angle of the neck and how it curves to join the body. Also look at the angle the head makes with the neck. If you are working from a photograph it is easy to measure to check overall widths and height and perhaps make a note of what proportions a rectangle just enclosing the whole bird makes. This will help you check its overall shape. Drawing the rectangle will also help you check the angles of the swan’s form in whatever “pose” it is taking up. The swan has 25 vertebrae in its neck whereas all mammals have only seven so it is no wonder the swan has such a mobile neck.

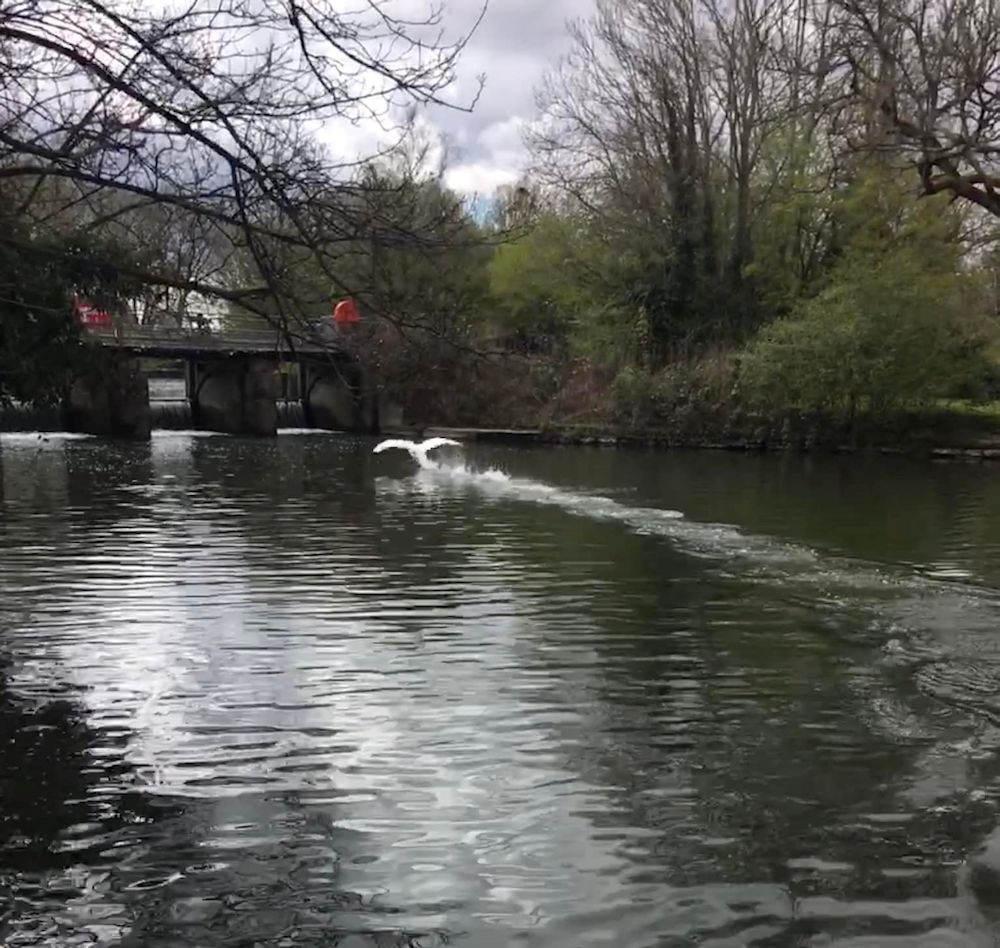
The photos immediately above and below show a swan taking flight from the water. The riverbank and the river and reflections give the bird its context. There is also the excitement of the disturbed water and reflections. If working in watercolour you will have to decide on whether to mask the swan, or paint around its pale form, or to use white gouache. You will also have to decide on how to represent the splashes of water; with spattering (white gouache or masking fluid or whether to scrape out with the tip of a craft knife as a final touch. If you are using pastel on toned paper you may be able to draw all with pastel but it is fine to add any small white highlights with gouache. Alternatively you may like to work in acrylic or a mixed media approach. Whatever media are used remember to experiment a little first on a separate piece of paper.
The two images below are the same photo’ cropped differently; the first gives a much better idea of the wider expanse of water and of the trees reflected in the water. Look at the tonal shift in the water as well as the high contrast of the swans against the water
If you don’t like the harsh line at water’s edge you may consider painting vegetation there instead or continuing with water. The photograph does not have to be followed completely; it is only a starting point. Within that do try to make the birds appear convincing though.


In the images above and below, elements other than the swan are important to the composition. Above we see the boat beyond the swan and also the swan moving through the reflection of the boat. There is a colourful interplay of shapes including the swan’s reflection and that of various parts of the boat.
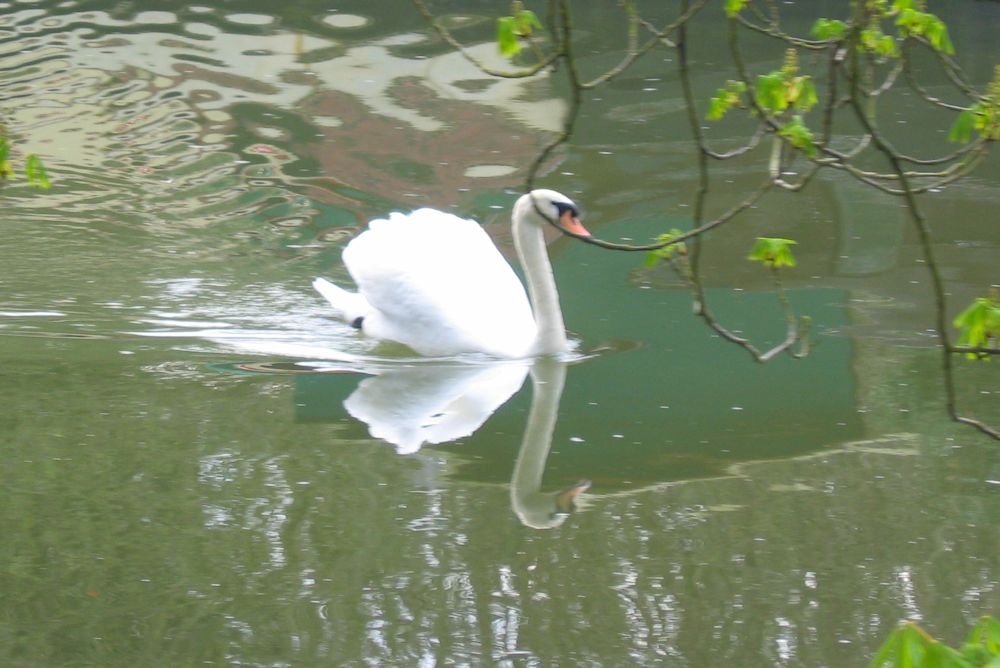
In the more closely cropped image below, the swan takes centre stage but is still moving through an interesting pattern of tone and colour, in water only disturbed by the movement of the swan. Whether the branches hanging down from the top of the photo should be included is a decision for the artist but it would be a good idea to alter the position of the branch that cuts across the back of the swan’s head and follows the line of its beak. Always look out for objects causing similar difficulties in reference photos.

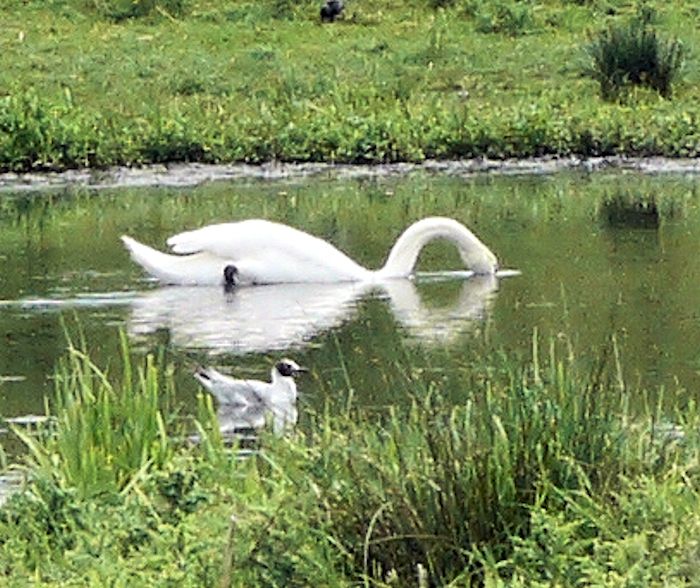
I was interested to see this rather disorderly brood of cygnets swimming ashore. Observe how the swan’s reflection is broken by the ripples in the photo above and how much more of the swan’s form is reflected in the calmer water of the image below.

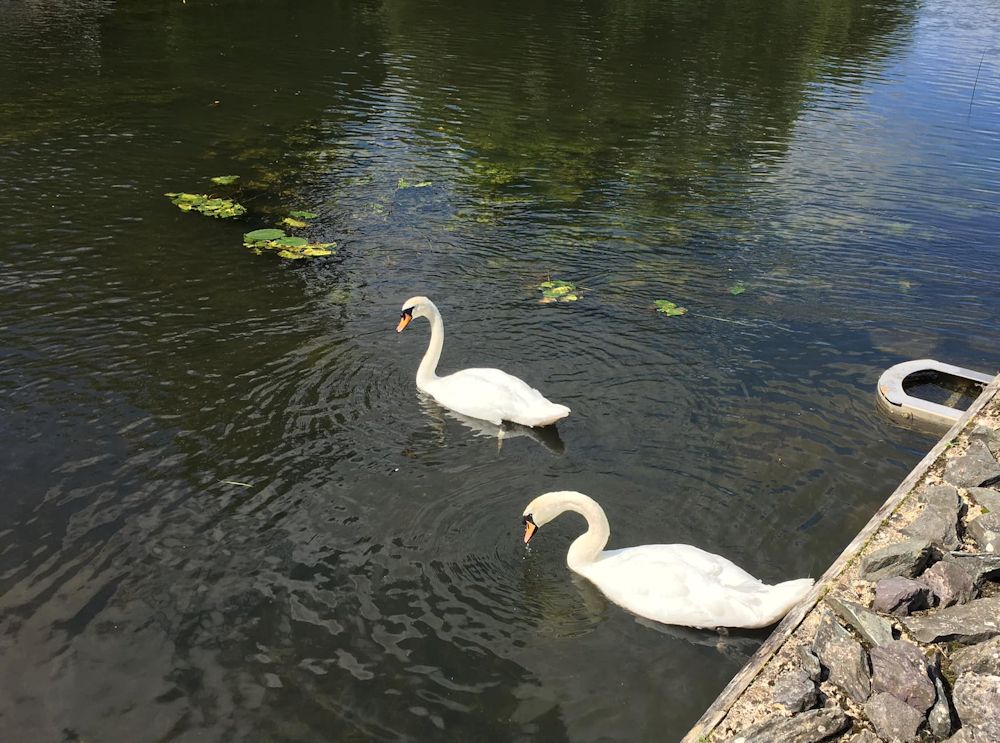
Lastly, two images from a still water lagoon on the Great Ouse; I was intrigued by the shapes made by the swans and their reflections.
During the session we will make rapid sketches from some of these photos as a prelude to working up a more considered composition including more of the landscape/surrounding water. Hope you have enjoyed looking at these photos and looking forward to seeing work inspired by these photos, or your own reference, or better still from your own sketches made from the riverbank.
Your Paintings:
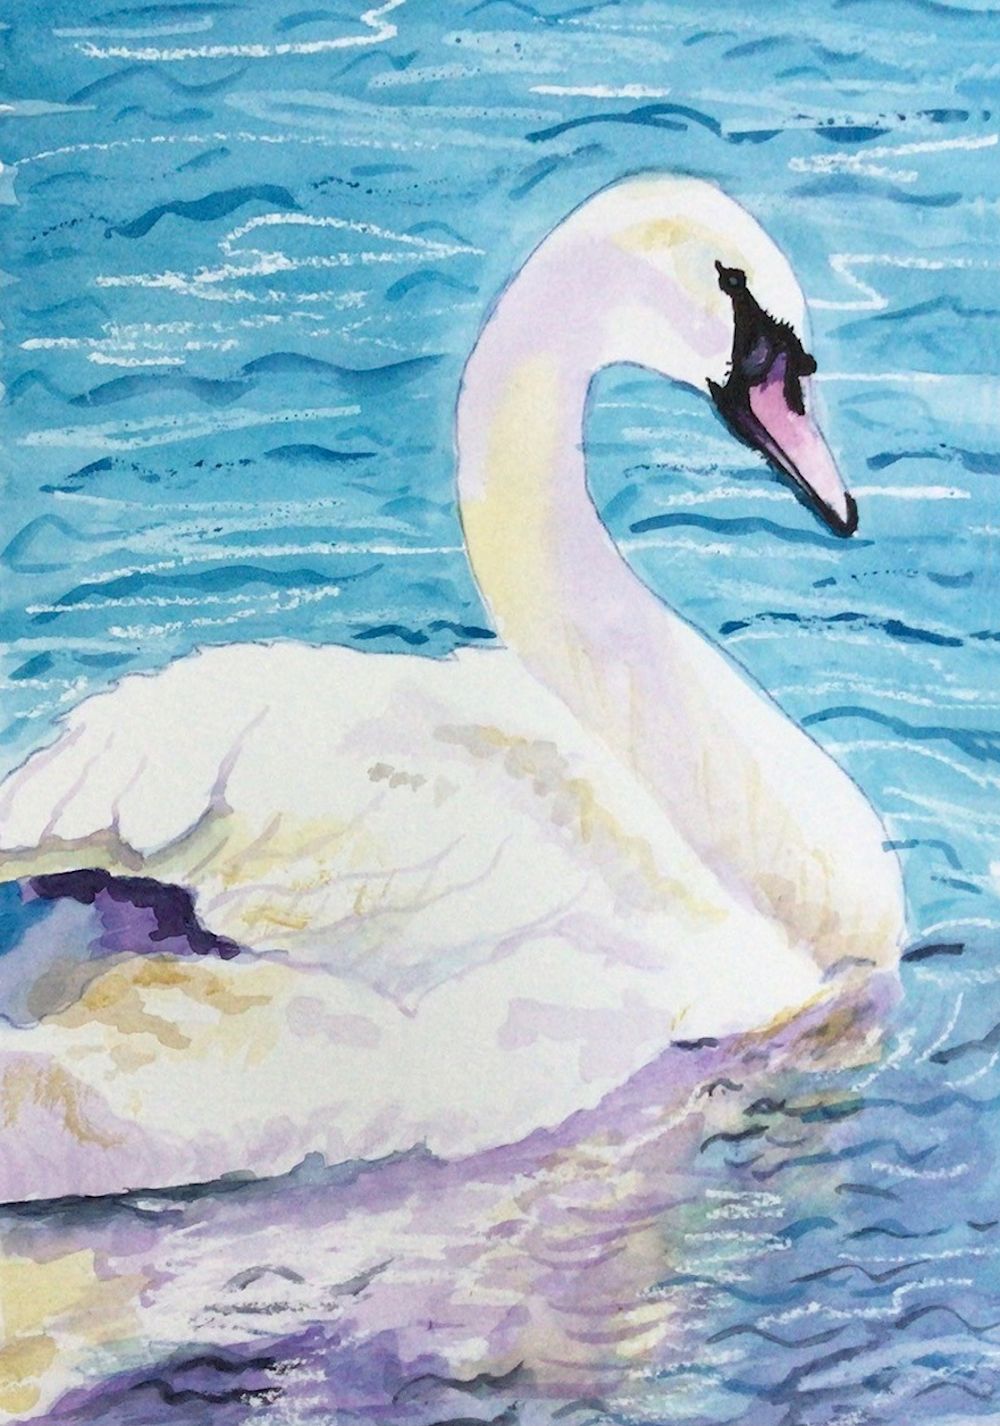
Watercolour by Maricarmen

by Maricarmen
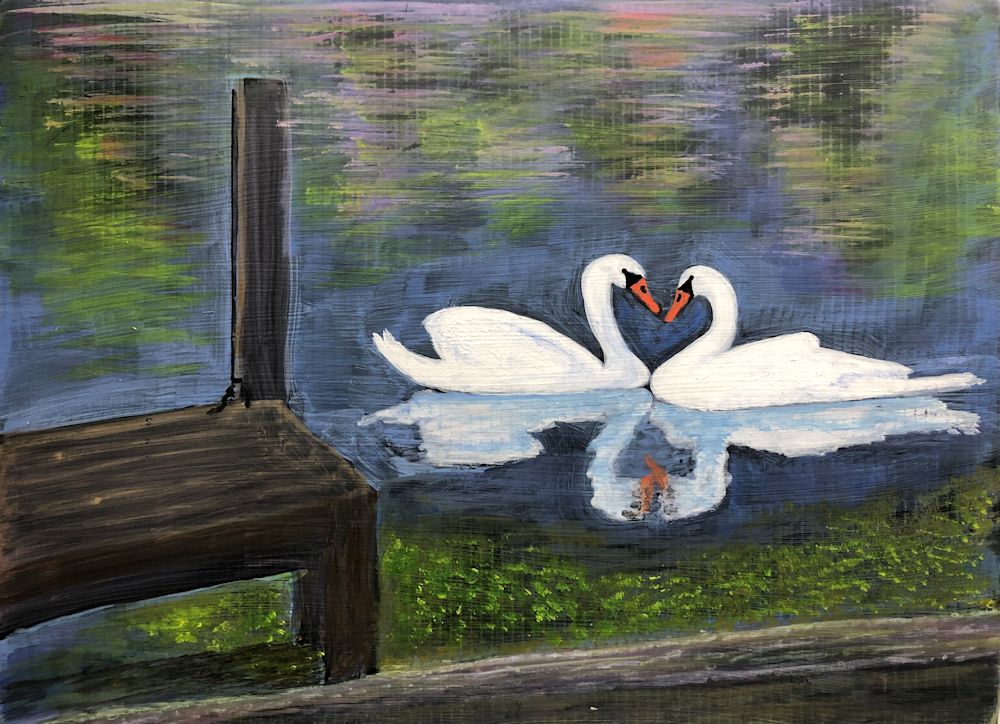
Acrylic by Pamela
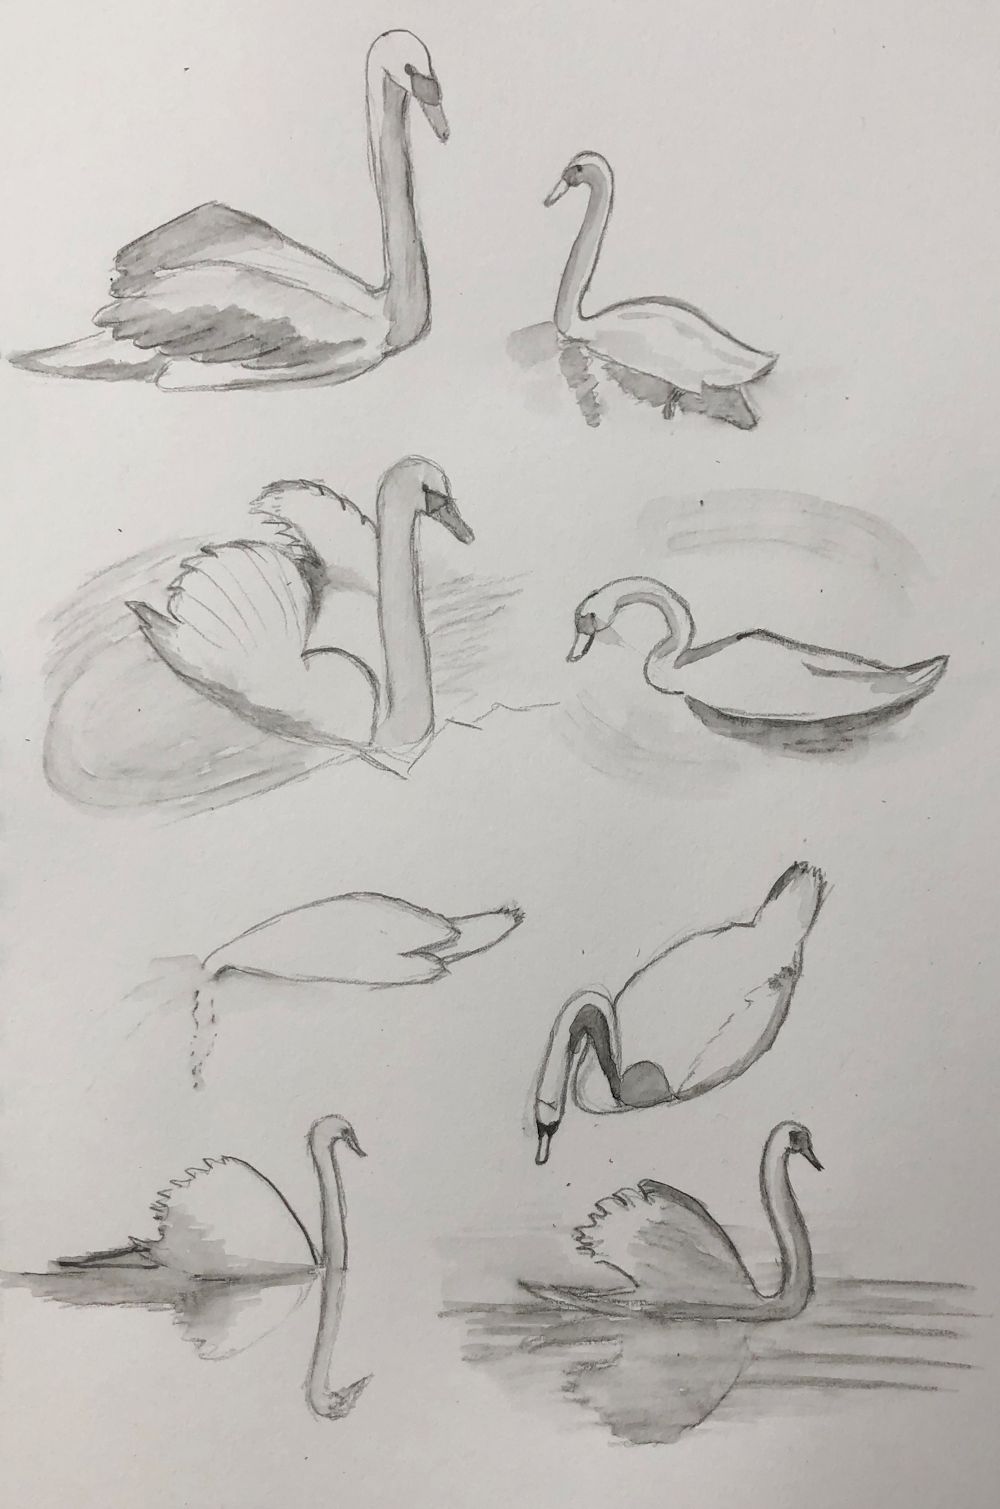
Sketches by Pamela

by Mali
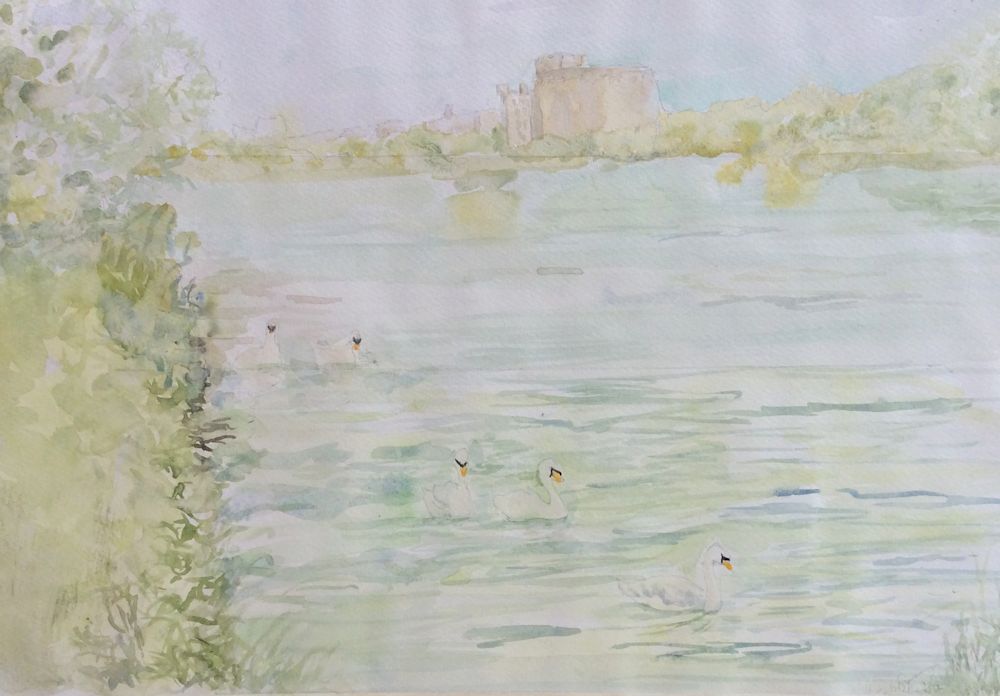
Watercolour by Virginia

by Kate

Acrylic by Kate
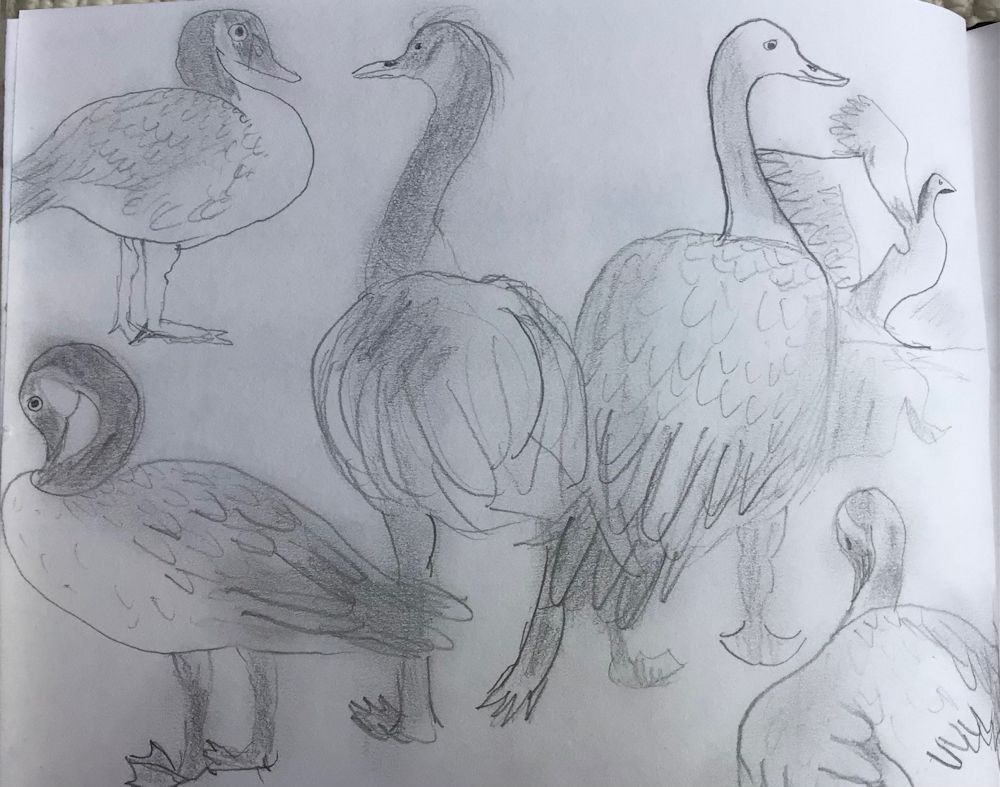
Waterbirds in the Landscape Week 3: Geese
September 14, 2023
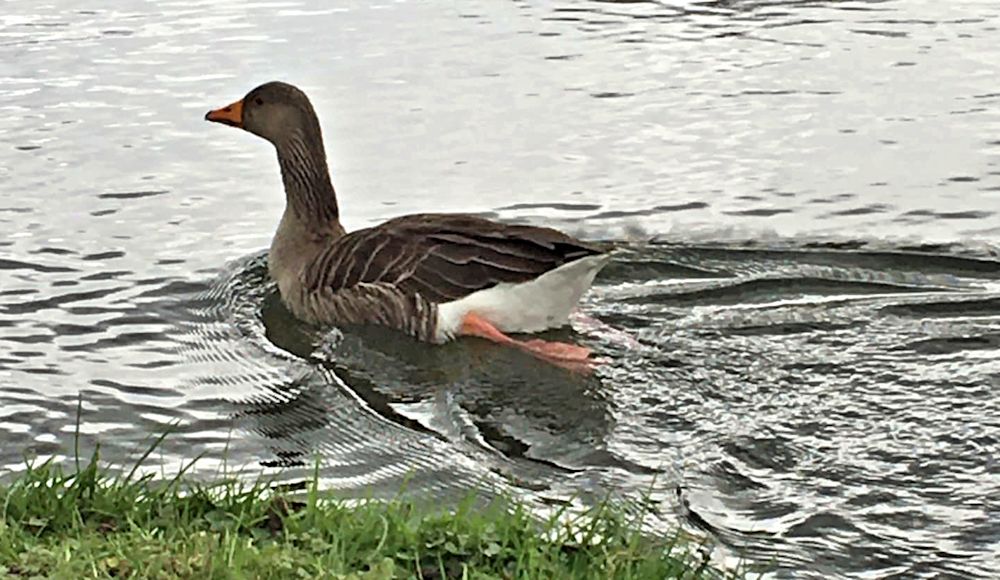
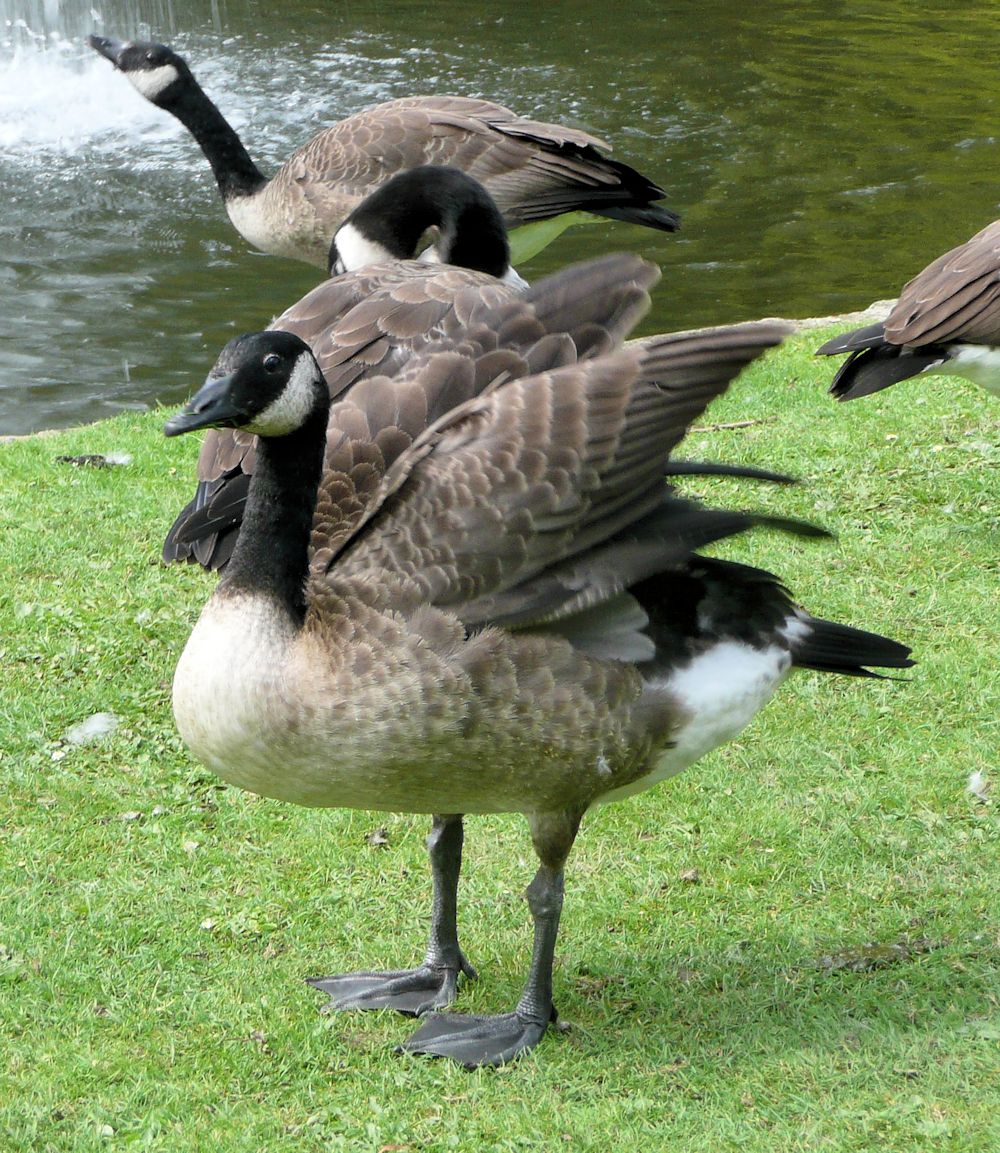
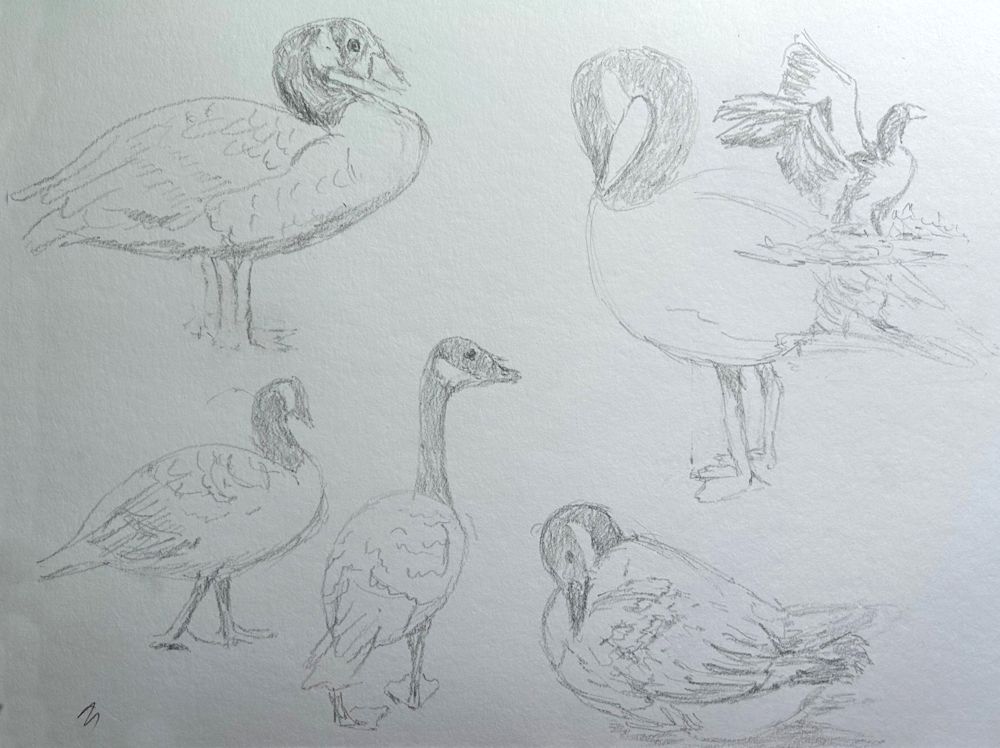
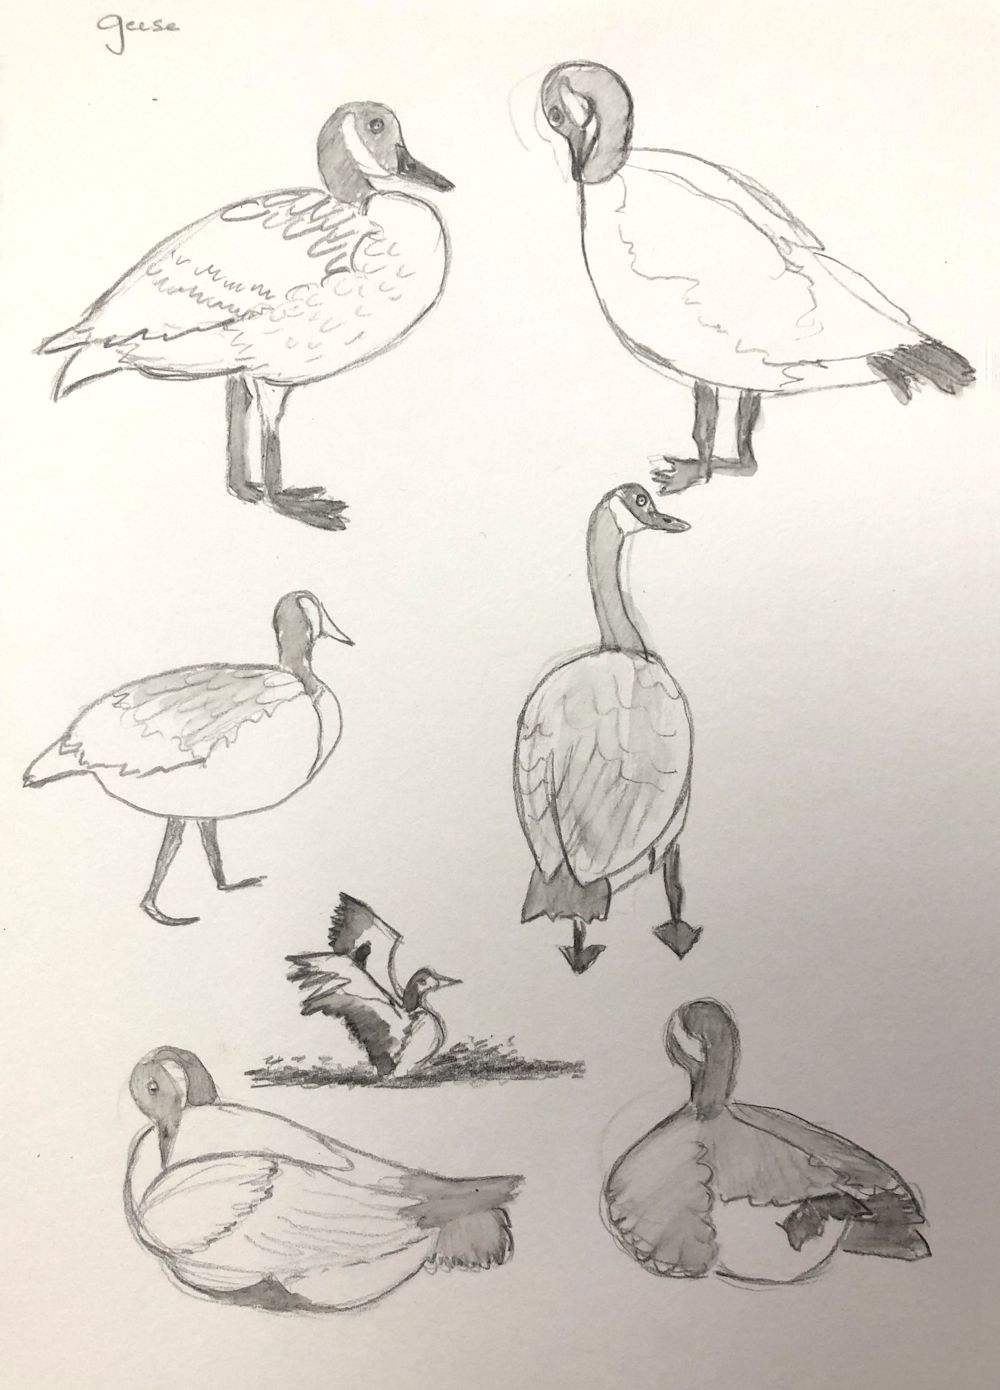
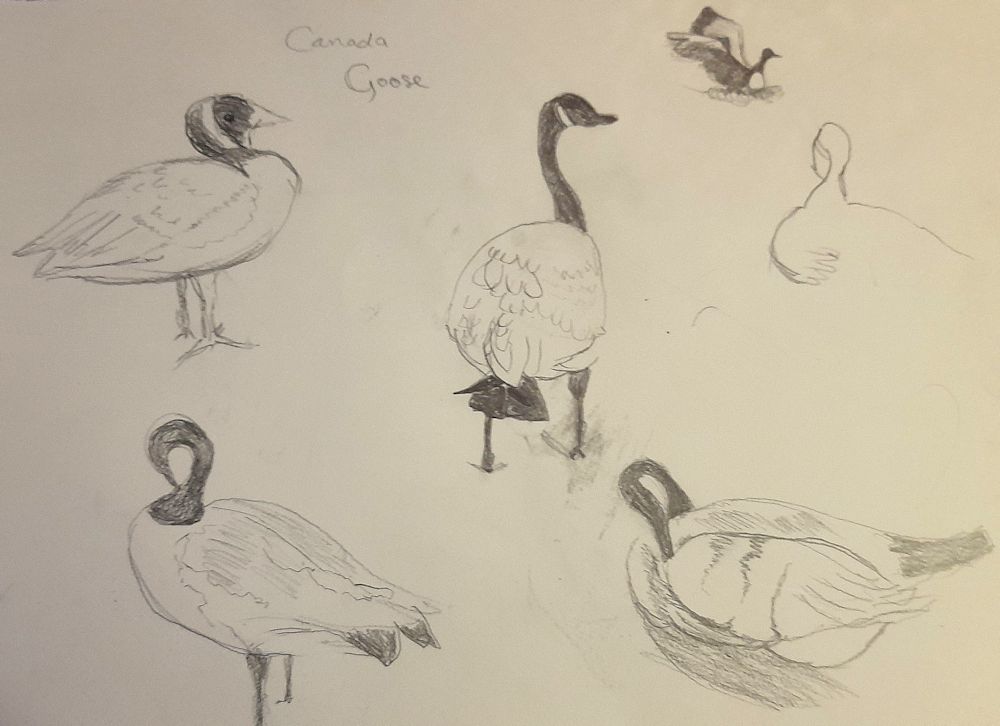
Geese are like ducks with longer necks and can be seen as often out of the water as in it. This post includes photos of the Greylag Goose and the Canada Goose we are all familiar with. Take some time just to look at the various “poses”.
Body shape of the goose above is very much like a duck. Come to grips with this before adding the neck, head and leg as it paddles through the water. The Greylag Goose has a heavy orange beak, mottled mid and dark grey plumage on its neck, paler grey on its upper body and white below.
Below are photos of a Greylag landing, using its feet like water skis. Below the second photo is a version that has been flipped horizontally so you can practice drawing a landing from a different direction. Note the shadow areas under the wing as well as their shape and include the reflection as well as the splash!

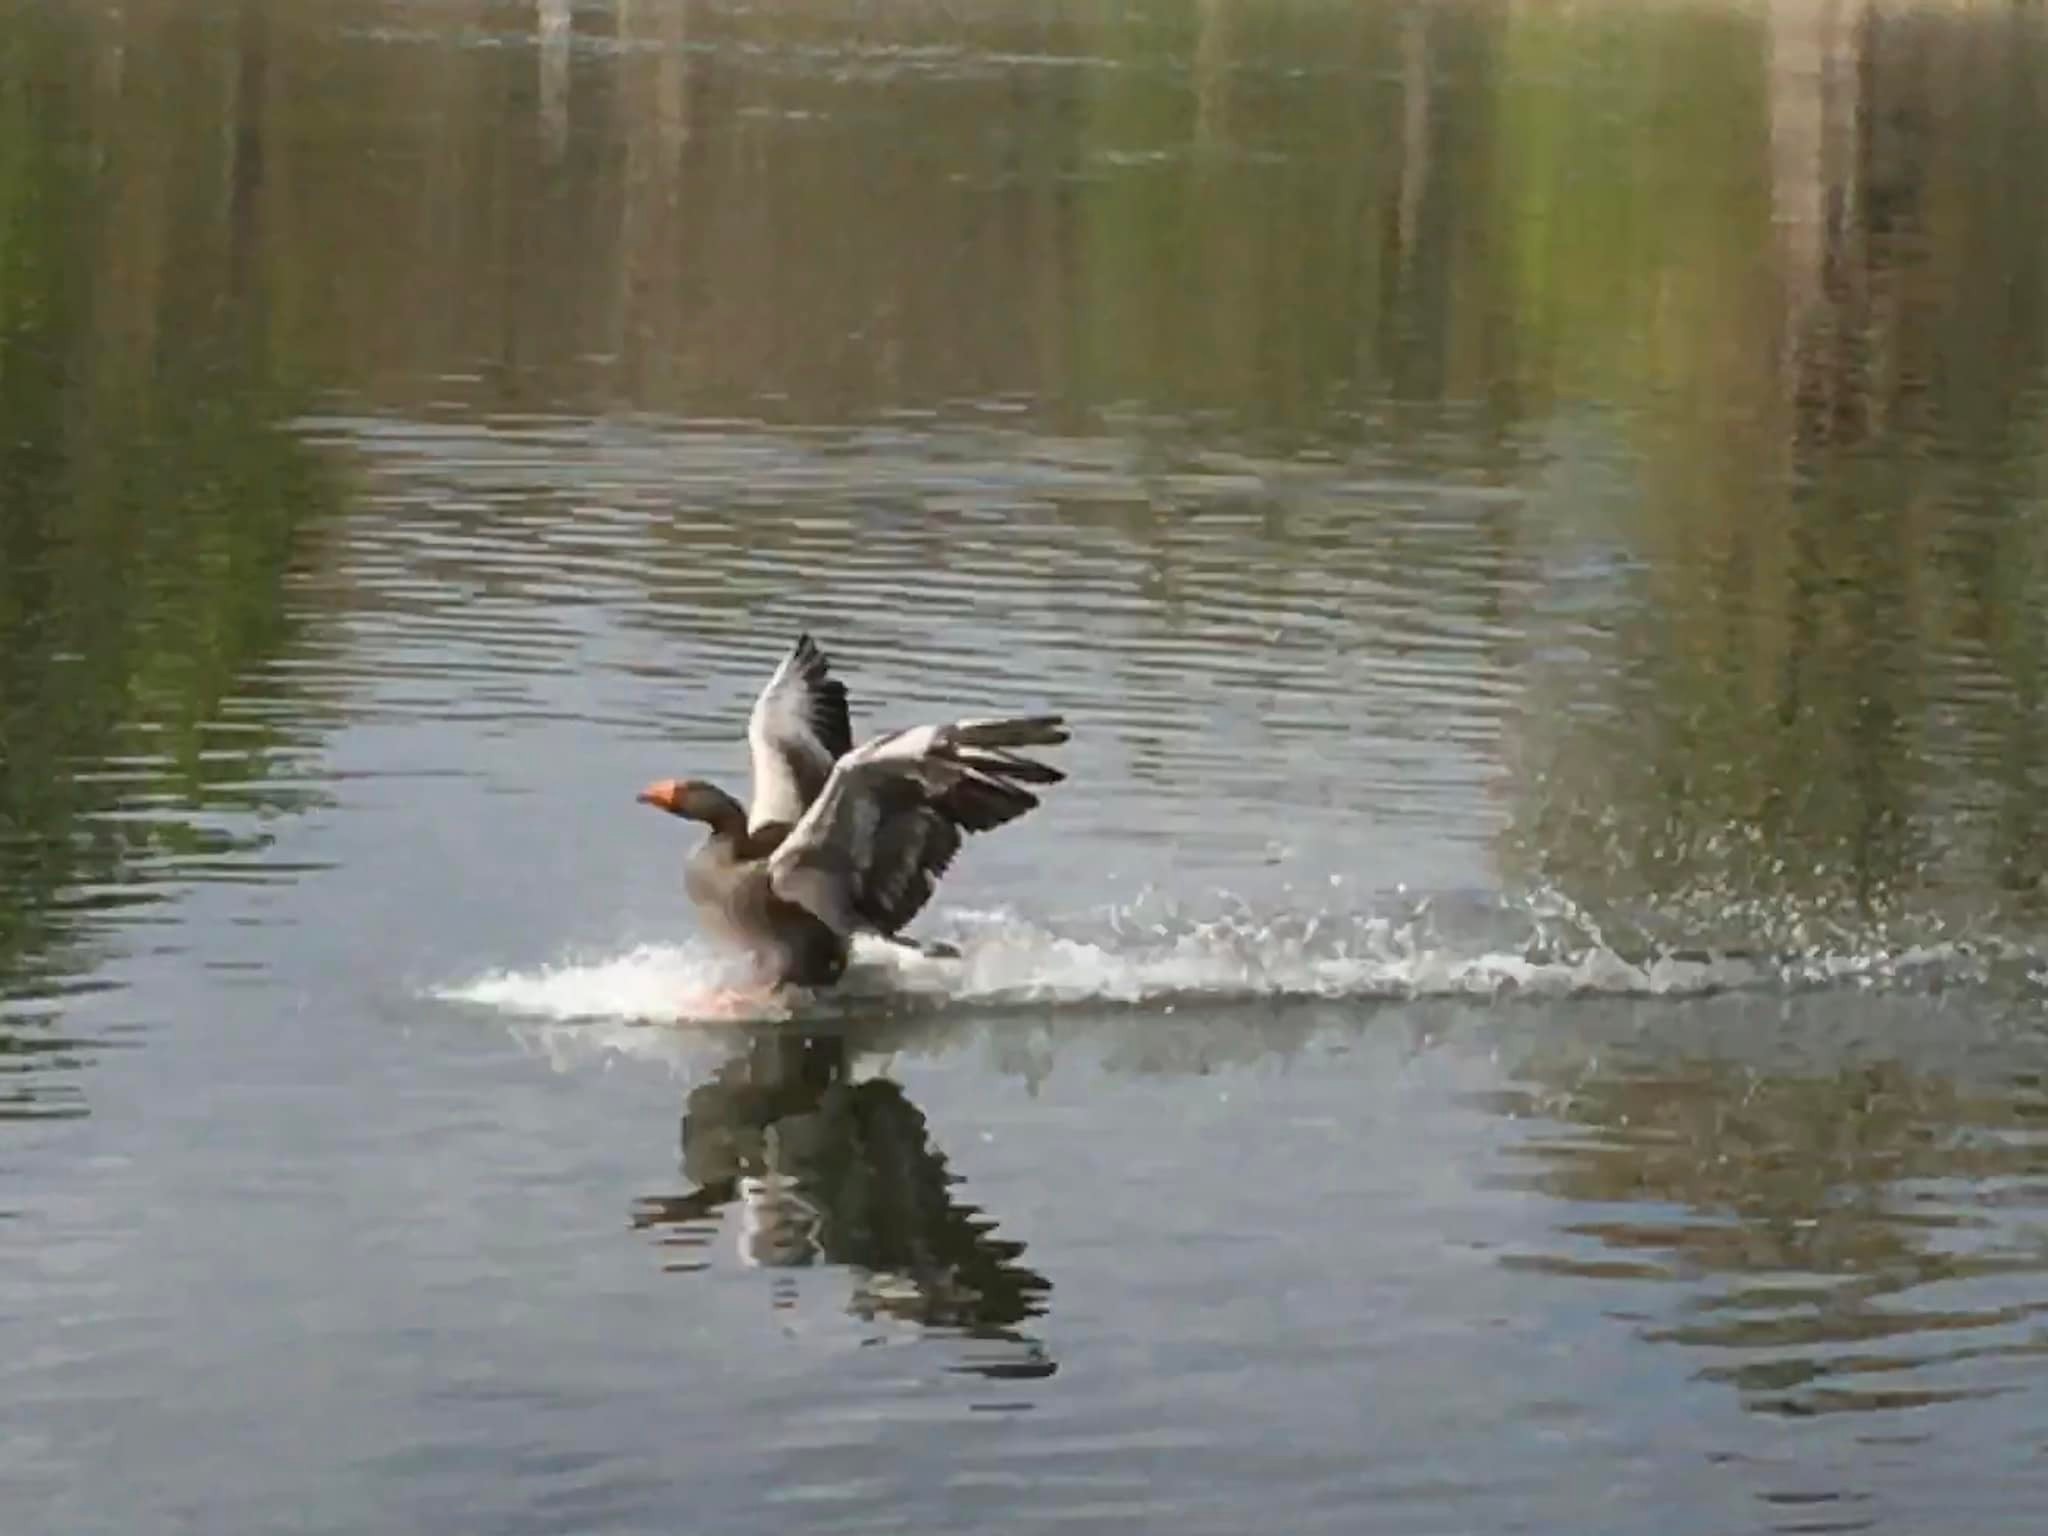
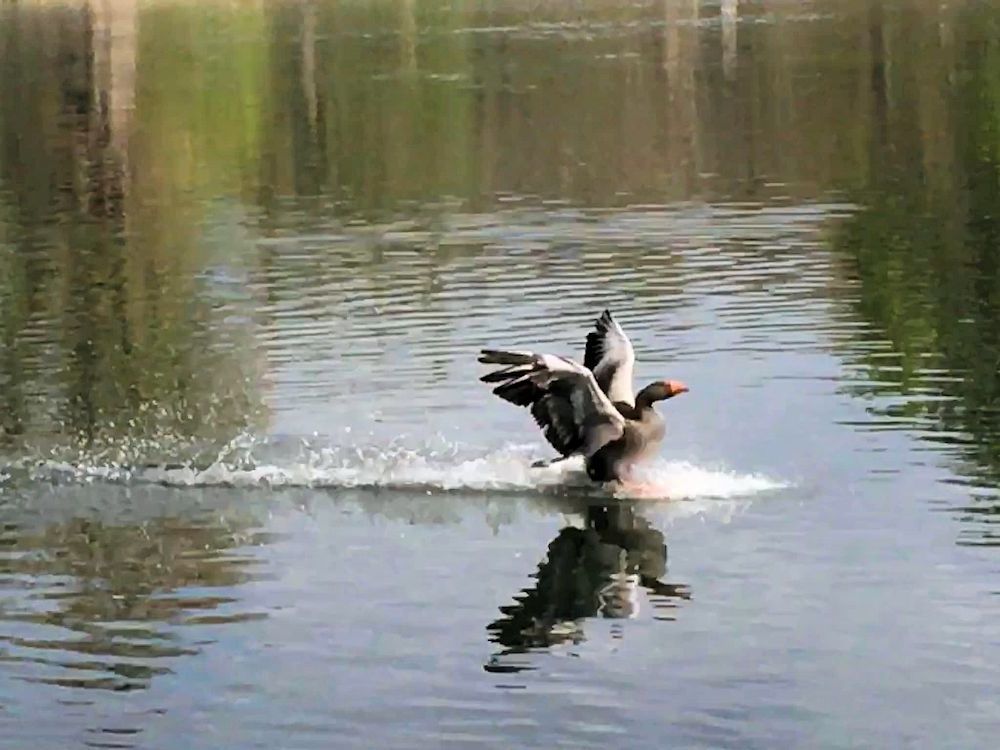
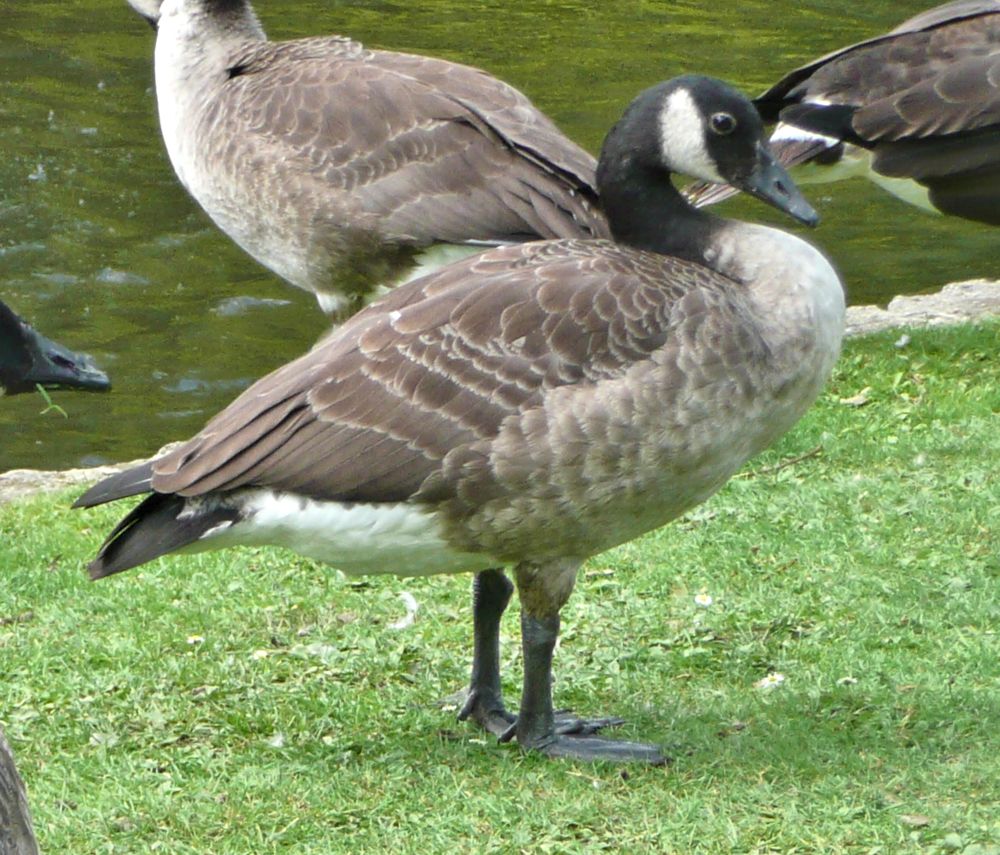
Photo below is of a Canada Goose standing with its neck and head pulled back against its body. Note the position of the legs, about halfway down the body so it appears perfectly balanced. If seen directly from the front the neck would be directly above both legs. If the goose was moving forward the neck would tend to be directly above the leg that was doing most of the load bearing and would shift from side to side as the goose moves forward. This together with the plump appearance of the well feathered body creates the familiar waddling gait of geese and ducks.

A long flexible neck is a great aid to preening.
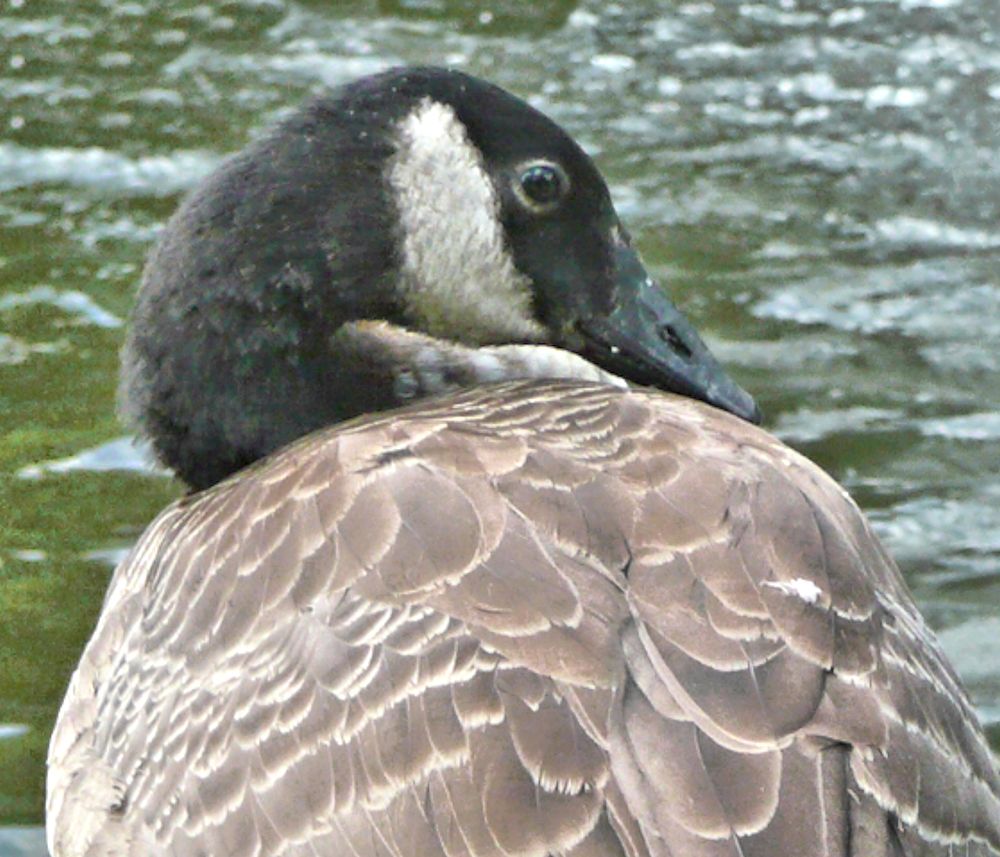
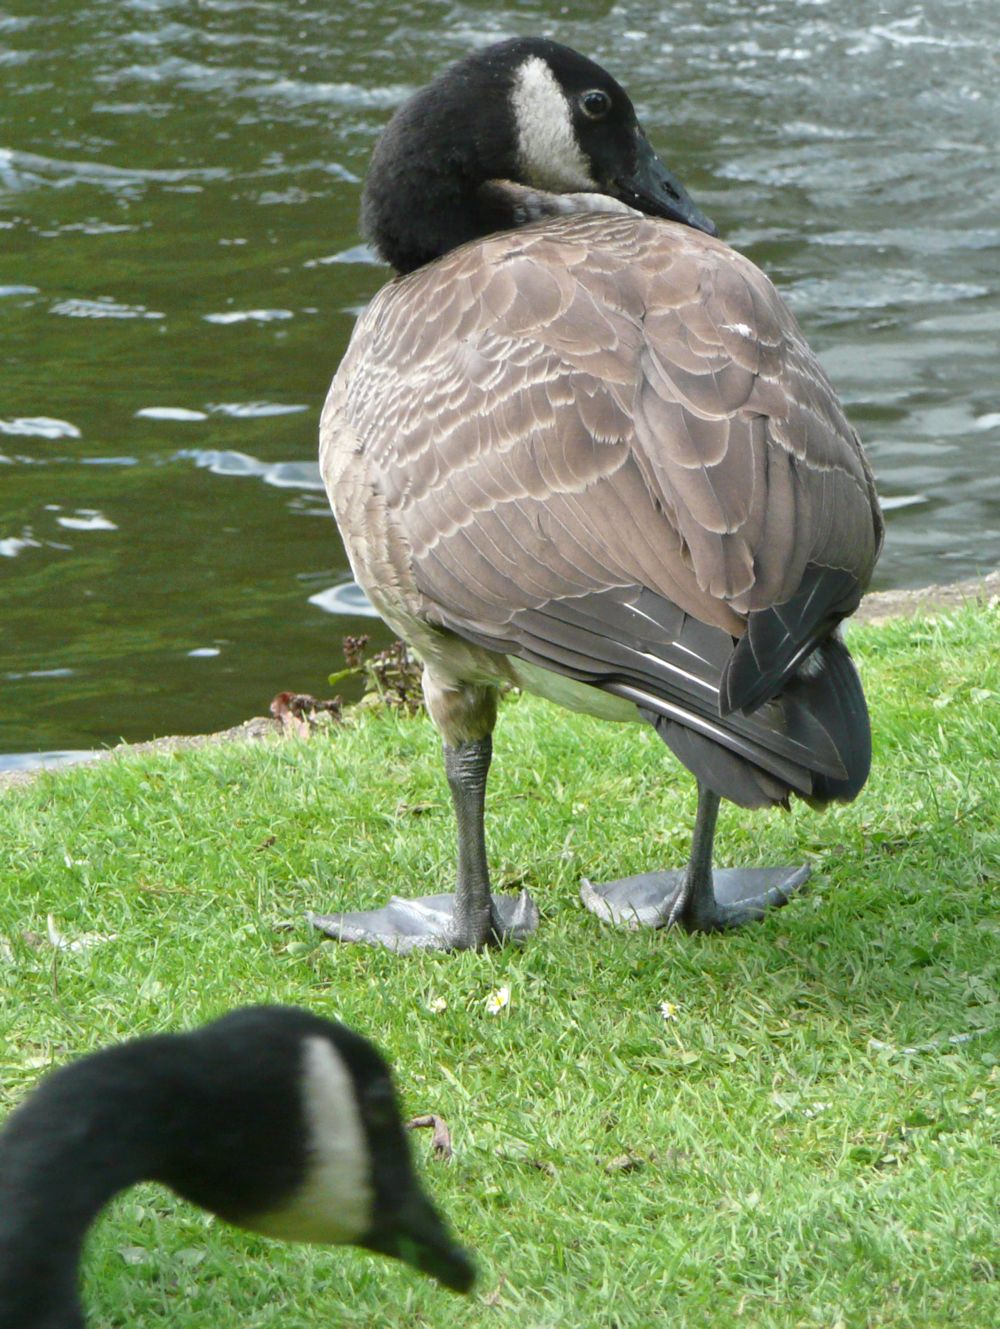
Note the shape from the rear and the well balanced form, and also the rather round dark eye.


We’ll make some rapid sketches during the session using a slide show of the photos above. If you have several photos of a particular goose in several different positions feel free to use your own; after all that is a bird you will have already observed. The choose one image and make a more considered bird portrait or composition of a goose in a landscape setting taking special note of movement of the water, reflections and of balance where the bird is standing.
Your drawings and paintings:

Watercolour by Mali
Watercolour by Mali
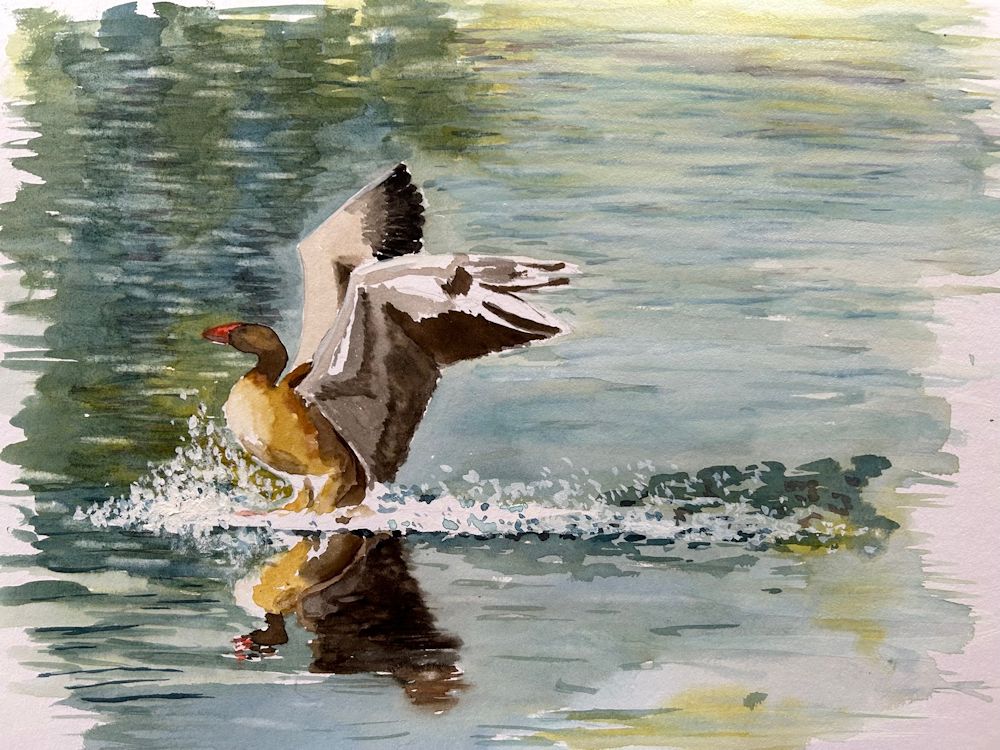
Watercolour by Mali
Sketches by Mali
Quick Sketches by Pamela

Watercolour by Pamela
Sketches by Kate

Mixed media by Virginia
Sketches by Maricarmen
Watercolour by Maricarmen
Waterbirds in the Landscape Week 2: Ducks
September 7, 2023


Having looked at the heron last week standing upright on the river bank, with its long neck and head turned toward the water intently looking for prey, this week our attention turns to the ducks who more often than not are found with their body mass in a much more horizontal position. That is till they amuse us by upending and diving for a tasty morsel of weed or start waddling around on the bank.


The UK is home to many kinds of duck from the teal and eider to the exotic mandarin. They share several common features including a broad flat keel and short neck and legs.

Take note of the body shape; in the water you can see its broad flat keel if its front is facing you when diving. Its neck is short and so are the legs with their webbed feet. Try drawing the duck itself in several different “poses” then look out for what happens to the water as it swims. Perhaps this week you could make a drawing or painting that includes the reflection of the duck in the water and how the water moves around it.


see the wider view below.

You may even find a situation where the ducks seem to be playfully swimming around while in the background, an ever-watchful heron is poised ready to fish.

During the session we’ll make some rapid duck and water sketches and discuss and start a composition where ducks feature either close up or animating the landscape.
Your paintings:

Watercolour by Maricarmen

Watercolour by Maricarmen

Chalk and pastel by Virginia

Graphite, Aquarelle and pastel by Virginia

Watercolour by Virginia

Watercolour by Mali

Acrylic by Kate

by Kate

by Kate

Acrylic by Kate

by Pamela

Acrylic by Pamela
Waterbirds in the landscape: Week 1 Herons and Egrets
August 31, 2023

Watercolour by Jo
I sketched the arrival of the first few white egrets on a salt-marsh in New England and later painted this small watercolour evoking the birds, and the colours of the early autumn landscape.
Standing on a river bank watching birds, wondering at their movement and the patterns of water when a swan takes flight or a duck simply swims by, is exactly what we’ll be considering over the next few weeks.
We are starting with the heron and the related group of birds, the egrets. I chose the heron because of all the birds of the river bank, it is the heron that stays still the longest while watching for a tasty meal of fish so offers one less challenge when sketching from life. The heron will even shade the water arching his wings over like a living parasol so that the reflective surface of the water does not interfere with fishing!
Here are a few photos of herons and their relatives the egrets. Do some fast sketches preferably from life or from these or your own reference before launching into a more considered drawing or painting. These sketches should show the bird in various positions and flying if you can.


Before starting to draw look at;
The main body shape
Length of legs, neck head and bill in relation to the body
The angles made by legs neck and head in relation to the body
How the heron and the egrets hold and move their long necks
How the wings are folded over the body
Head and neck; the heron flies with its neck curved back into its body but egrets like swans and geese fly with their necks stretched forward in the direction of travel.
Observe how when the heron is about to skewer a fish its head moves forward and its whole body tenses ready to dive in. You can almost feel the anticipation of the hungry heron.
Colour
Composition
When considering how to paint a more finished work, decide exactly what you want to “say” about the subject, and then which references to use to show how the bird relates to the landscape. Also decide whether your painting is more like a portrait in a landscape setting; in the way that Gainsborough’s painting of Mr. and Mrs. Andrews is a portrait of the couple in their country estate setting, requiring a lot of detail, or whether it is the landscape that is of prime importance even if a flying heron in the distance forms the focal point. I have seen egrets in numbers together but herons tend to be solitary so this is an aspect that you could build into the feeling of your painting.
Looking forward to seeing the results and exploring the subject further on Wednesday.
Your paintings;

Pastel by Mali


Watercolour by Maricarmen

Watercolour by Maricarmen

Acrylic and watercolour by Pam

Acrylic by Kate
Birds in the Garden: Week 4
November 23, 2022

Watercolour Sketch by Jo
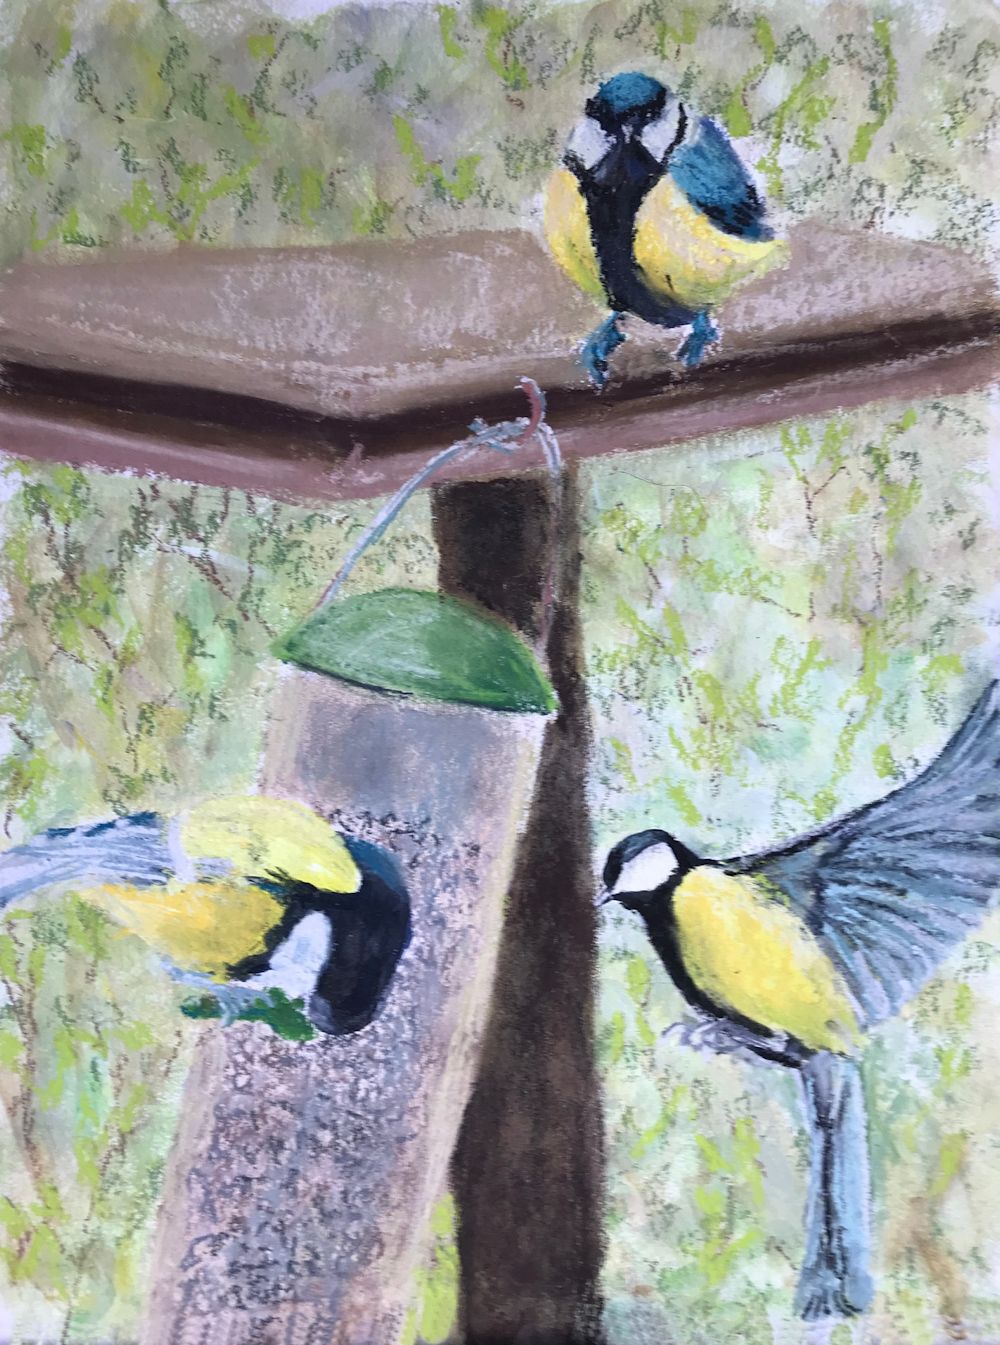
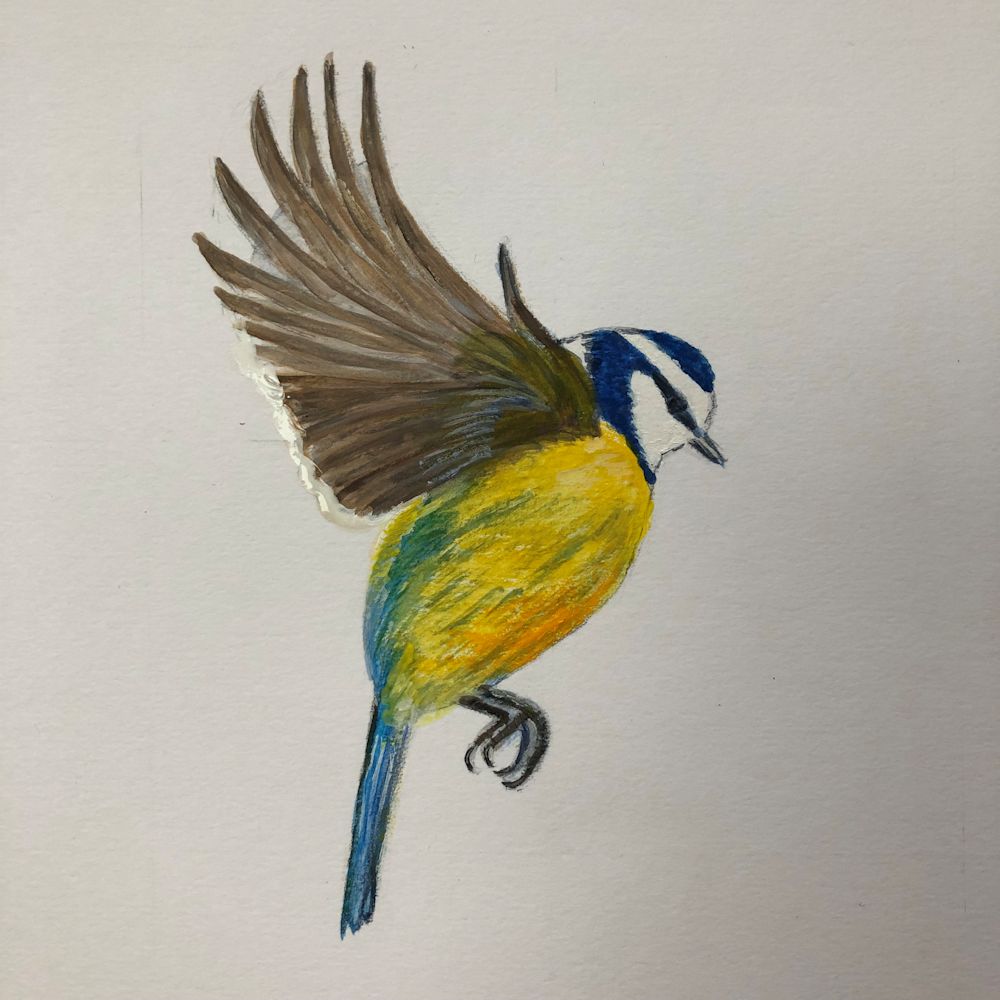
Sketch of the blue tits above from this week’s session is almost finished; its back needs a bit more attention. I’ve included it to show how the vegetation of twigs and bushes can be shown with little strokes and leaves almost printed with the brush.
This last week you are invited to paint a colourful finch or the grey and brown house sparrow.
After choosing your bird try out some sketches of its body shape in different attitudes before planning the final composition. You may choose to make a detailed study of one bird or of one or more birds showing the sort of habitat they dwell in and what they are perching on etc. Research in bird books for details of markings etc. and you may find a clarity not always evident in photographic reference. Try not to copy either sort of reference slavishly but let both kinds of reference inform your painting. The best way is to observe from life whenever you can and with a little practice it is surprising how much you can draw from a moving subject. Birds often repeat movements and you can start a variety of little drawings on a page that are initially no more than a few marks, which you can build on till they become bird shapes with a lot of vitality.
Do also look at the following Pinterest boards;
Finches at:
https://www.pinterest.co.uk/jhall1282/birds-in-art-and-photos/finches/
Sparrows at:
https://www.pinterest.co.uk/jhall1282/birds-in-art-and-photos/sparrow-photos/
We’ll talk about the colour mixes for the Finches and Sparrows at the session and fix a short review session for the following week.
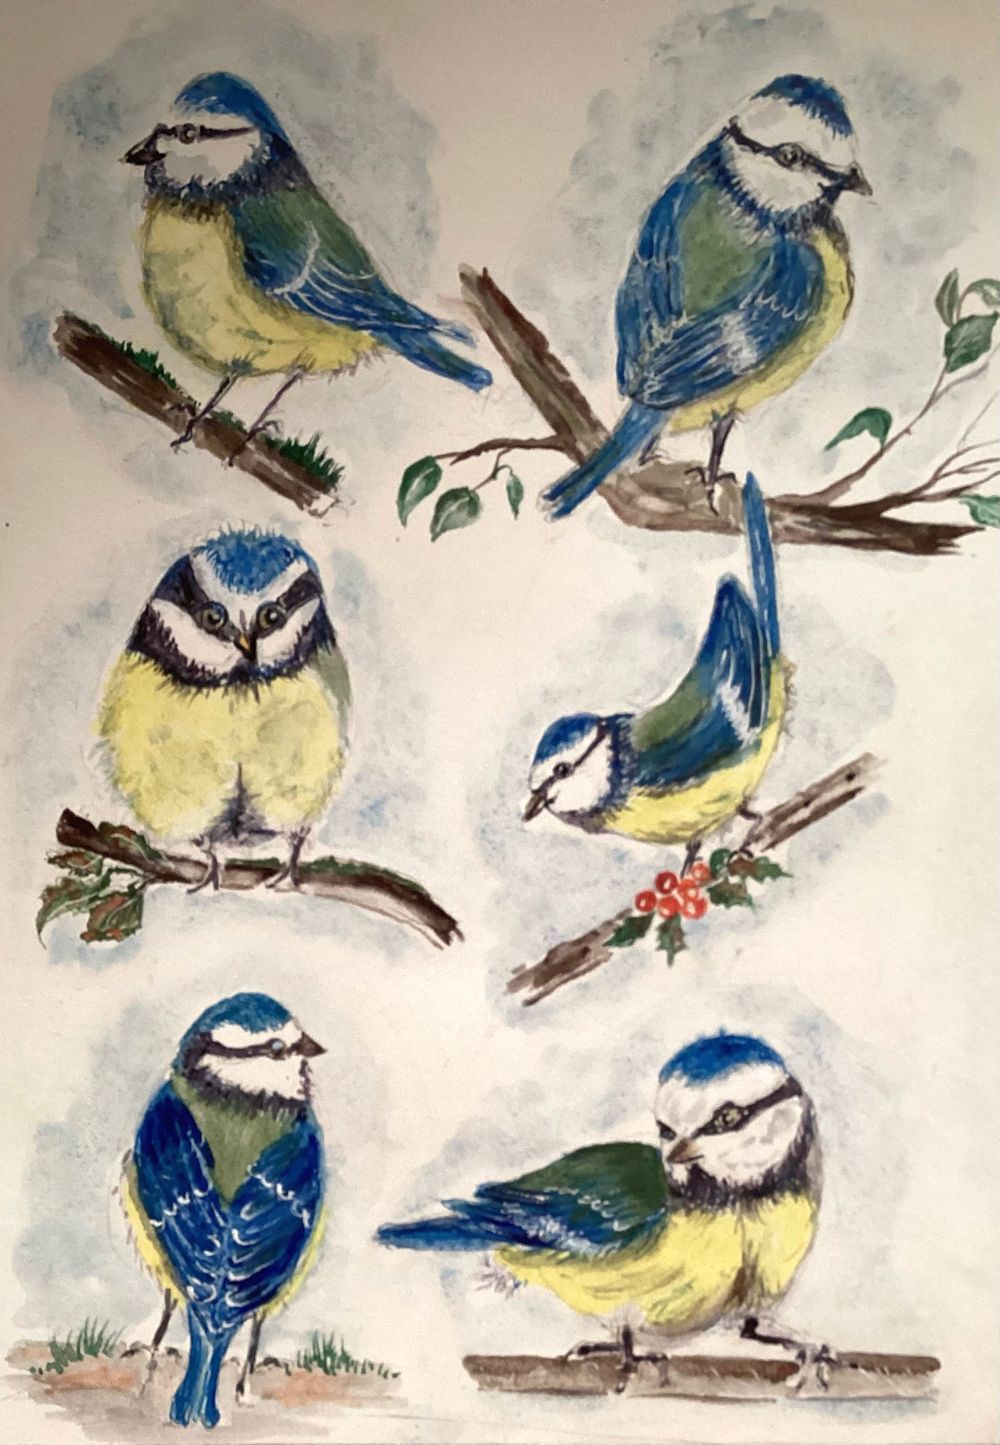
Your paintings:

Acrylic by Mali

Watercolour by Heather

Watercolour by Heather

Watercolour by Ann

Watercolour by Ann

Watercolour by Ann

Acrylic by Kate

by Pam

by Pam

by Pam
Birds in the Garden: Week 3
November 16, 2022
Quick sketches with pencil and watercolour by Jo
First a recap on this week’s painting session
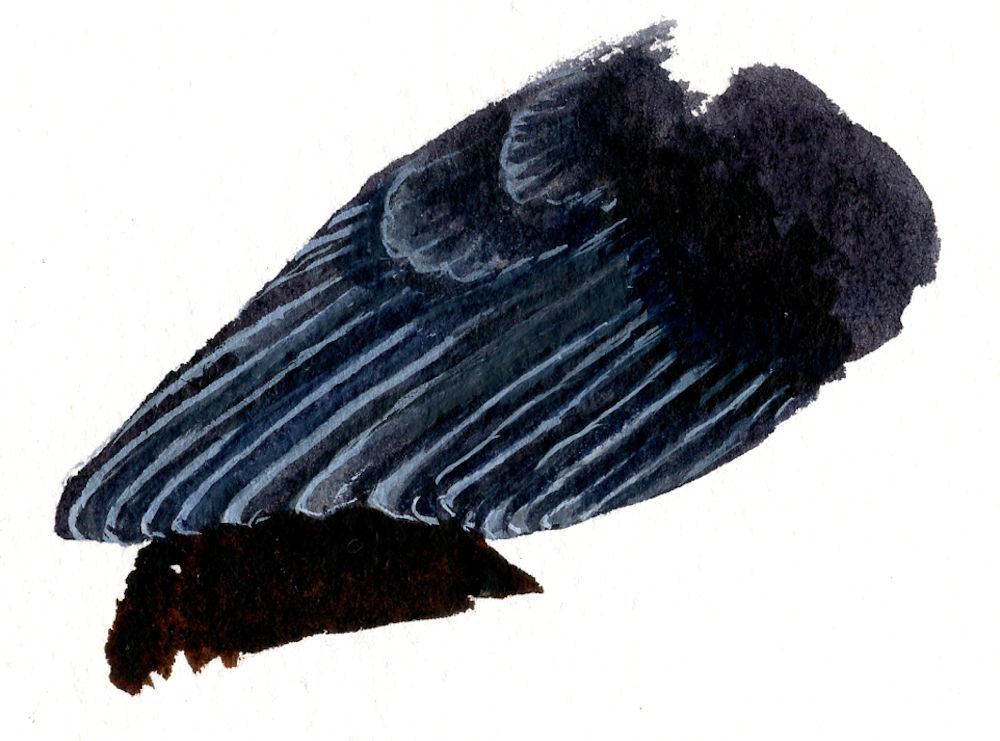
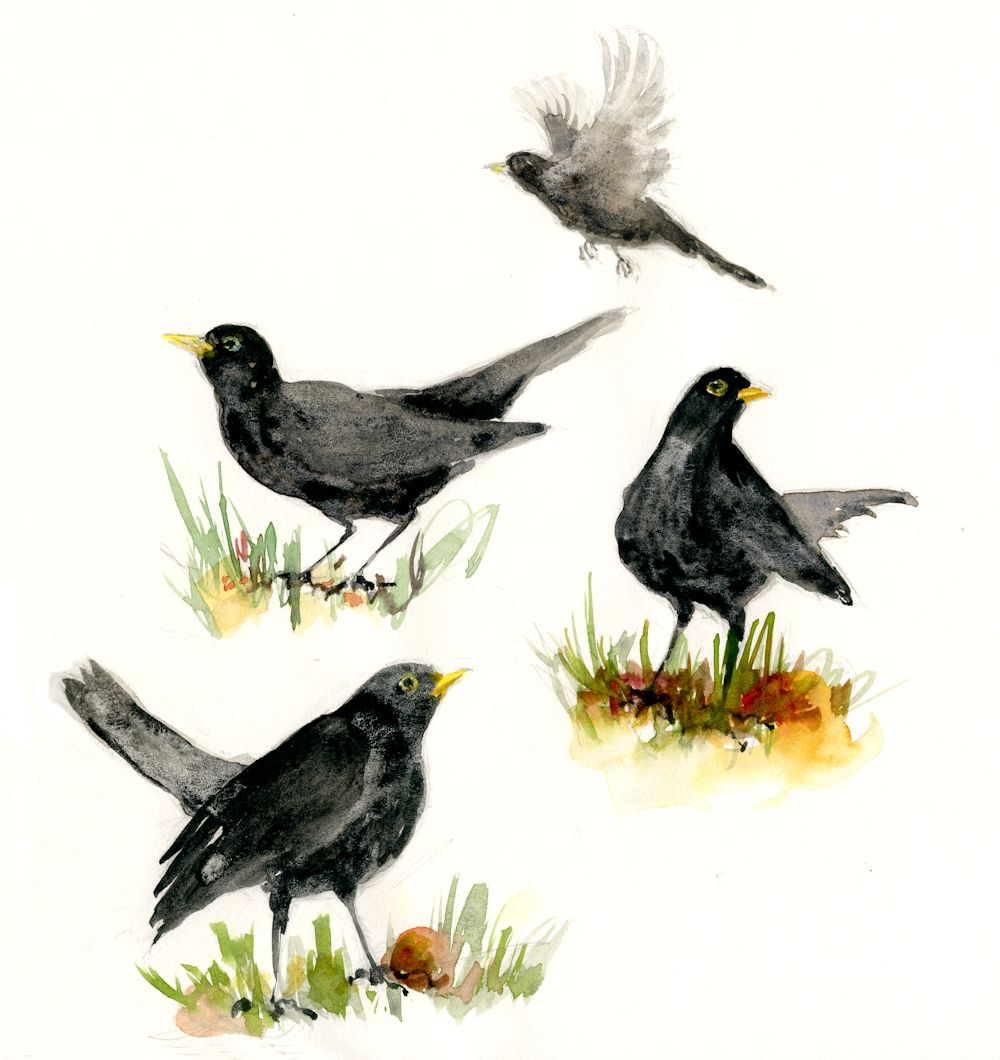
Two ways of delineating feathers on a dark bird:
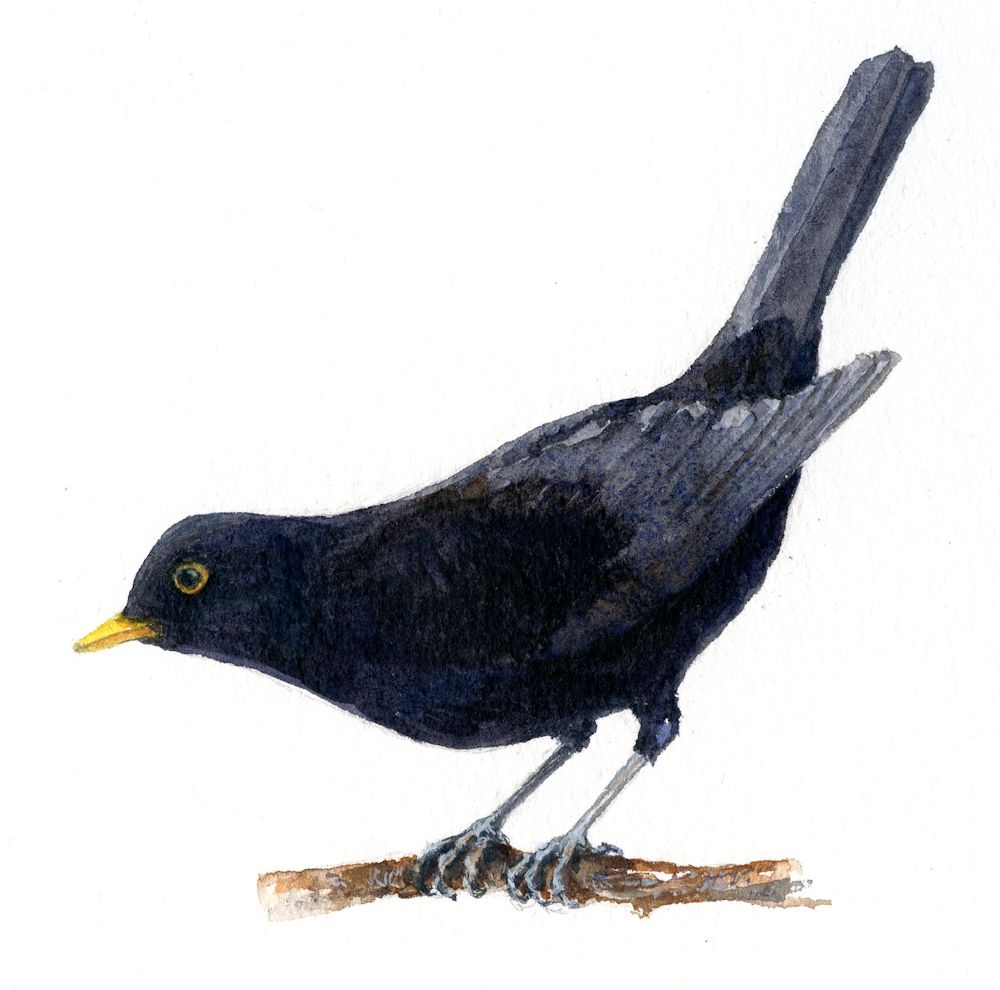
Study by Jo
The blackbird above was painted in watercolour, painting the flight feathers paler than the rest of the wing. With a fine brush the individual feather edges were painted in. When dry the wing was too light so a further wash of a dark grey mix was added and the feathers reinstated just a little.
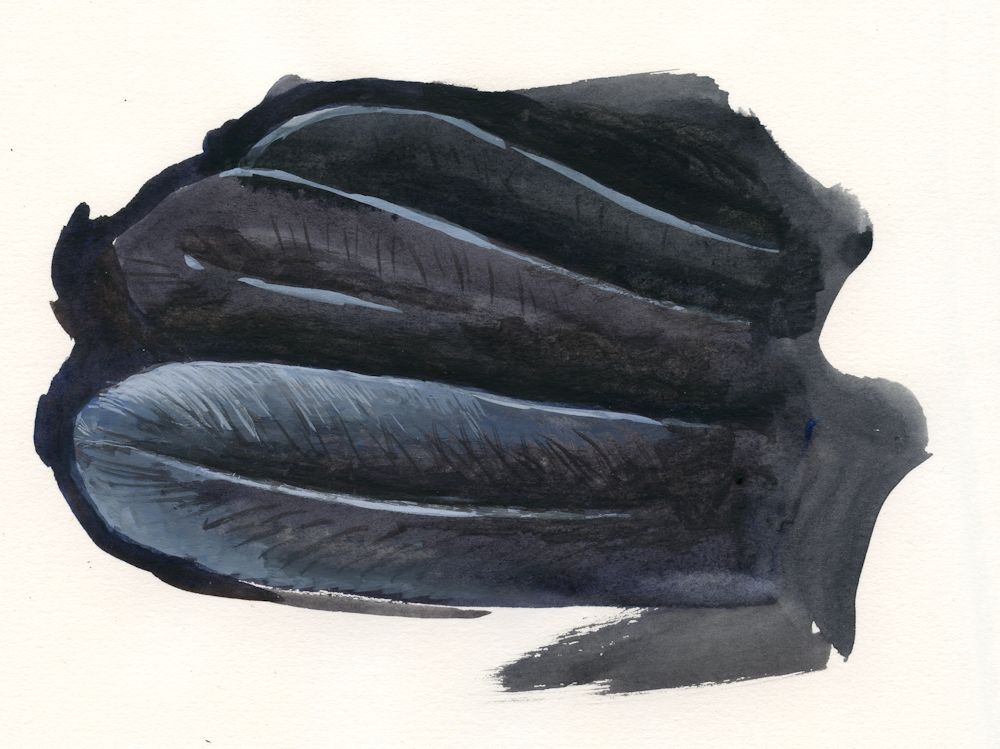
Another way to paint the details of feathers on a dark bird is to paint everything in the dark tone that it appears and to add any necessary detail with mixes of white gouache and watercolour:
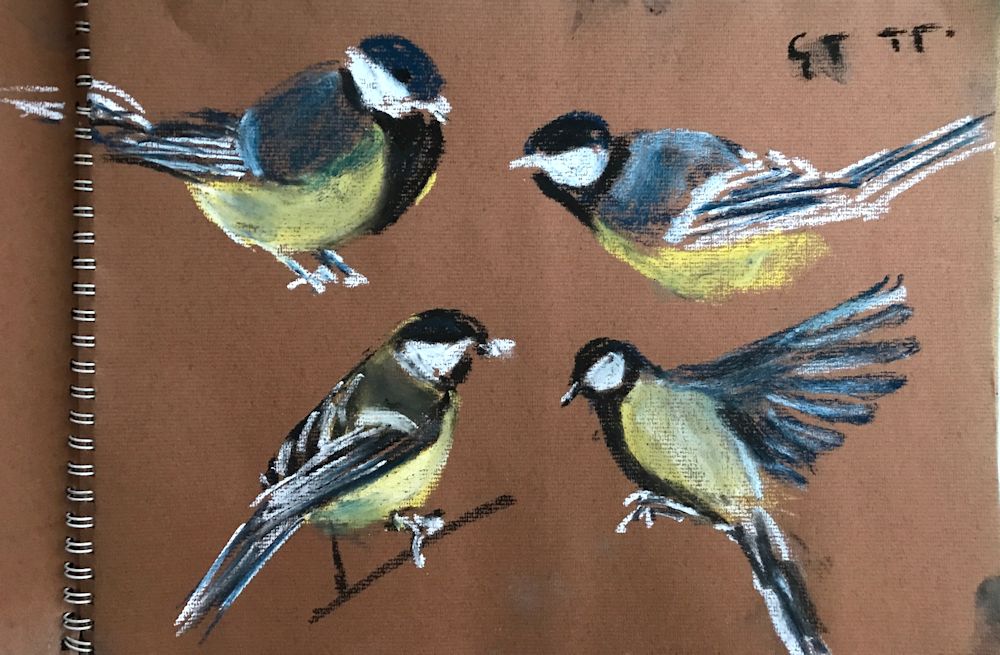
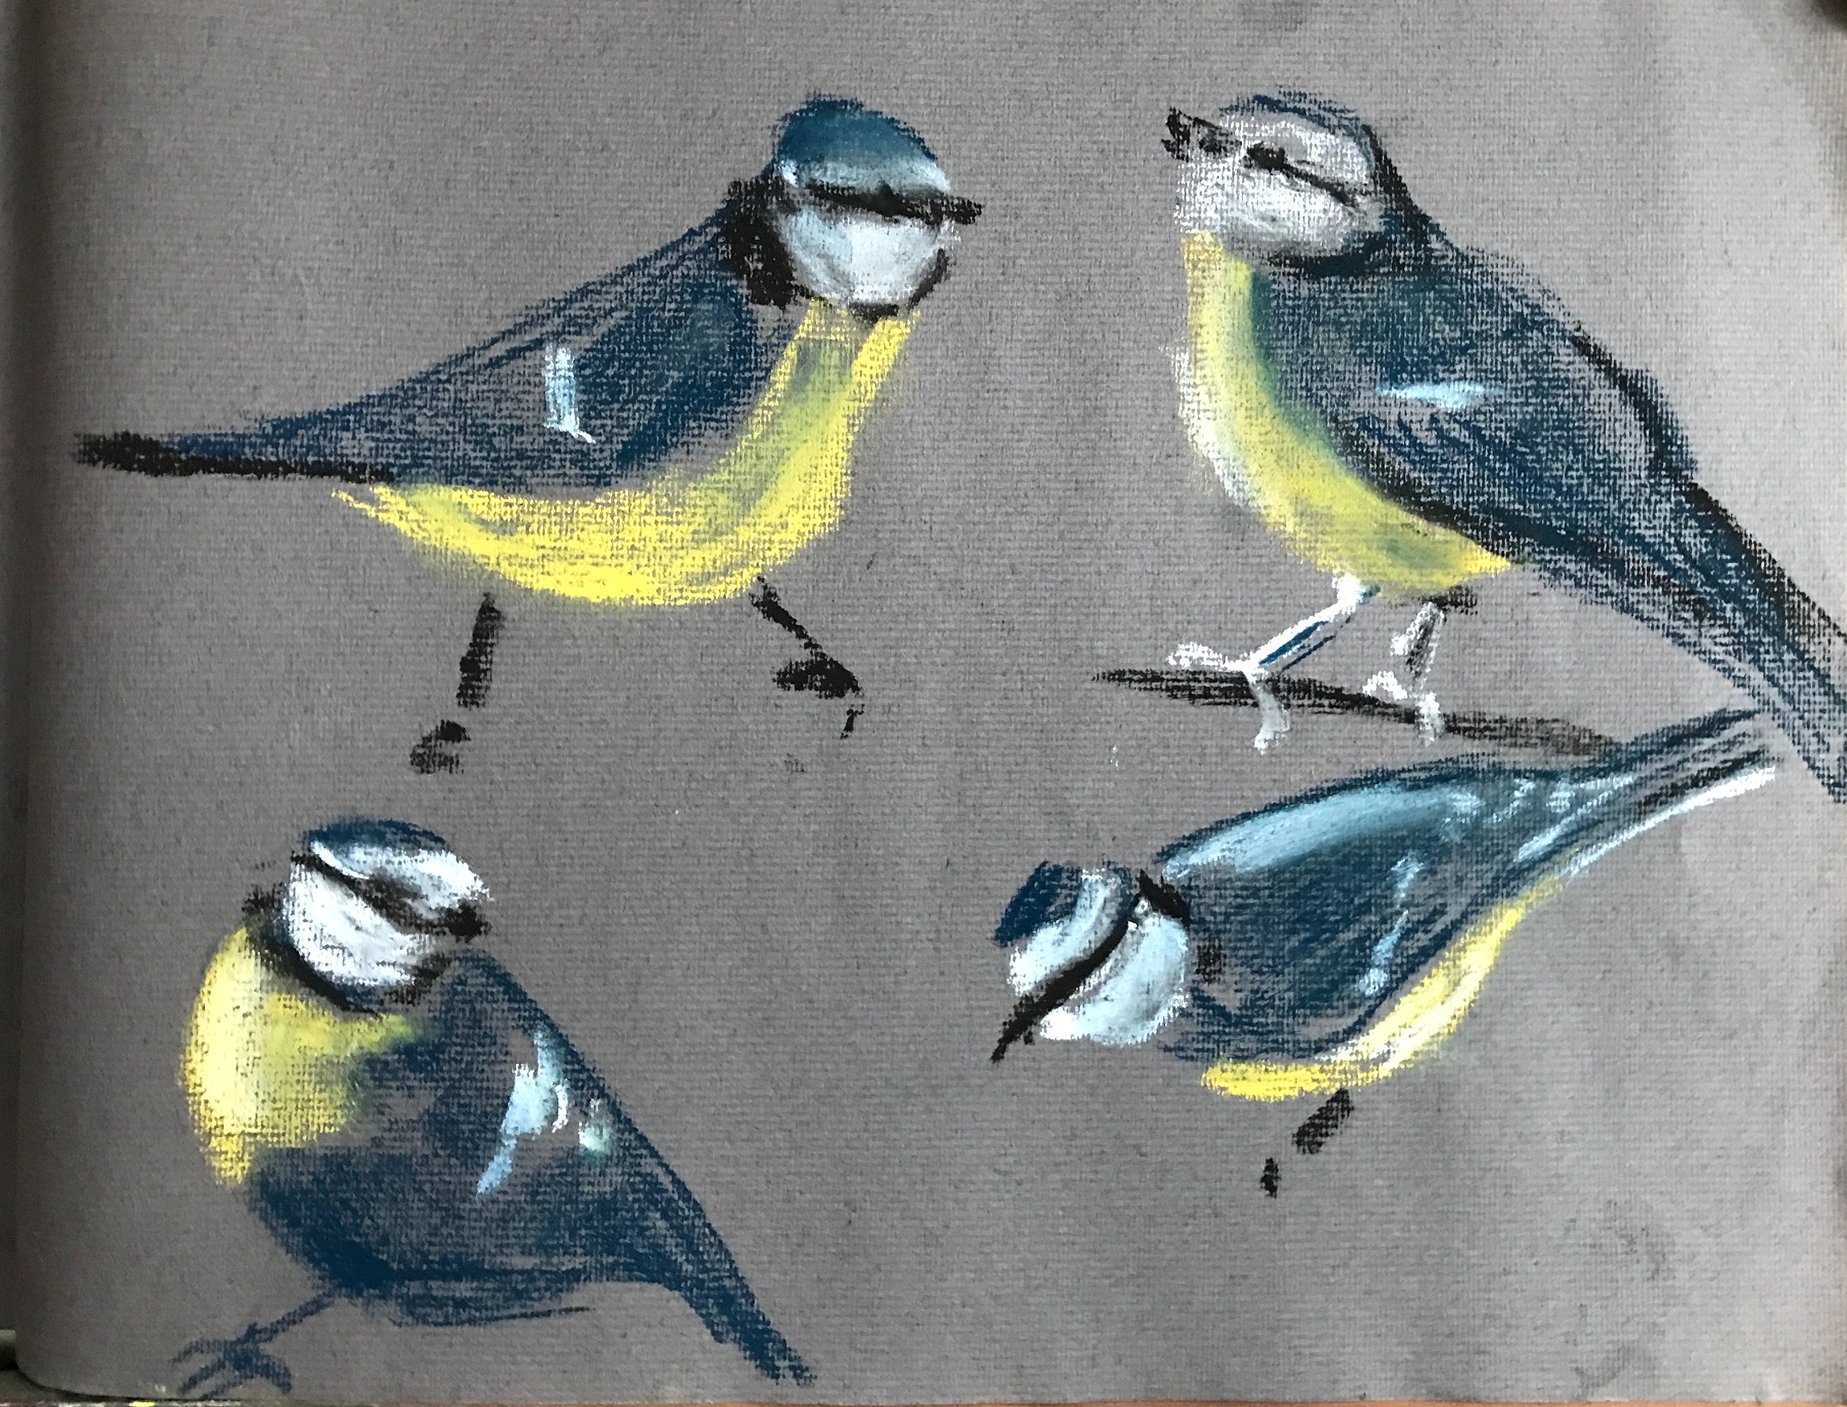
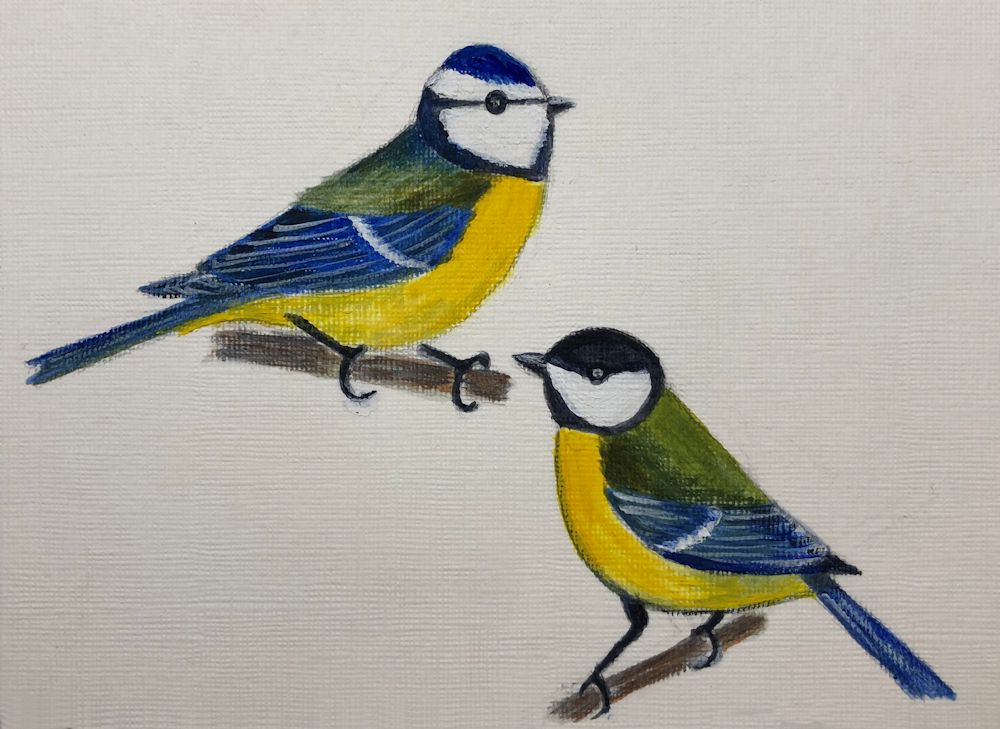
This week we’ll be looking at the colourful Blue Tits and the slightly heavier looking Great Tit with its black cap. Do look at any tit family references you have and the Pinterest board at
https://www.pinterest.co.uk/jhall1282/birds-in-art-and-photos/tits-photos/
and come to grips with making a few rapid sketches either before or at the beginning of the session. As before take in what the main body and head shapes look like when the bird is perching, on the ground or turning its head. Also look at the legs and claws.
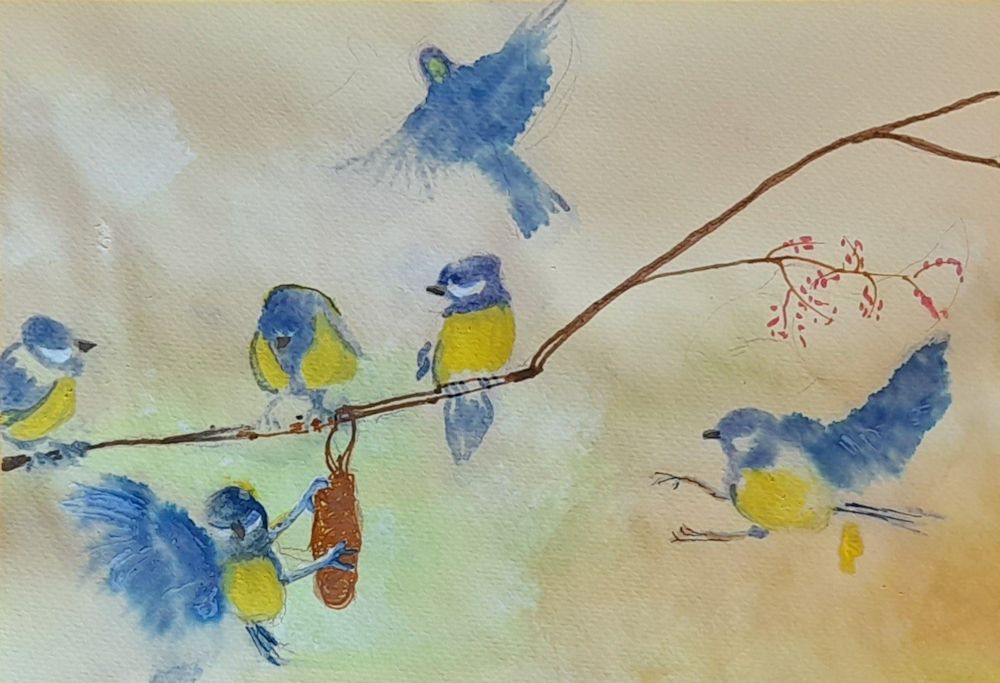
We can use these sketches to apply trial mixes of the colours needed for a more considered painting. Blue tits are often seen, two or three at a time so you may like to consider making a composition with more than one bird. If so, do plan this in your sketchbook first before making the drawing on watercolour paper. Perhaps also start to think about the background for the birds and make a tonal sketch.
The drawing on watercolour paper or in preparation for working in acrylic, should be detailed enough to show the main feathers of the wings and indicate the position of the markings, as well as placing the beak, eye, legs and claws. Draw just enough of the background to aid the composition and plan to create most of the background with paint always aiming to make the birds the focal point.
Make sure the pencil marks are not too dark and lighten them if they are. If working in watercolour, reinforce the main lines with a pale blue/grey painted line using a small brush and then put a light blue grey wash over all the slightly shadowed areas of the birds. (If working in acrylic just establish the main shapes of colour and tone and gradually build into this with the smaller shapes and marks.)
Then mix up your washes and try them on your rapid sketches. For the blue tits you will need a blue, a yellow, a green for the back and various grey/black mixes which can be added last. You will also have to be careful if working in watercolour to leave the paper untouched by paint for the white areas.
Then start to paint your bird; probably eye and beak first, then suggest the legs before painting the paler areas of colour followed by any blue and green and finally the darker areas remembering to reserve the white areas.
Try to add colour as washes where the feathers are tiny as on the breast, head and back. It is often better to suggest the texture a little in places later if neccessary, rather than paint a lot of feather like strokes in the beginning. The wing feathers need a different consideration as when the wing is folded against the body some feather edges appear as stripes of light and dark. The light is very often not white so a wash of the right pale colour needs to be painted first and allowed to dry before painting stripes of the darker colour over the top. Your initial drawing should indicate where this needs to be done.
There are no rules as to the stage when you start painting the background. If the birds are in trees or bushes it will be integral to the drawing and if on the ground, you will have to indicate whether it is grass or path etc. or your birds may be seen partly with a backdrop of trees and partly of sky. We will discuss backgrounds during the session, especially about whether these should be just suggested or more definite and what will suit your purpose best.
Your paintings:
Watercolour by Heather
Watercolour sketches by Heather
Mixed media by Mali
Pastel sketches by Mali
Pastel sketches by Mali
Acrylic by Pam
Acrylic by Pam
Watercolour by Ann
Watercolour by Kate
Birds in the Garden: Week2
November 10, 2022
Pencil and watercolour sketches by Jo
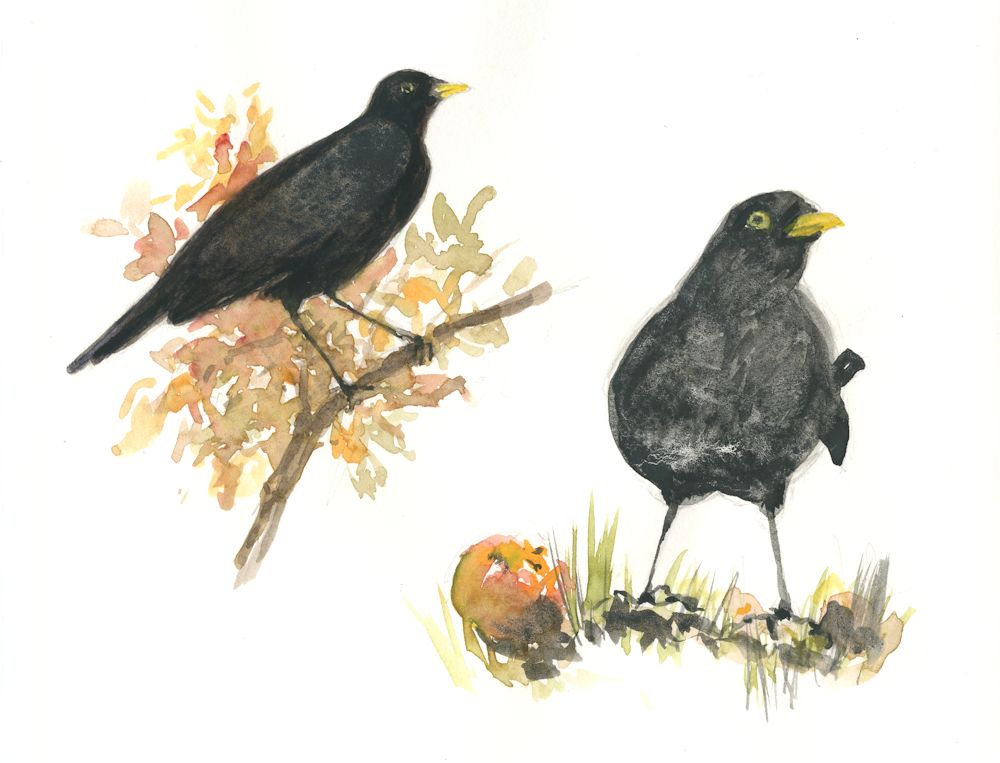
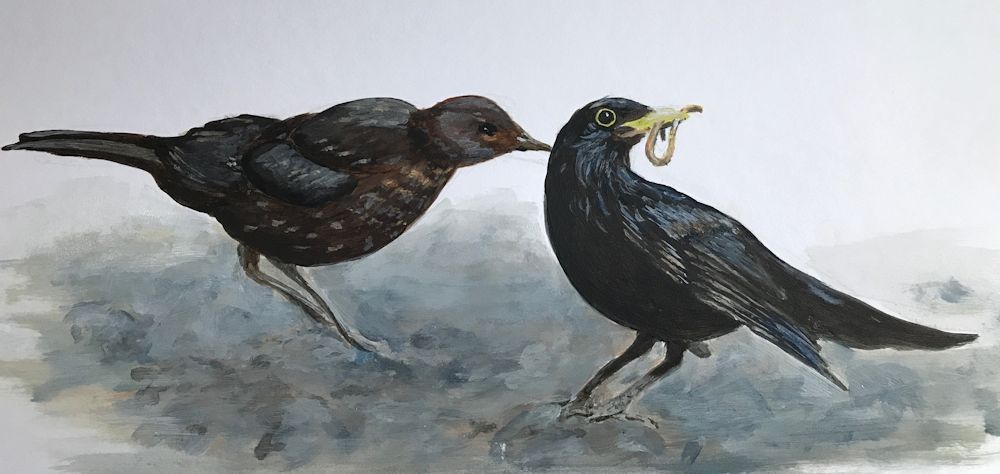
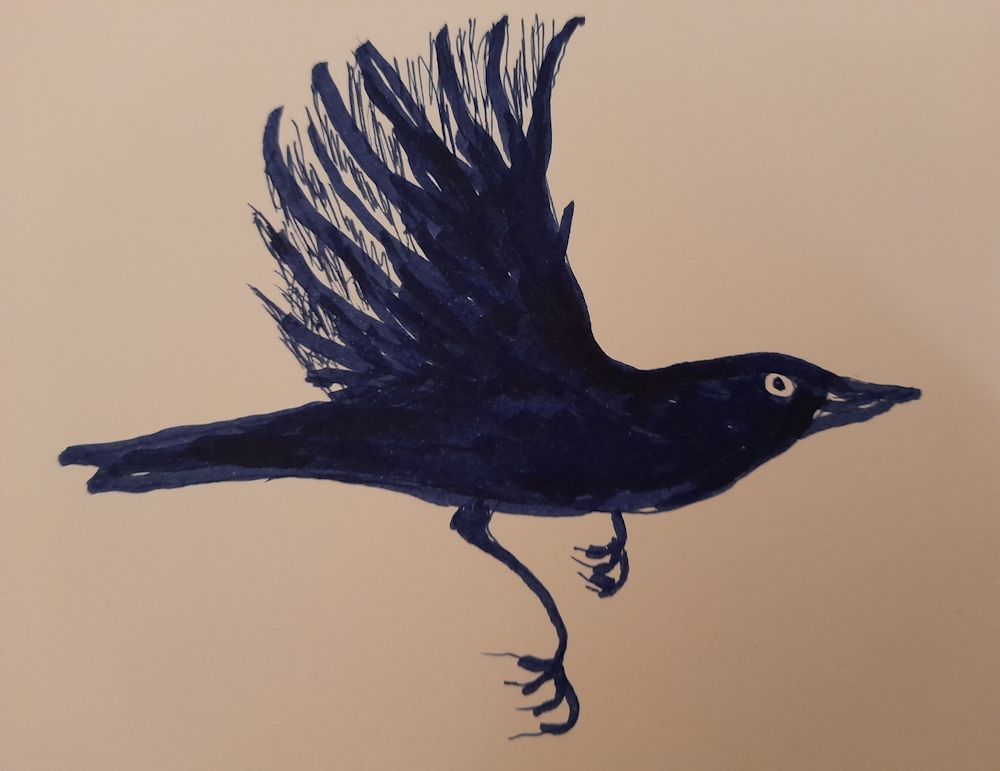
This week we will be looking at Blackbirds and the Song Thrush, just as familiar to us as the Robin and Wren. Biologically they belong to the same family and both have a similar and much longer body shape than the very compact wren and robin. I have drawn blackbirds from life but the ones above and below were hasty sketches in pencil from photos, livened up with some watercolour washes. Apart from drawing a more elongated form the main challenge in painting the blackbird is that it is completely black! This means more attention to tones and how the light is falling on the bird. Often they can look like a silhouette against a pale background.
Pencil and watercolour sketches by Jo
In watercolour the paler areas will be more lightly washed. With acrylic or oil you will be mixing greys and should take care that they don’t look too chalky. You may like to experiment making black with mixes of blue and brown. I did that with the first image and then went in with some Payne’s Grey which resulted in a warmer feel. As these were on cartridge paper and some of the washes were quite wet they were not as controlable as on watercolour paper, but as in the rapid sketches we made last week the aim was to capture the body shape and some characteristic poses. Studies like these are perfectly adequate as a reference when for instance the artist wishes to include birds in a landscape painting or birds feasting on the last of the berries or apples before winter sets in. Even in these sketches I did include the yellow ring round the blackbird’s eye.
For a more detailed study of a blackbird where the artist wishes to illustrate the wing feathers and the shiny black eye surrounded by a narrow yellow rim with more definition, some different strategies are needed. There is no one right way but you may like to try the following;
1.Watercolour: This will be demonstrated at the next session by painting a wing and its feathers, using watercolour and either cold or hot pressed paper. The whole wing will be washed in with tones that reflect the overall tonal values observed. The colour mix can be made from blue plus brown and/or Payne’s Grey. For a female or juvenile bird you will need brown mixes, perhaps with a little blue or even a small amount of red in the mix.
When this is completely dry use a small(tiny) brush to apply an appropriate paler grey mix made with opaque white gouache to the edges of the feathers where they catch the light. This requires time and patience and there will be places where the feathers are better just suggested and others where more definite marks will be needed. Very often once dry a little blending may be needed to soften some lines. Another way would be to lift out the lines with a moist brush.
For paler and more colourful birds try applying a pale tonal wash over the shadow areas(usually a blueish grey mix). Then instead of adding the paler stripes you can paint the feathers one by one leaving dry paler or untouched paper below. Will try to demonstrate this for the thrush or wren drawn last week. This method also works well for birds like tits and finches where it is only needed for limited areas. For a detailed account of this look at
https://www.youtube.com/watch?v=-YCuDNFcFz8
Watercolour Birds Part 1: U-tube video by John Muir Laws; a bit long but excellent
2.Acrylic: You will need similar colours to paint the main areas of the wing first except that you will be varying the tone by adding white. Also look closely at the wing feathers, sometimes the wing coverts are a slightly different tone or hue to the flight feathers. The wing of a female bird is browner and may show more variation n colour. Again think about where it is essential to show feather edges and where a suggested texture is desirable, then mix up a suitable colour and apply lines for the individual feathers with a small brush.
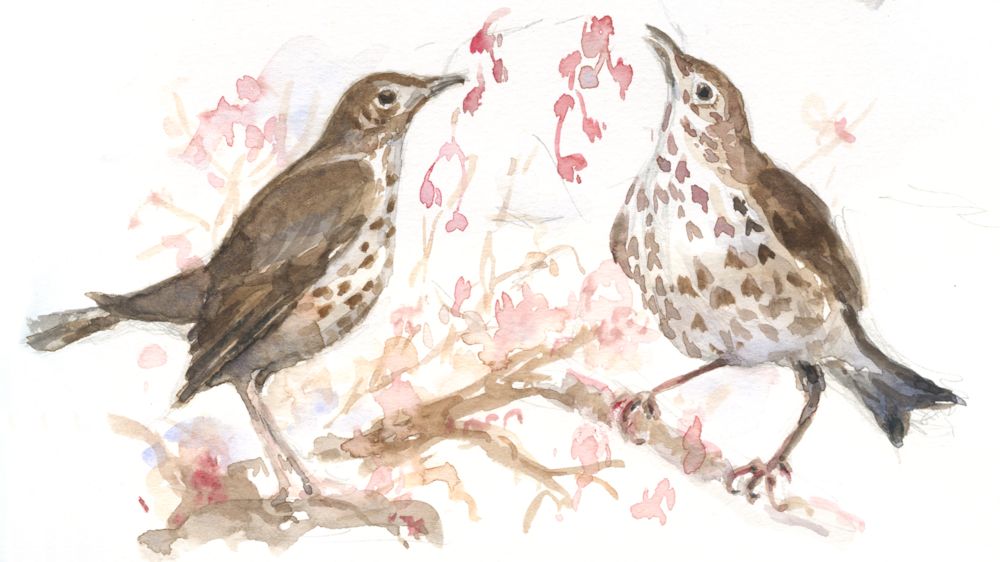
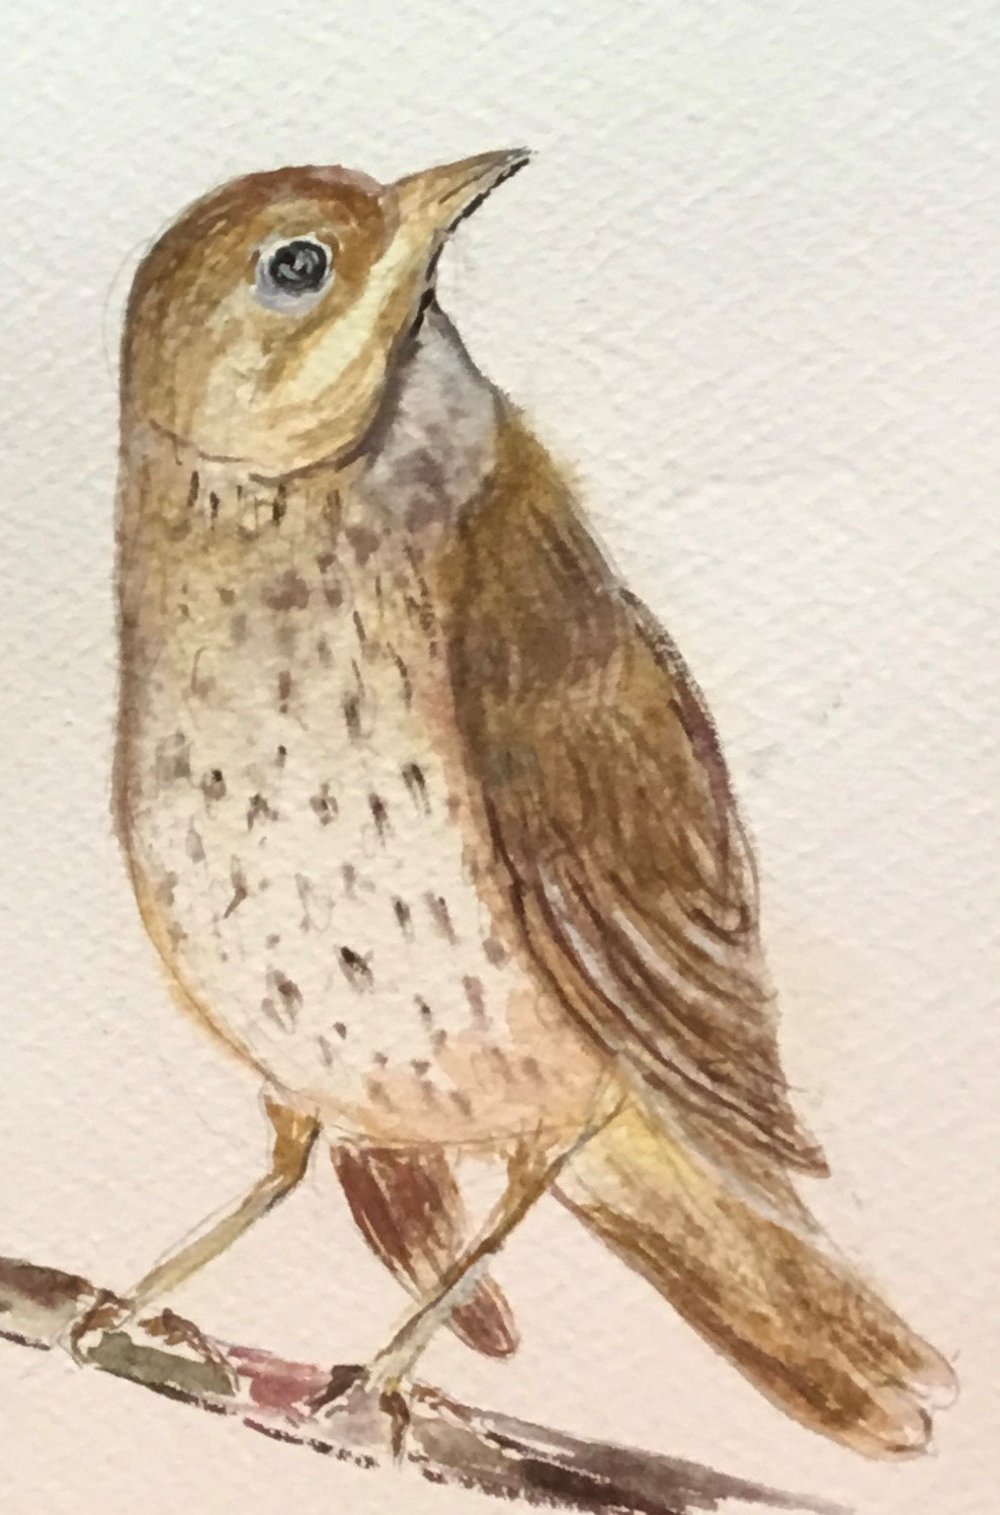
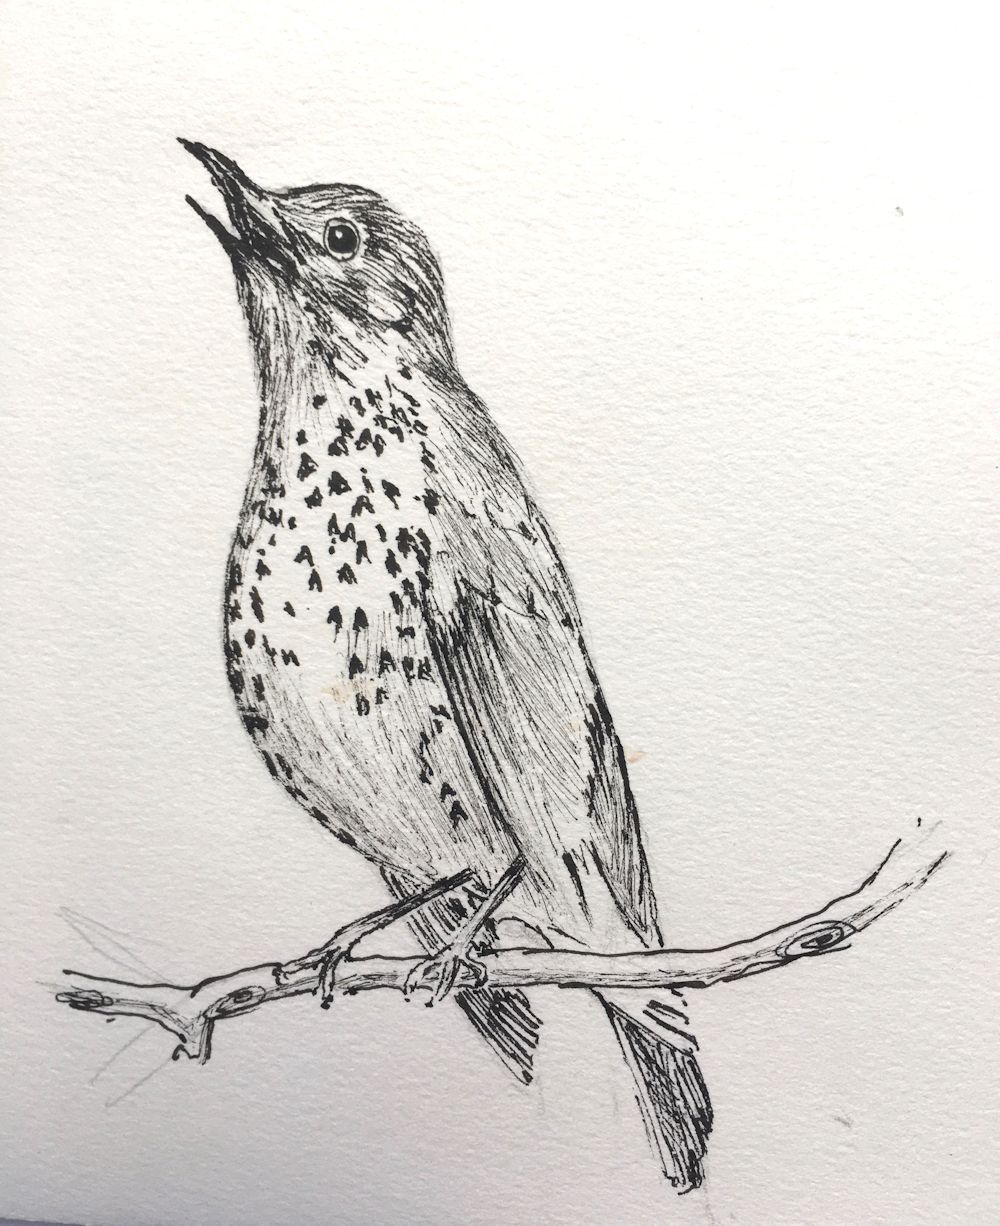
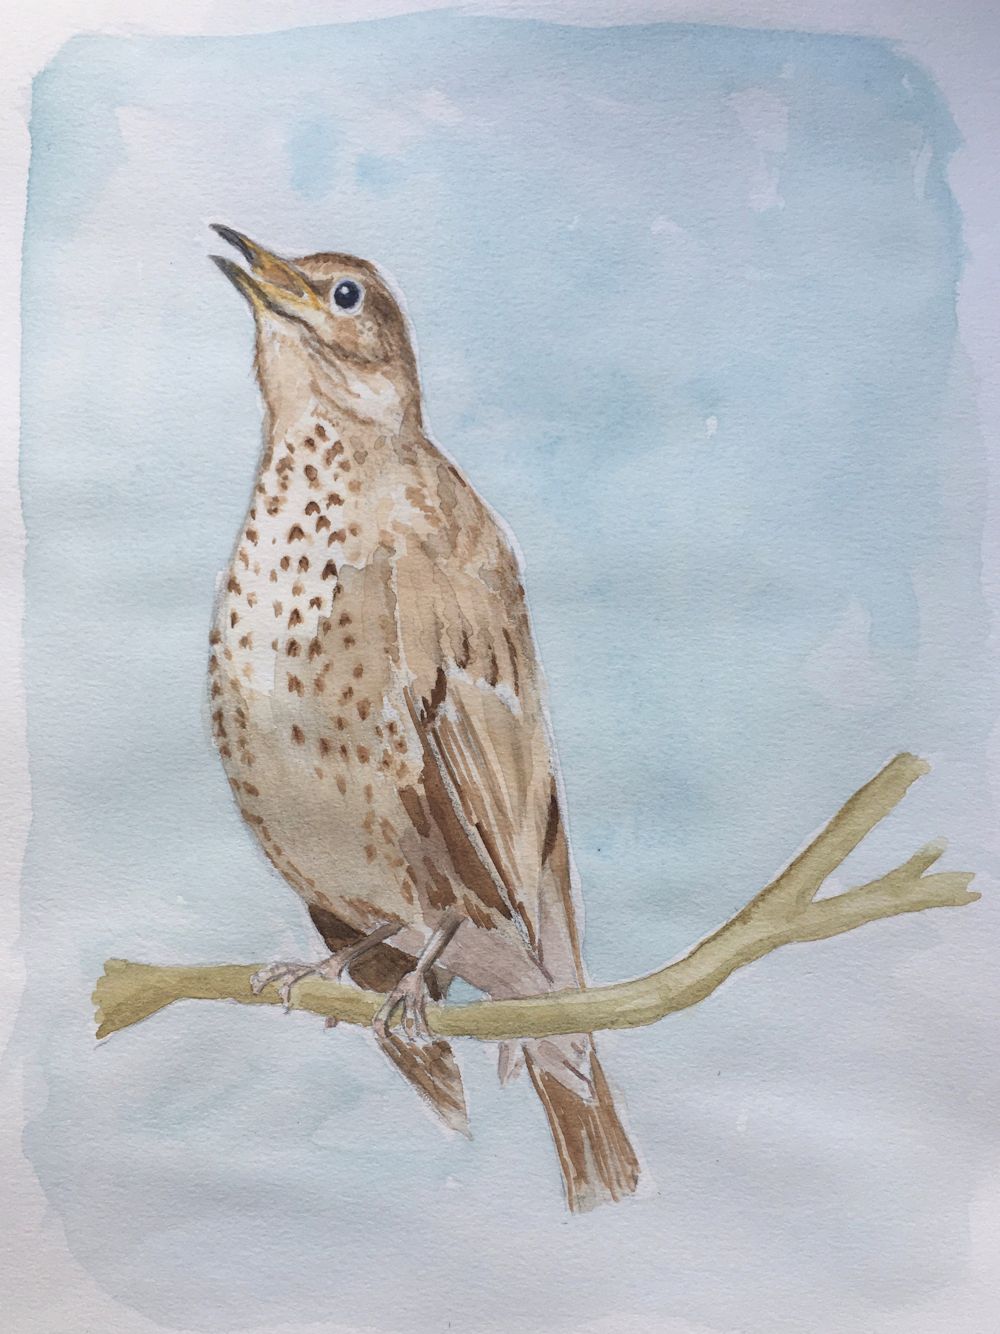
During the session we will make rapid sketches of the blackbird and the song thrush. Strategies for painting feathers will be discussed and demonstrated and we’ll talk about the markings on the front of the thrush. Note that the thrush is a slightly smaller and slimmer bird and although it doesn’t have the yellow rim the blackbird has around around its eye, the thrush eyes appear a little larger and have a surround that is very pale.
Blackbird pictures can be found at
https://www.pinterest.co.uk/jhall1282/birds-in-art-and-photos/blackbird-photos/
Thrush pictures can be found at
https://www.pinterest.co.uk/jhall1282/birds-in-art-and-photos/thrush-photos/
At any stage after the warm up sketches feel free to start your own study of a wing, or a picture that includes blackbirds or a song thrush. You may like to paint a few blackbirds at the base of a tree picking up worms or pecking at apples.
Your paintings:
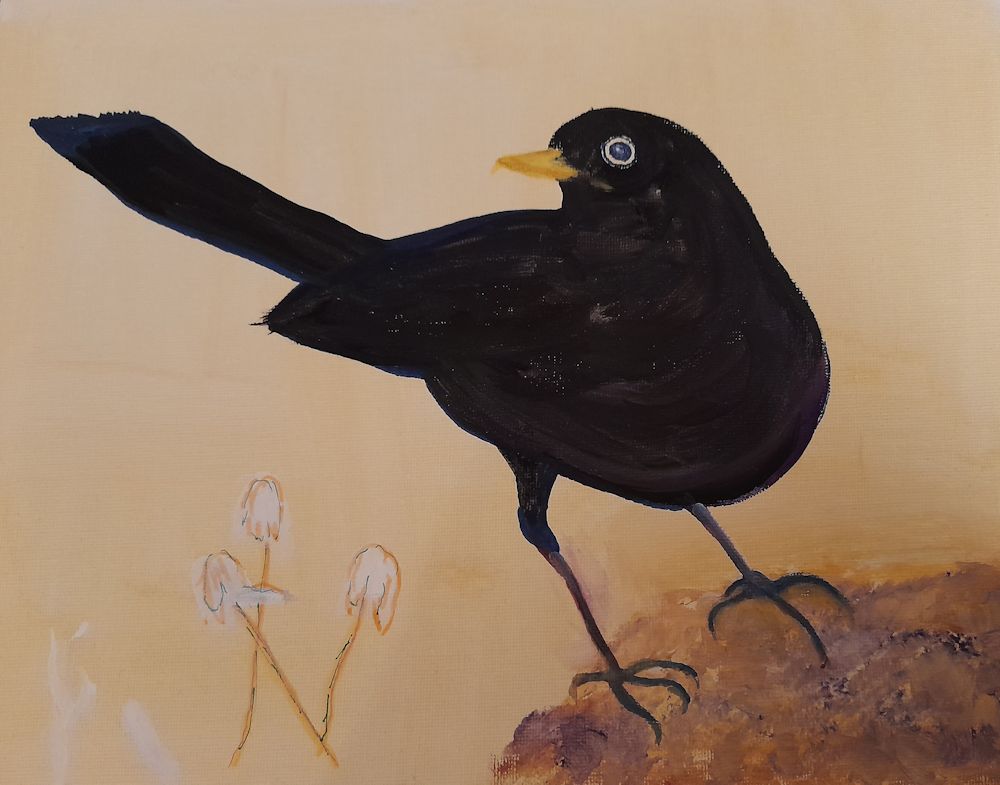
Acrylic by Mali

by Ann
by Ann
Drawing by Kate
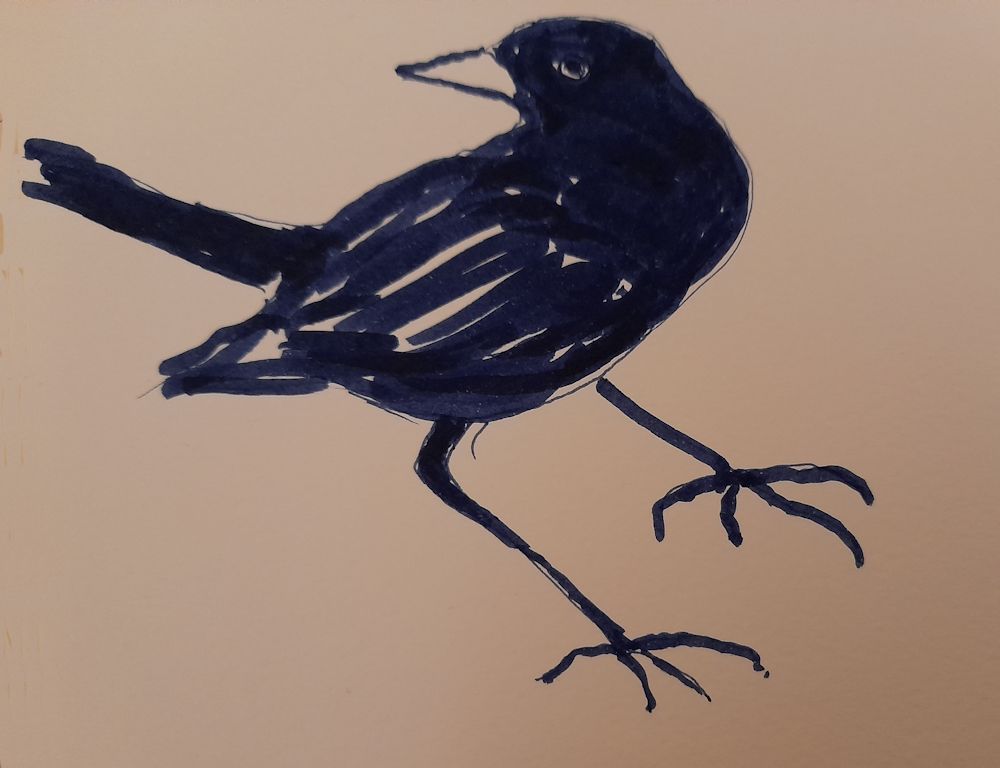
Drawing by Kate
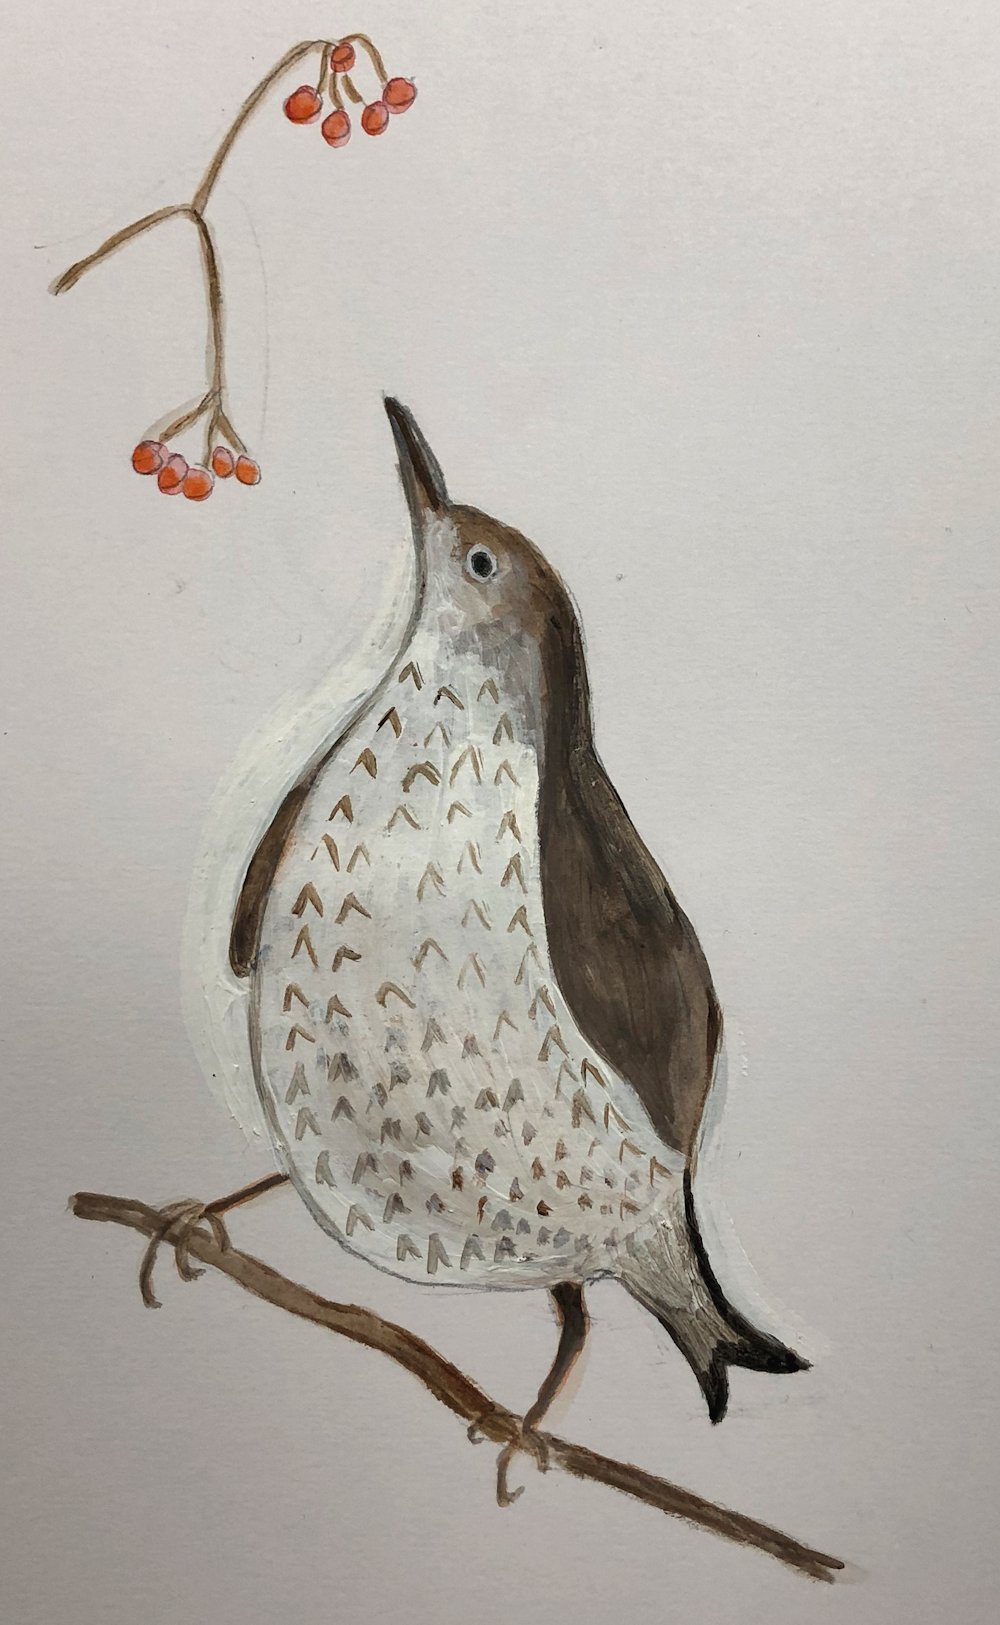
Watercolour by Kate
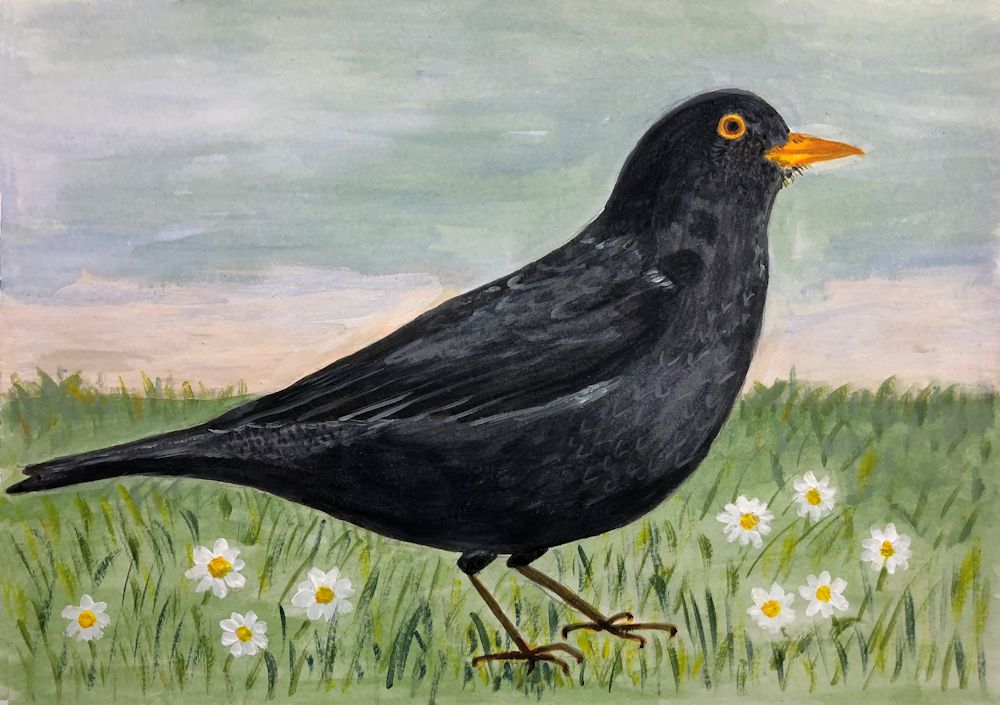
Watercolour by Pam
Acrylic by Pam
Pen and Ink by Heather
Watercolour by Heather
Birds in the Garden: Week 1
November 2, 2022
This first week we’ll start by sketching a few bird shapes. Some like the Wren and Blue Tit are rather round and compact whereas the Song Thrush and Blackbird have a rather longer more elegant shape. I love the way a blackbird can turn its head. If you can, take time to watch the birds in your garden. With the cooler weather we often have several Blackbirds pecking away at the last of the apples on the ground. If you are quick enough you can doodle a gestural line or two in a sketchbook while you watch them. With practice you will soon be able to draw their body shapes turning and twisting among the fruit.
It’s easier of course to draw from photos, but if you work fast from birds in very different poses by direct observation or from photos you will learn how to make your drawing appear lively and not laboured. With fast sketches we can record the direction of movement rather than detail, the body shape as the bird moves, and the balance it achieves whether perching on a branch or hopping around on the ground. This is the skill required to include birds in paintings of gardens where several birds may make a huge presence but only occupy a tiny area of the composition.
At the other end of the scale, and this is where photo-reference can be invaluable, the artist may wish to make a detailed portrait of an individual bird or a field sketch noting all the characteristic markings and colour of a particular species. Some examples of these can be seen on the Pinterest Board, link below:
https://www.pinterest.co.uk/jhall1282/birds-in-art-and-photos/small-garden-birds-representational/
In either case observing birds in your garden and how they move will feed into and inform more detailed studies. Garden birds also feature in art in a more narrative and fictional way and some of these paintings and illustrations are shown on the following Pinterest Board, link below
https://www.pinterest.co.uk/jhall1282/birds-in-art-and-photos/birds-with-a-strong-narrative-element/
Observation points; you may not be able to observe all of these in any one view.
First look at the following Wren and Robin boards:
https://www.pinterest.co.uk/jhall1282/birds-in-art-and-photos/wren-photos/
https://www.pinterest.co.uk/jhall1282/birds-in-art-and-photos/robin-photos/
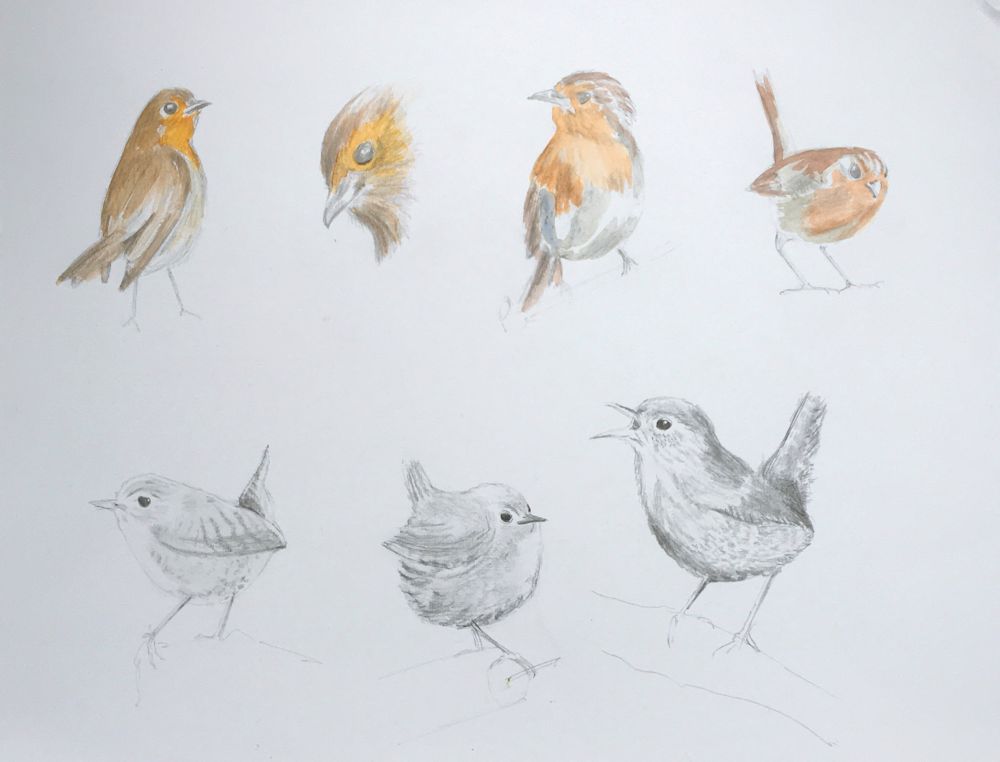
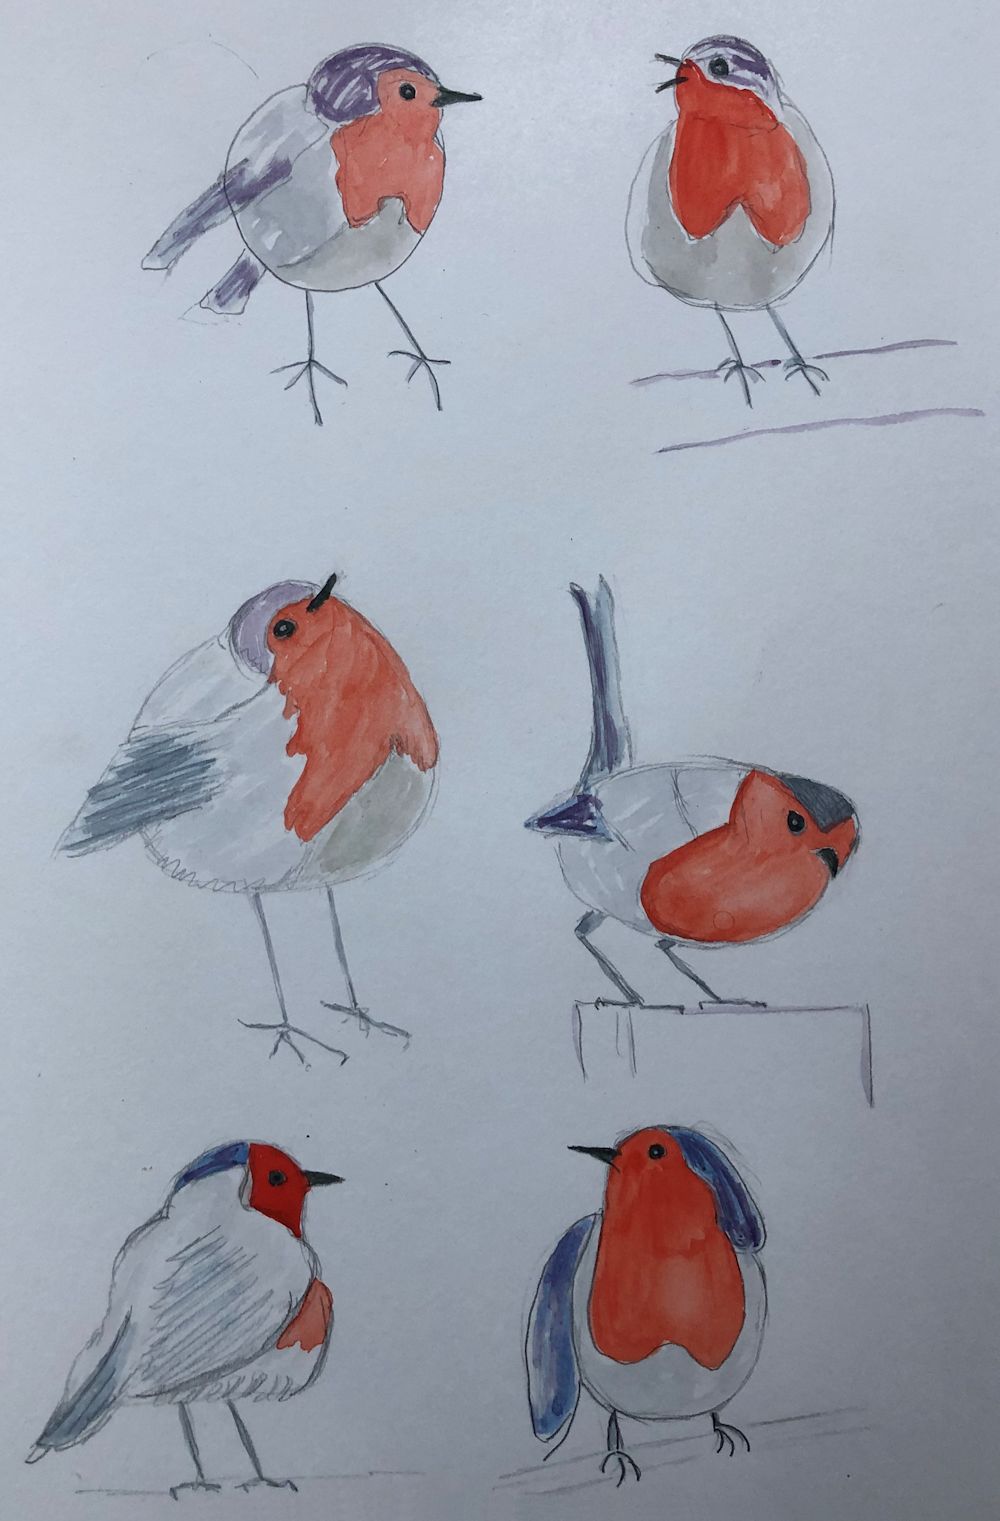
Pay attention to; overall body shape; head and beak; relation of head to body; how upright they stand; see what happens when they turn their head, sing or put their head down; wings and tail shapes and relation to the rest of the body; leg length and how they join the body; feet and their appearance when perching on a branch or on a flat surface; feathers; markings and colour.
Practical
1. Fast Sketches
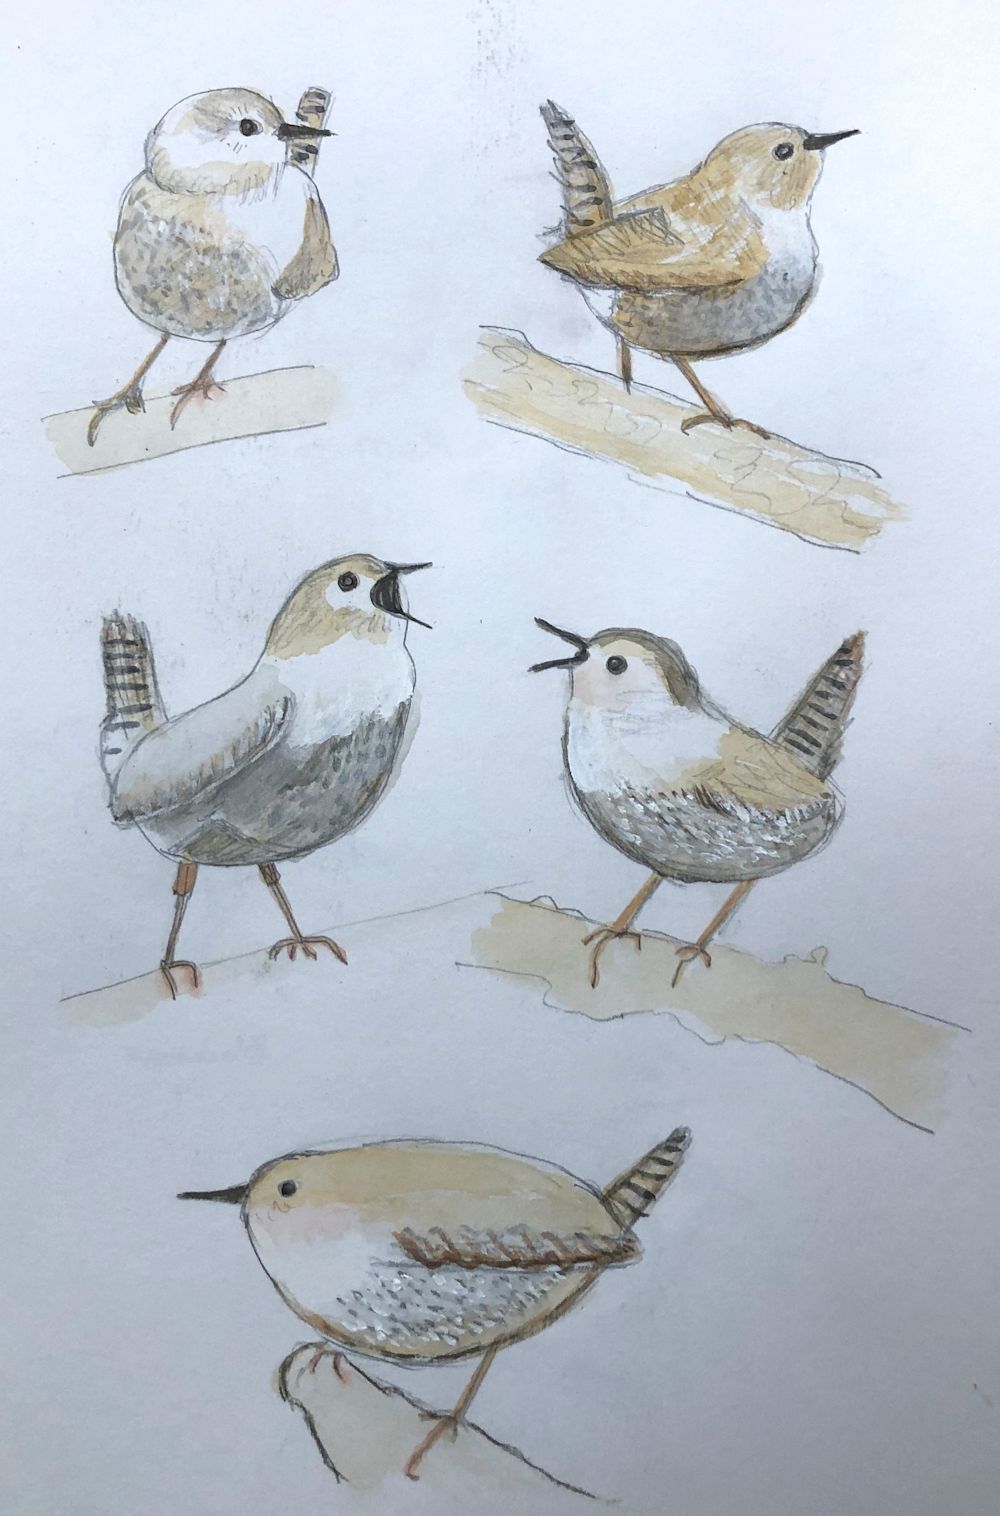
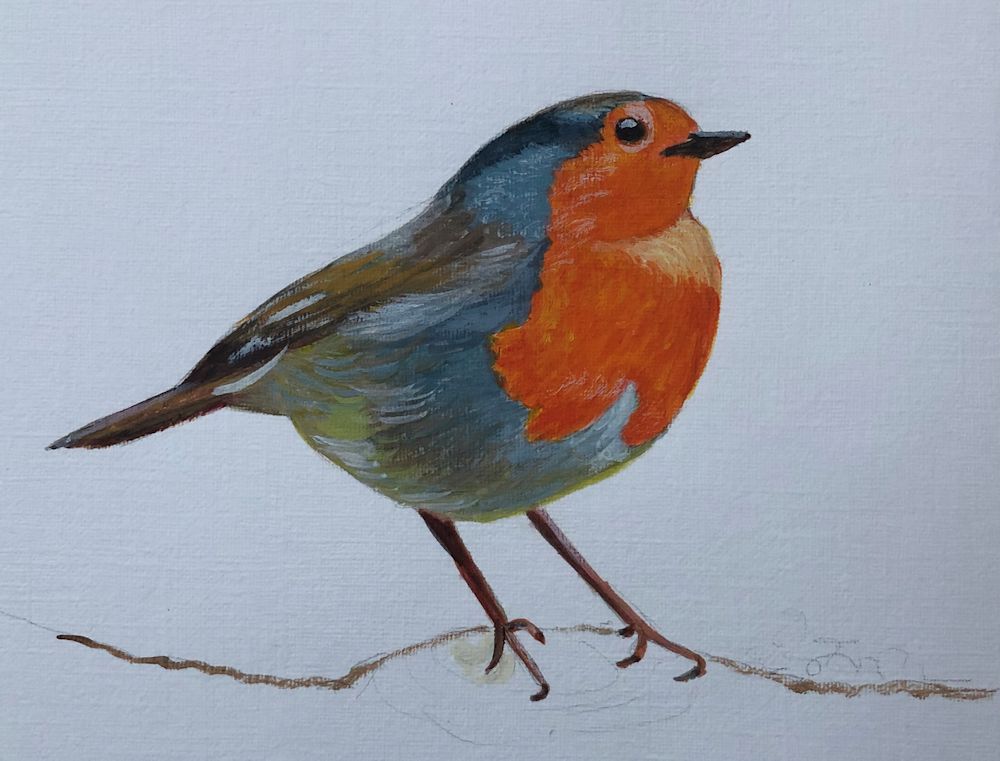
This week we’ll choose to work from a couple of very small birds, the Robin and the Wren. First of all I’ll share the screen for some rapid sketches of each bird so have a sketchbook and pencil at the ready to draw several birds on the same page.
2. More detailed Studies
Before the session, find a reference to paint a more detailed study of a Robin or Wren. If you can, start two small paintings during the session and complete them afterwards sending images to me before the following week. In the first painting draw/paint exactly what you see in your reference. In the second study try painting the bird in a different position and change the background using the experience gained from the rapid sketches made earlier.
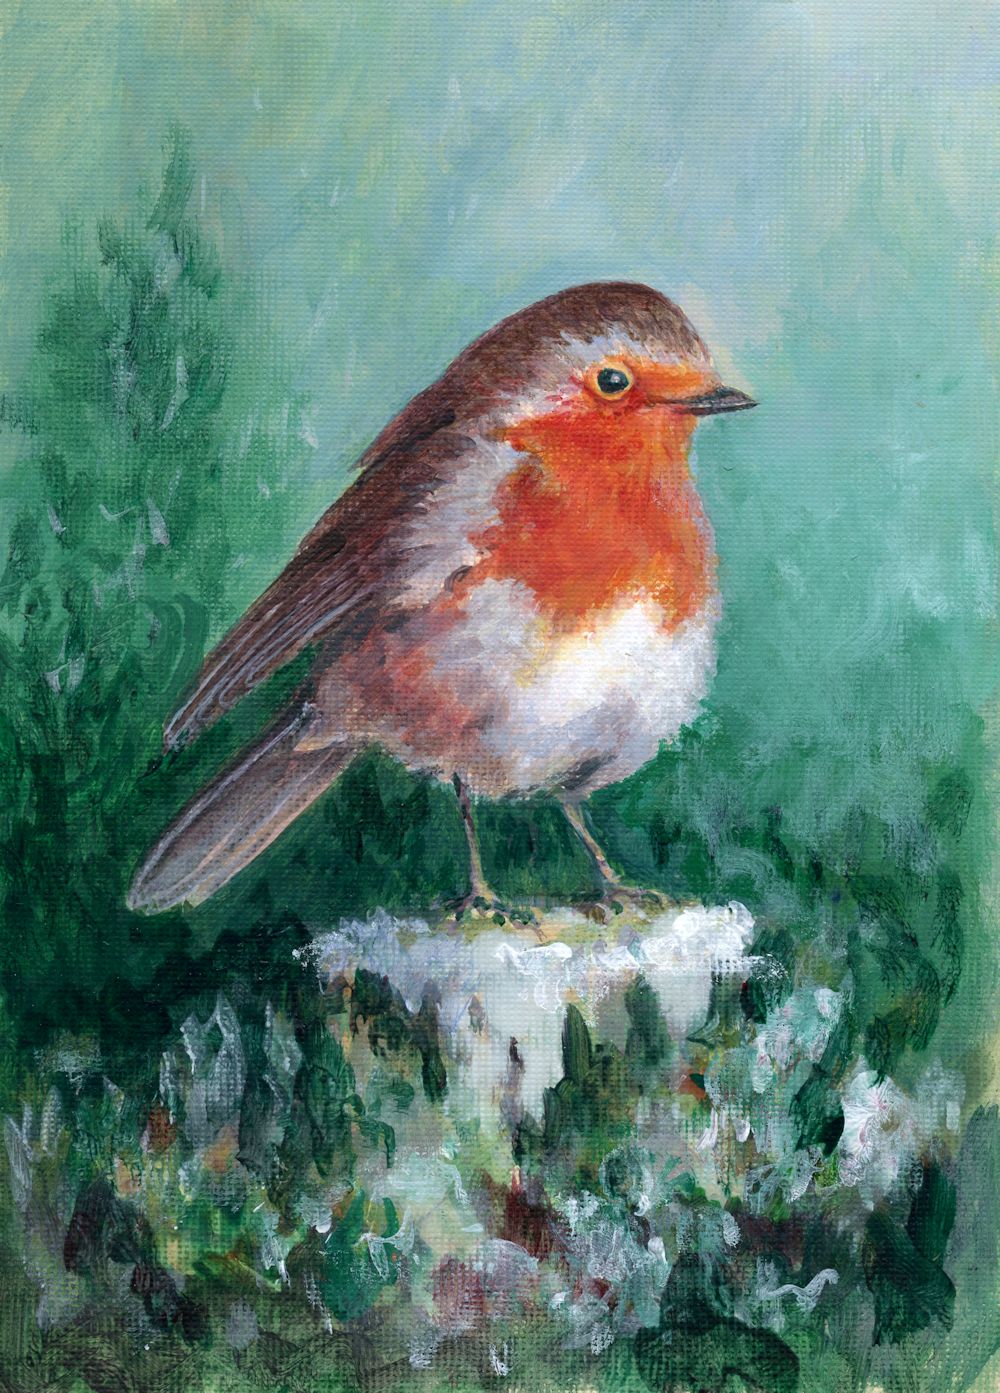
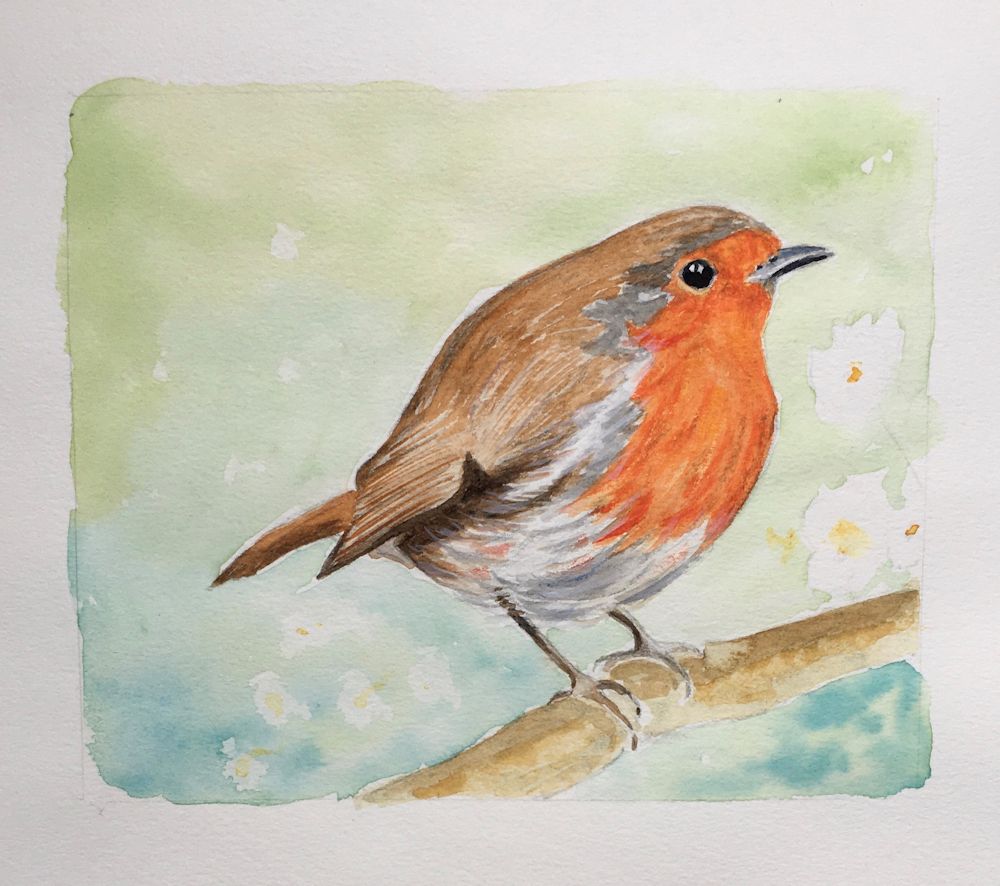
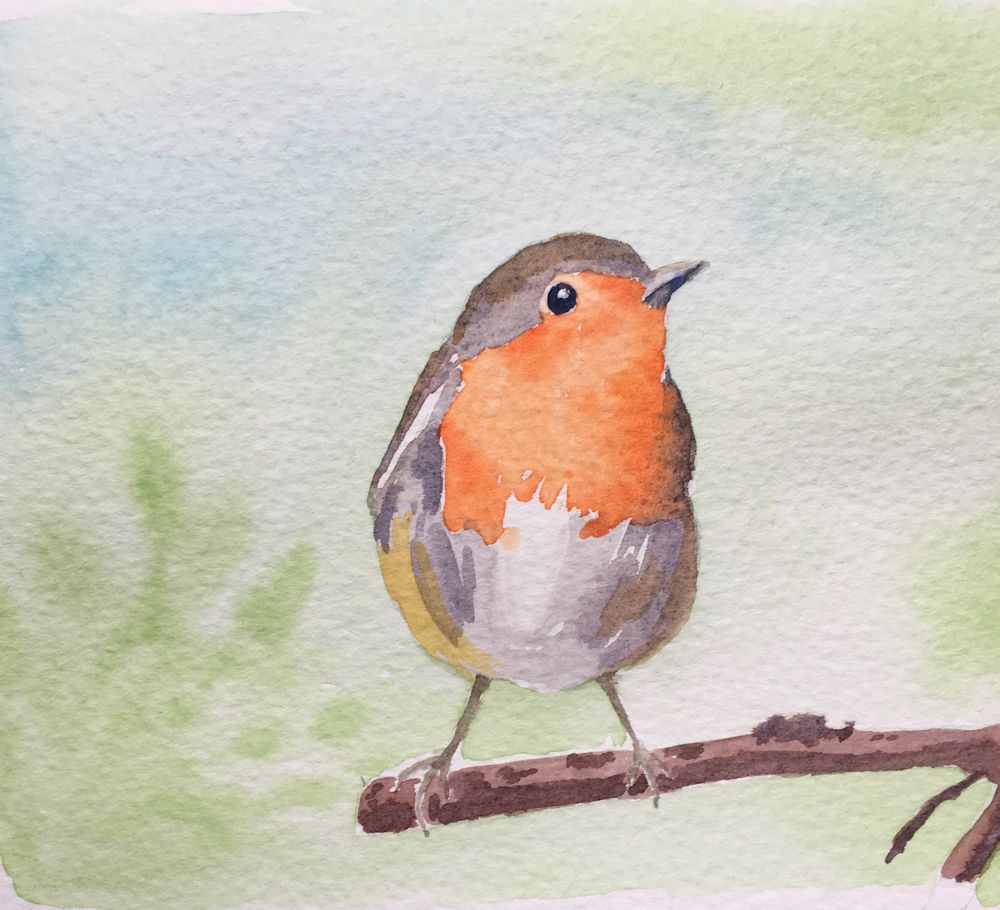
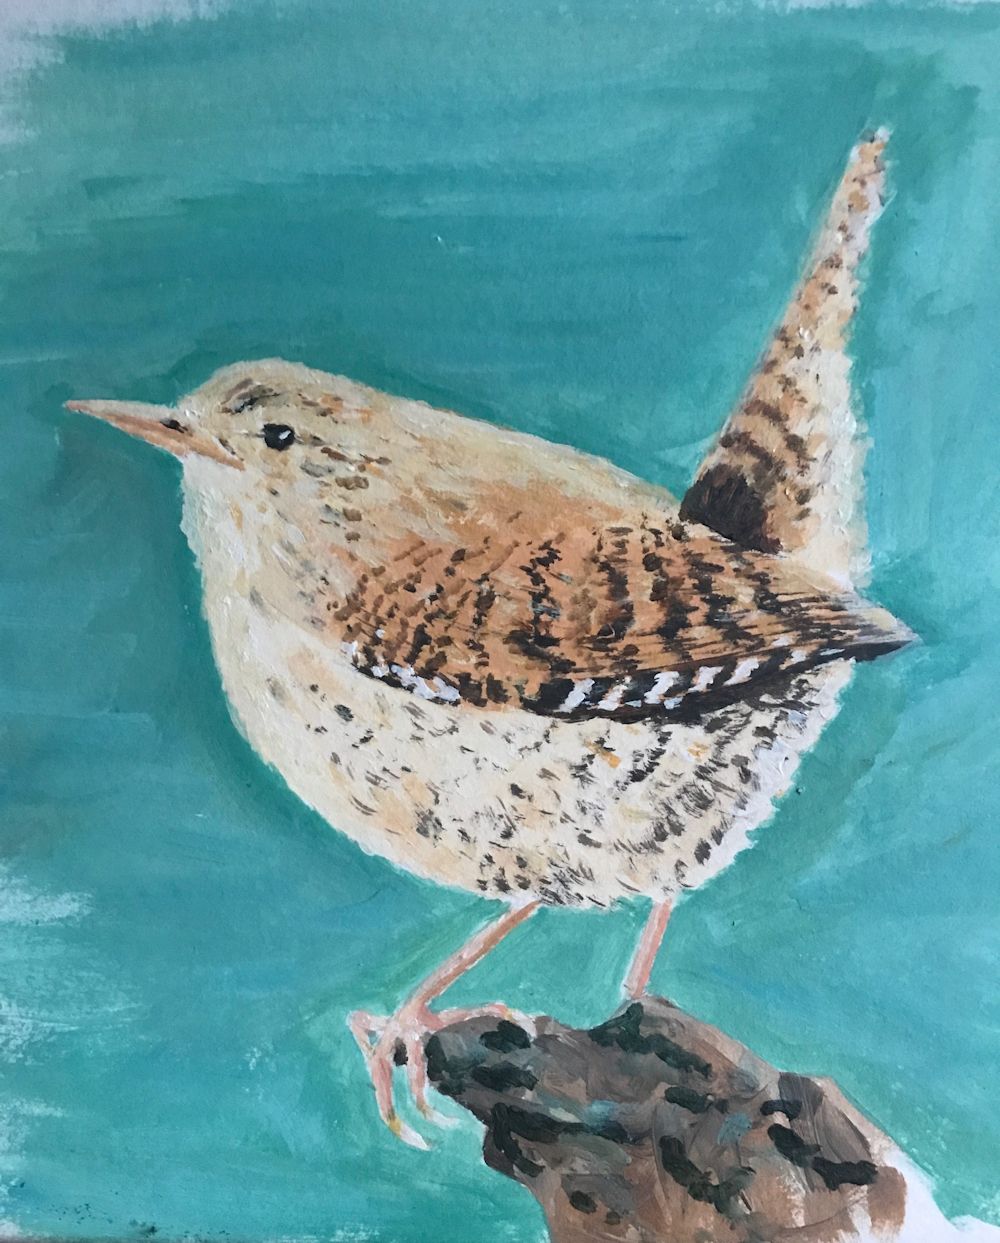
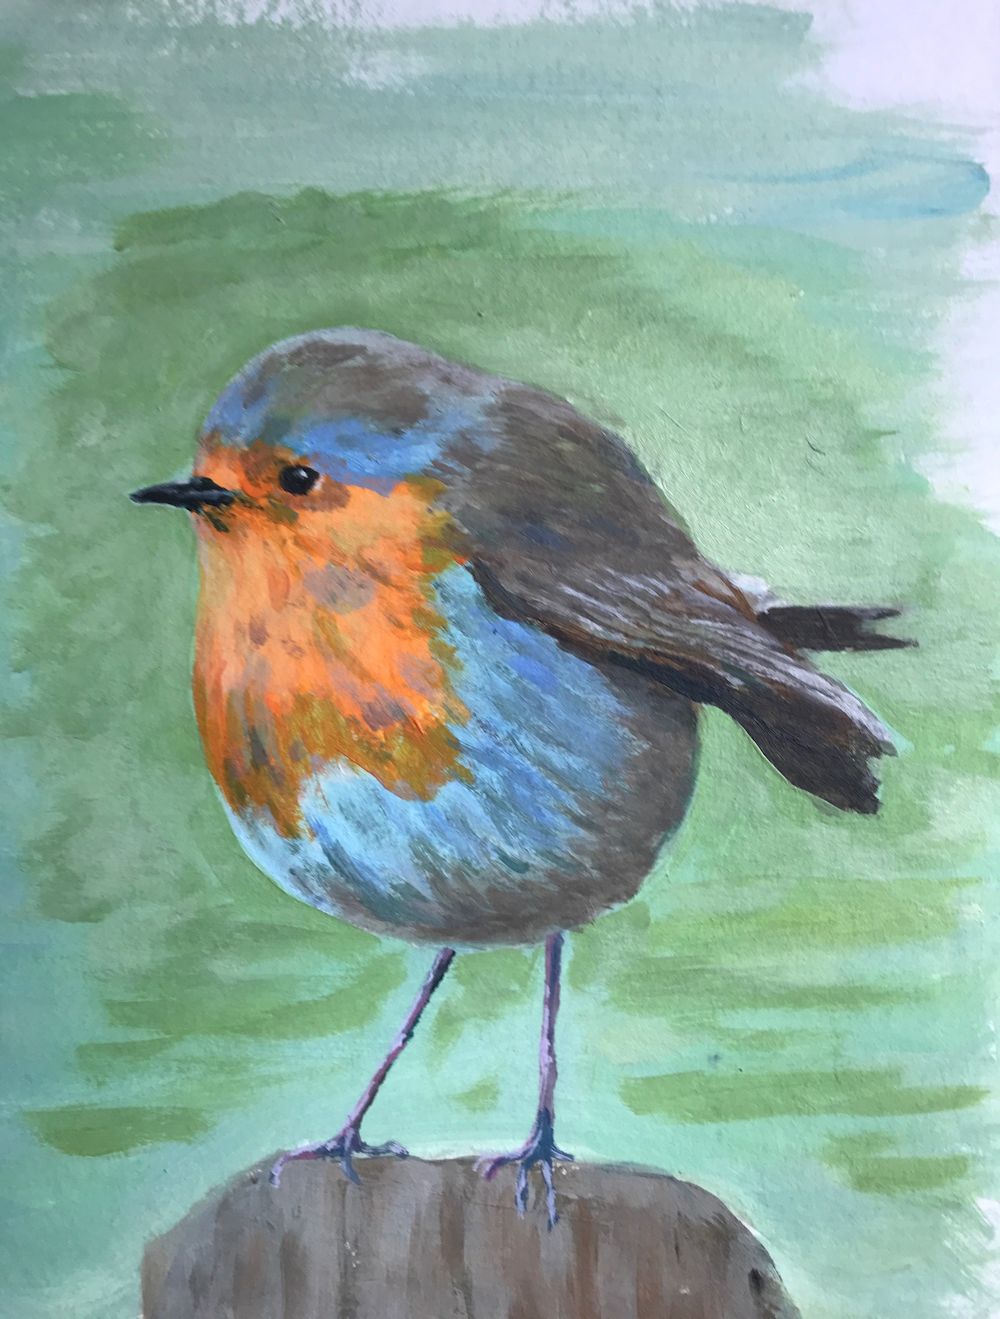
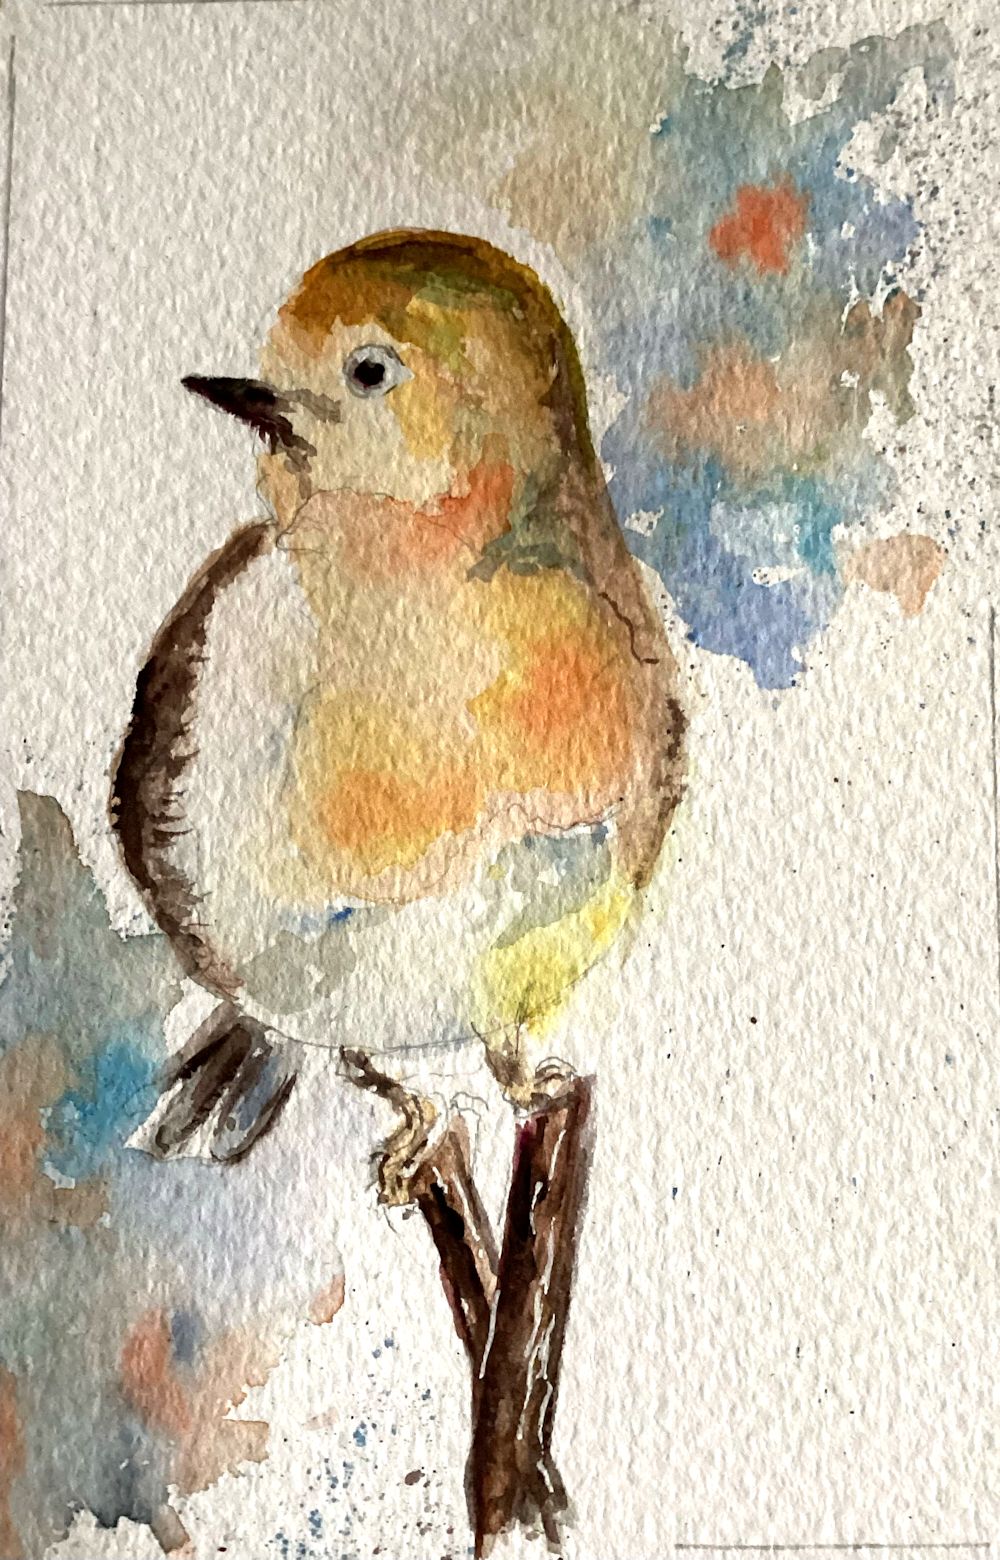
For sketches use any drawing medium with which you can work swiftly; for me at a small scale that would be rather conventionally a pencil! For more detailed studies in colour you may choose any coloured pencil including pastel pencil, which works well with coloured papers, or any painting medium. The Robin heading this post was painted in acrylic but watercolour or gouache would be a favourite for field studies.
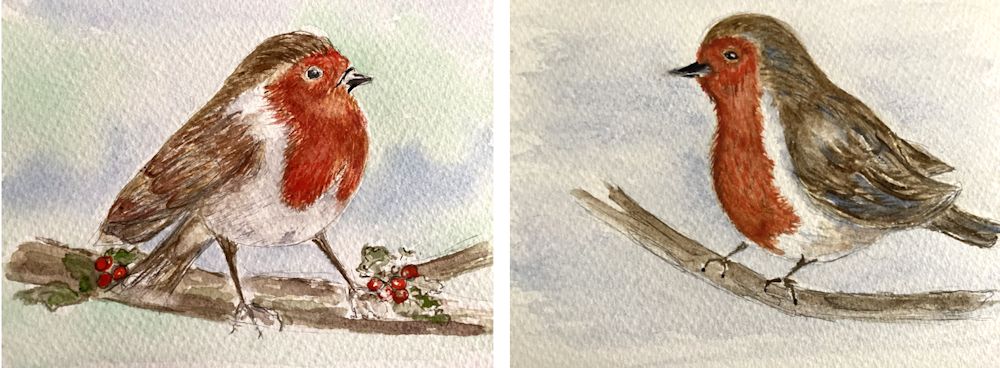
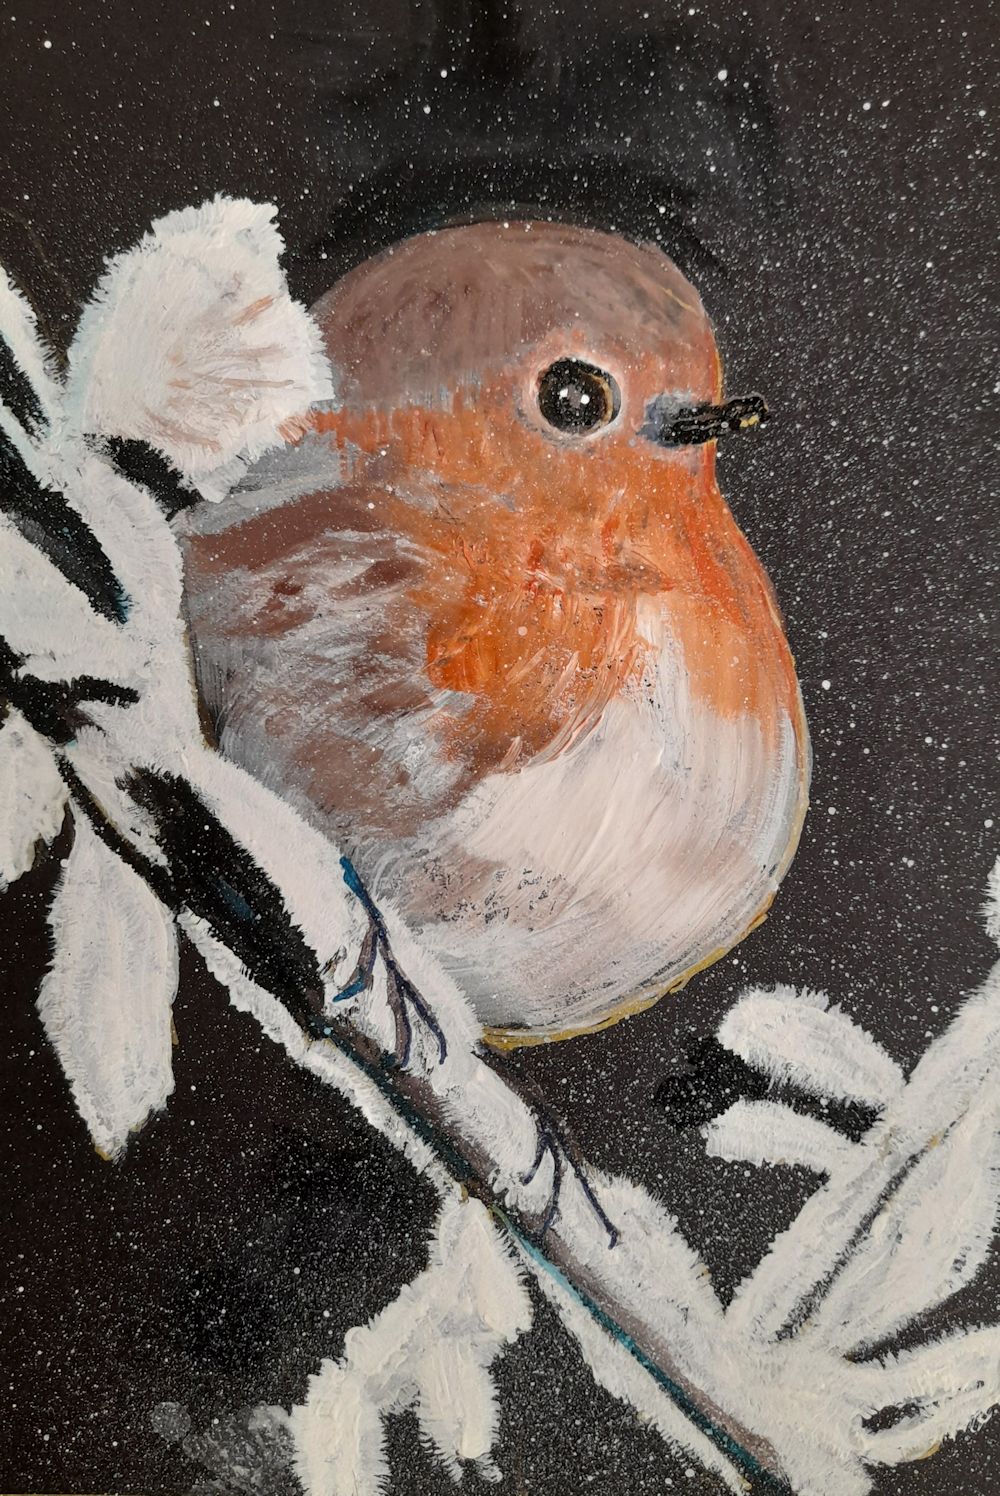
Your Paintings:
Pencil and Watercolour sketches by Heather
by Heather
by Heather
This time with minimal drawing
Acrylic by Mali
Acrylic by Mali
Sketch by Ann
by Ann
Acrylic by Kate
by Pam
by Pam
by Pam