Monthly Archives: April 2021
More than head and Shoulders:Week 4
April 27, 2021
The Three Quarter Portrait
This is a very popular portrait crop where the figure is cropped substantially below the waist and down to about mid-calf. It is an easier shape to fit to a canvas than an elongated whole standing figure and works especially well for women with long skirts.
Find a suitable reference or crop a whole figure reference to produce a three quarter length portrait. As you include more and more of the figure the head will be relatively smaller and the features will have to be painted rather differently; not so differently if you are working at a large scale but significantly less detailed at a smaller scale. The head is usually still the focal point of a portrait study so a good structure for the head and an indication of the main facial features are still essential.
Points where the figure crossed the lines could be marked and distances and angles checked making scaling up of all the main shapes easier.
This initial stage has been fixed quite heavily and more layers of pastel will be added. The final layer of pastel will be fixed only very lightly.
The amount of detail with which the facial features are painted depends on several things;
- The size at which the work is being painted, obviously the larger scale the more detail that is possible
- The head should not usually be very much more detailed than the rest of the figure despite its role as the focal point. If the head is worked to a high degree of finish and the rest of the figure is not there is a risk that the painting will have no unity. In the worst case the head may appear so differently treated it may look as though it has come from a different painting
- The over all look of your finished work; this is related to 2. If you wish your work to have a highly finished and detailed look, it should all be treated in that way. At the same time as in all paintings some areas should have more emphasis than others and there should be a focal point, in the case of portraiture usually the head. This may be achieved by more detail or greater tonal contrasts in certain areas but each area should relate to the rest of the painting to give the work unity. Look at how Modigliani achieves this and compare his works with those of Rembrandt.
Some portraits concentrate on the likeness and character of the sitter, while others may be more simplified or abstract. A glance at portraits by Rembrandt, Goya, Sargent, Matisse and Modigliani will give you an idea of just how varied the ways of depicting the clothed human figure are. Some examples can be found on the following Pinterest board:
https://www.pinterest.co.uk/jhall1282/portraits/three-quarter-portraits/
Your paintings:

Acrylic by Mali

Acrylic by Malcolm
by Angela
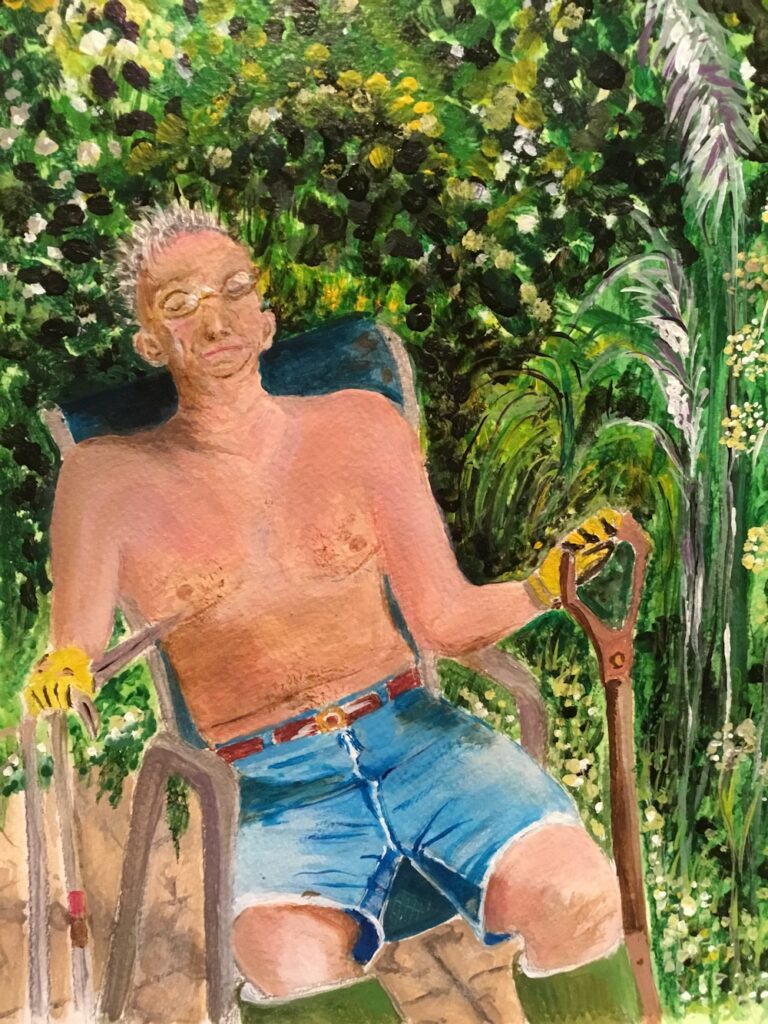

Acrylic by Heather

Watercolour by John

Watercolour by Liz
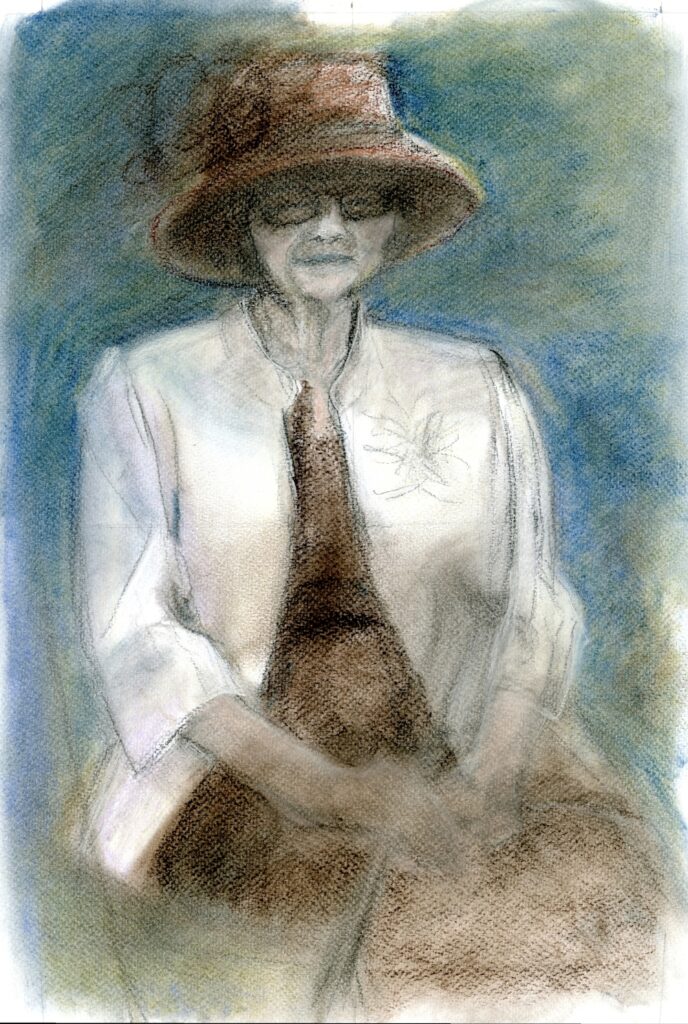
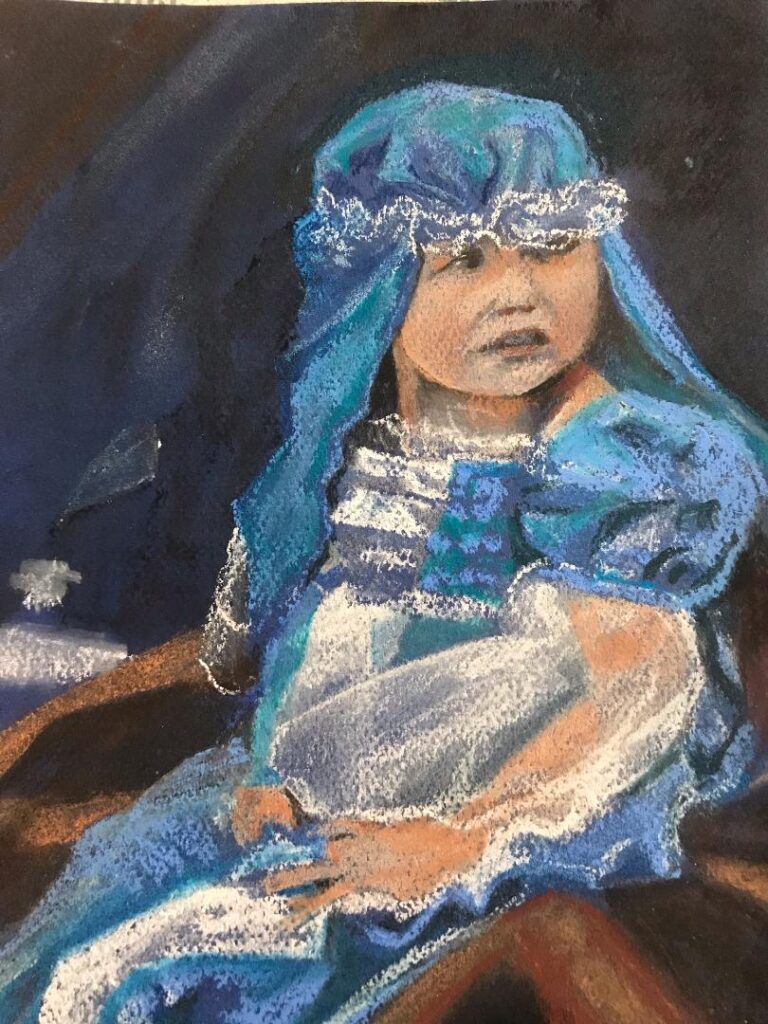
Soft Pastel and Oil Pastel by Elizabeth
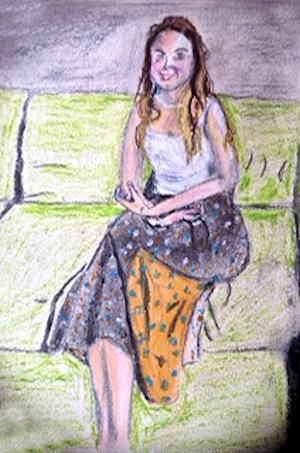
Pastel by Sarah
More than Head and Shoulders: Week 3
April 19, 2021
The Half Figure: selecting and cropping

This image needs no cropping but I would omit the shoulder and arm of the other boy on the right.
This week you are invited to paint a figure including arms and hands but extending no further down the figure than about the waist. You may already have a suitable reference that needs no cropping or you may have a whole figure reference which needs cropping to carry out this week’s challenge. As a rough guide cropping works when it is not exactly at the elbow or cutting through part of a hand or foot. I have tried to show this in the illustration below.


You will however, always find notable exceptions from well known artists who perhaps have enough magic and experience to make the seemingly impossible work. Some great examples can be found on Jo’s Pinterest board, link below.
https://www.pinterest.co.uk/jhall1282/portraits/to-about-the-waist-or-including-a-hand/


Photographed in Afghanistan by Alisha
Week 3 Project
Choose a photo reference. Try to find a reference that illustrates the persons character or situation. You should feel something about the image. Decide by making thumbnail sketches, whether and what cropping would result in a good composition for a portrait that references the figure to about the waist. Try to include at least one hand. Some paintings of half figures have the subject at a table, sewing, drinking or reading. Make careful decisions about the background including only what is necessary or relevant.
As with the whole figure, work out the sizes of the dominant shapes and how they relate to each other. Look at the negative spaces. Either use a grid or at least a vertical and horizontal line across your image and your drawing so that you can check measurements and angles; making sure that your picture space is in the same proportion as the part of the image included in your work.
Really look at the posture of the person and ask questions.
Is the head at an angle?
Is the person looking to one side?
How does this affect the neck?
Can you imagine how the head connects to the spine?
Are the shoulders at the same height?
What are the arms and hands doing?
Are there negative spaces related to the position of the arms?
What angles are made by the arms and hands?
Are the arms bearing any weight as when leaning on a table?
Looking and answering these questions will inform your work.
Your Paintings:

Acrylic by Malcolm

Watercolour by Sarah


Acrylic by Heather

Acrylic by Elizabeth

Watercolour by John

Acrylic by Liz, unfinished


Pastel by Angela
More than Head and Shoulders: Week 2
April 13, 2021

Try a Different whole Figure:
This week try a different figure. If you tried a standing figure this week try someone sitting and perhaps choose someone wearing different clothes; perhaps a more flowing dress or someone in uniform. You may like to paint a child holding a doll or someone with a guitar. There are a few photo references here and ways in which other artists have painted similar figures can be found in the same Pinterest boards as last week.
For the seated figure:
https://www.pinterest.co.uk/jhall1282/portraits/the-whole-figure-seated/
and for the standing figure:
https://www.pinterest.co.uk/jhall1282/portraits/the-whole-figure-standing/


If I were painting this subject I would include the whole of the foot by extending the space at the bottom of the photo, NOT by trying to cram the foot into the existing space!
After next week’s review session we’ll discuss composition choices when working from only part of the figure and how to crop references to provide an interesting picture. For week three we will choose to include the figure down to about the waist and look at the ways arms and hands may be arranged. For week 4 we’ll be considering the three quarter length portrait so you may like to start looking for suitable references for these weeks.
The Project for week 2:
So for the Week 2 challenge find a significantly different kind of whole figure reference to your choice for last week, possibly uniformed, sitting or standing, perhaps holding a doll or musical instrument.
Check the overall height and width of your figure at the widest points. You may like to construct a rectangle around the figure so that you can transfer that rectangle to a space within your support. This will help you not only to get the proportions right but help you decide exactly how much of the total area you wish the figure to take up to make a pleasing composition. It will also help to avoid the situation of cropping an extremity at an unintended point or worse trying to shorten something artificially.

You will have to measure the height and width of your figure in the reference photo and then multiply each length by the same amount to transfer the figure to your support at the size you wish while maintaining the correct proportions. You may also use a grid as we did for the portrait heads. This method allows a good check for the proportions and is a good starting point if you would like to work with the negative spaces.
Also consider the negative spaces, for example between the legs if they are apart. Think hard about what items should be included in the background. An artisan carpenter might have his tools or an academic his books for example. Try to show the person’s character and age by the way they stand or sit and their interests by the surrounding props.
Your Paintings:

Watercolour by Sarah


Pastel by Heather

Watercolour by Ann

Pastel by Liz


Acrylic by Elizabeth

Pencil and coloured pencil by Mali

Watercolour by Mali

Acrylic by Malcolm

Watercolour and wax resist by Angela

Watercolour by Sarah
I included this one as it’s a good example of how the figure can be cropped successfully to give an exciting composition of less than the whole figure, which will be the challenge for next week.
Painting Portraits from Photographs 2: More than Head and Shoulders
April 6, 2021
Week 1:The Whole figure

Over the next four weeks we’ll consider painting rather more of the clothed figure than just the head and shoulders. Choosing reference photo is the first challenge. You may have one of a complete stranger or you may have or can take a picture of a family member reading a book or even asleep. At least they won’t be giving you a great big beaming smile. For this week include the whole figure either seated or standing in your reference. The aim will be to get really used to looking at the various elements of the figure because understanding figure itself will help us understand how clothing drapes across the body. Usually there are a lot of clues especially with more tailored and tight fitting garments but the particular pose that presents itself can also give invaluable clues that will help you make a believable portrait.
In subsequent weeks we’ll look at suitable cropping points so that successful compositions can be made of to the waist and also three quarter length studies. We’ll also consider figures wearing uniform, formal regalia or traditional costume less familiar to us, but for all of these a general understanding of the figure, its proportions and the way it moves will inform all the work done.

Look at the standing reference first; in an adult the head is about one seventh of the total height but in a child this ratio is considerably more. In the photo above it is between one sixth and one fifth.
Follow an imaginary line from the top of the head down the spine to the pelvis and think about what happens when you get to the legs. With a standing figure the neck will be directly above the foot bearing most of the weight and if the weight is being evenly shared between both feet will be directly above a point between the feet. If your figure is leaning against a wall notice if this changes anything.


Look at how far the arms extend down the body if they are down and how far again if they are folded or the angles made if they are on the hips or if one arm is on the hip what is happening with the other arm.

Look at the tilt of the shoulders and the hips if these can be identified. Thinking about how the body moves will help. Look at the knee in relation to the direction in which the foot points. If you stand fairly upright with your feet together and then turn one foot out a bit the knee follows it and so the knee points in the same direction as the foot. When sitting this is also the most relaxed position for the foot, but of course if you cross your legs you will find the foot has far more freedom but still feels more comfortable when pointing the same way as the knee.
Try to find out how your own joints limbs and back behave, then look at your reference again and think through what is going on.

With the sitting reference, look at the relation of the sitter’s form to the form of what they are sitting on whether it’s flat ground, a grassy slope as for the Afhan girl heading this post, or some kind of seat. It can be useful to make a sketch of the chair, bench or stool, but remembering that the soft parts of some chairs will be altered by the sitter as above. The appearance of the figure, especially the fore-shortening of the upper leg will be very different depending on whether you are viewing the person from the side or the front. The height of the chair in relation to the person’s leg length will also result in a very different posture for the sitter. If a tall person sits on a low bench they will either stretch their legs out or bend their knees up bringing the feet closer to the chair. Just think about things like this when looking.
You may like to look at how other artists have portrayed standing and sitting figures so do have a look at the following Pinterest boards.
For the seated figure:
https://www.pinterest.co.uk/jhall1282/portraits/the-whole-figure-seated/
and for the standing figure:
https://www.pinterest.co.uk/jhall1282/portraits/the-whole-figure-standing/
Then it’s high time to have a go!
Choose to work either from a standing or a seated figure and make a few thumbnail sketches first, before launching into your first painting. Work so that you make note of the tones in the composition as well as the shapes of the forms. Try to imagine you are in the presence of the sitter and that the figure actually exists in three dimensions rather than the two dimensional image you are referring to.
Composition
After that decide how much space your figure will occupy in your painting. Look at the overall height and width of the figure and how much of the background and what of its features you wish to include or exclude. Sometimes an indication of the space around the figure and the objects within that space helps the composition while at other times there are things in the background which are irrelevant and may detract from the main focus: the figure being portrayed.

The medium is up to you; pastel and acrylic are possibly more forgiving than watercolour but whichever medium you choose once you have established the main shapes, take note of the tonal balance as well as the colour. If you choose to work in watercolour you may like to Google the portrait watercolours of Charles Reid, and Hans Schwarz, and of course Singer Sargent also produced some wonderful watercolour portraits.
Your paintings:


Watercolour by Sarah

Acrylic by Ann

Soft pastel by Elizabeth

Watercolour by Elizabeth

Mixed media by Liz

Acrylic by Malcolm

Acrylic by Heather

Pastel by John

Coloured pencil on cartridge paper by Angela

by Mali