Portraits of Older Children: Week 5
July 13, 2022
This week you may like to work a profile view or include more of the figure.
First, a recap on useful mixes for flesh tones from a basic palette:
Two earth colours that are useful both for skin tones and hair are Burnt Sienna and Burnt Umber.
Burnt Umber makes great darks when mixed with Ultramarine Blue. When mixed with varying amounts of primary colours and white a great variety of skin colours can be mixed using Burnt Sienna and for darker complexions with Burnt Umber. A few of these mixes are illustrated below:
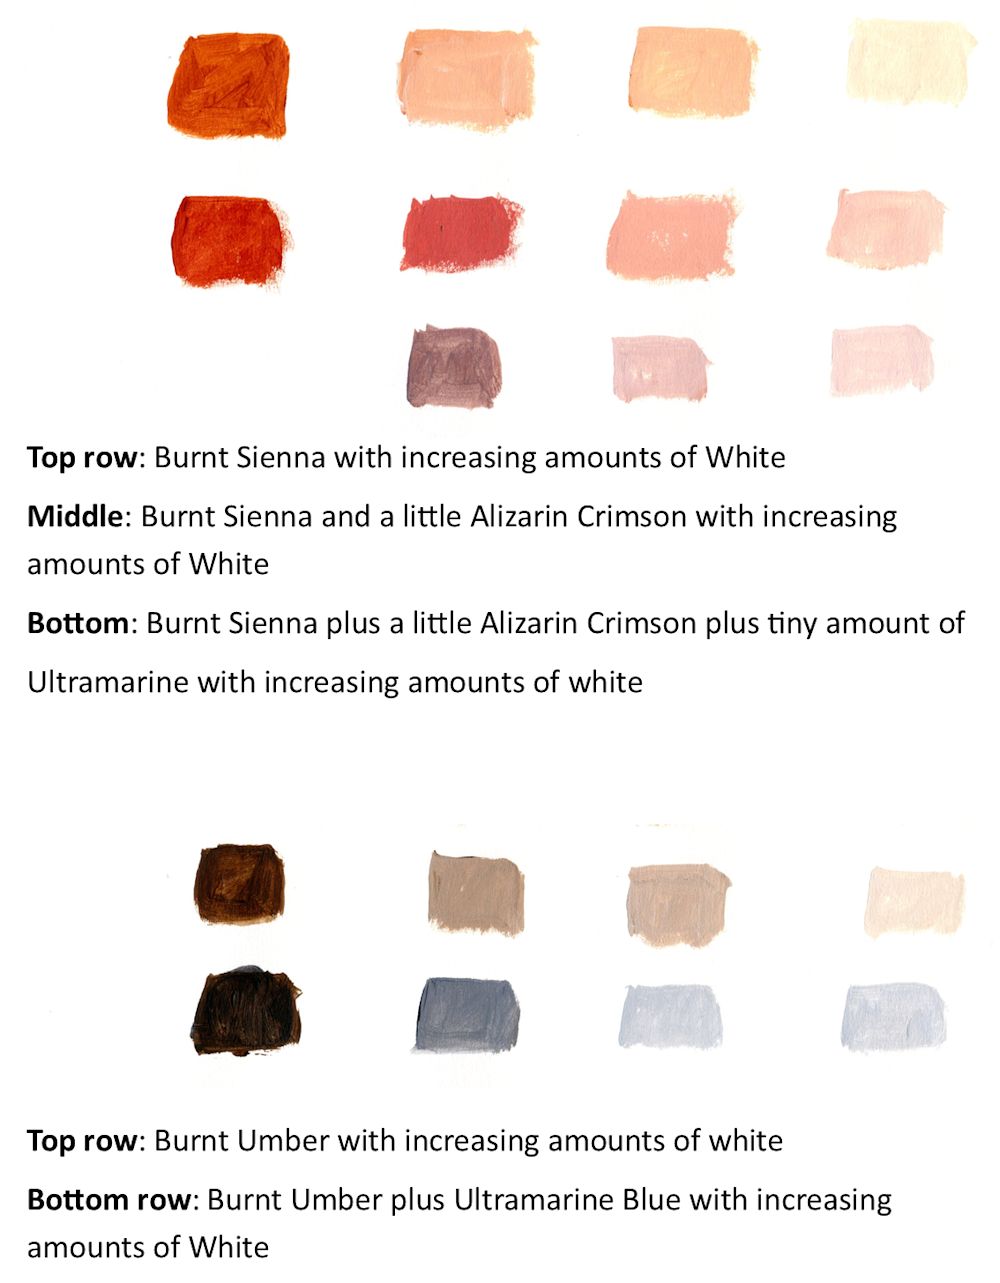
Try mixing other combinations of primary colours with Burnt Sienna and Burnt Umber and you will be able to make lively muted and coloured grays for shadow areas as well as much warmer and cooler skin colours.
In a way the above is a short cut as similar colours can be mixed from primary colours.
Below is a tiny sample of some of the colours that can be made with Alizarin Crimson, Ultramarine Blue and a pale yellow like Cadmium Yellow Pale or similar.
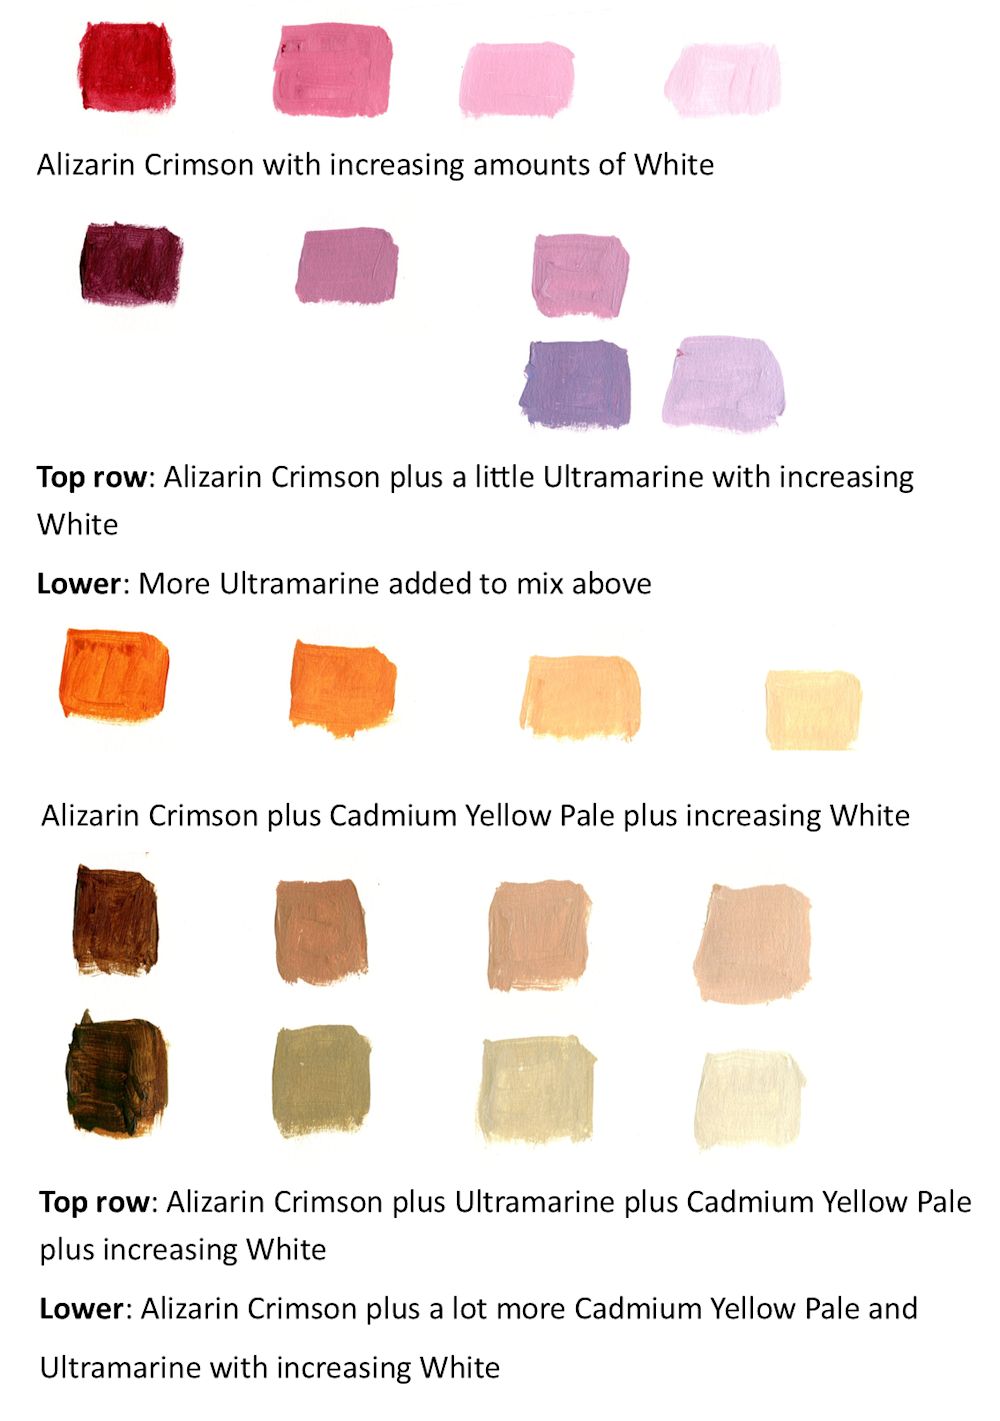
By adjusting the amounts of each pigment you can mix suitable skin colours just from these three plus white. Skin is NOT always a “flesh tint” hue; in the shadows you will find muted purples, greens and blues and coloured greys. As a general rule paint the mid tone areas first then at least one of the darkest and one of the palest areas to set the range of tones within which you are going to work. Also as with drawing, work on the largest shapes first before moving on to the detail.
This week’s challenge:
Arms and the way a person sits can reveal a lot of their character. With the head studies so far we generally included the shoulders and looked at their relation to the neck and head. This week we may include arms and shock horror, hands which I know are generally believed to be difficult. Well they are complicated and they are a challenge for everyone but one that can be overcome by understanding their structure. Also hands do not always need to be depicted in great detail. Sometimes all that is needed is an indication of their general form as revealed by the light.
If you can look at how arms and hands are depicted by other artists. Some examples are on one of my Pinterest boards, link below:
https://www.pinterest.co.uk/jhall1282/portraits/older-children-portraits-including-hands/
Perhaps try drawing your own hand to familiarise yourself with the way in which the finger joints and finger ends lie on a curve. Sit yourself in front of a mirror and observe how your shoulders and arms look when you have your hands on your knees, when one hand clasps the other in your lap, and when you fold your arms, and any other natural looking pose you can think of. If possible do a few quick sketchbook studies of the way your own head, shoulders arms and hands arrange themselves in these various positions.
I know you are not the same as a 9 to 14 year old BUT this will help you look at your reference photograph in a constructive way.
Below are two photos of children; look at them objectively in the same way, relating the sizes and angles of the various parts to each other. Then find a reference of your own and decide on how much you want to include in your portrait study and then work out the composition taking on board the structures and the lighting.
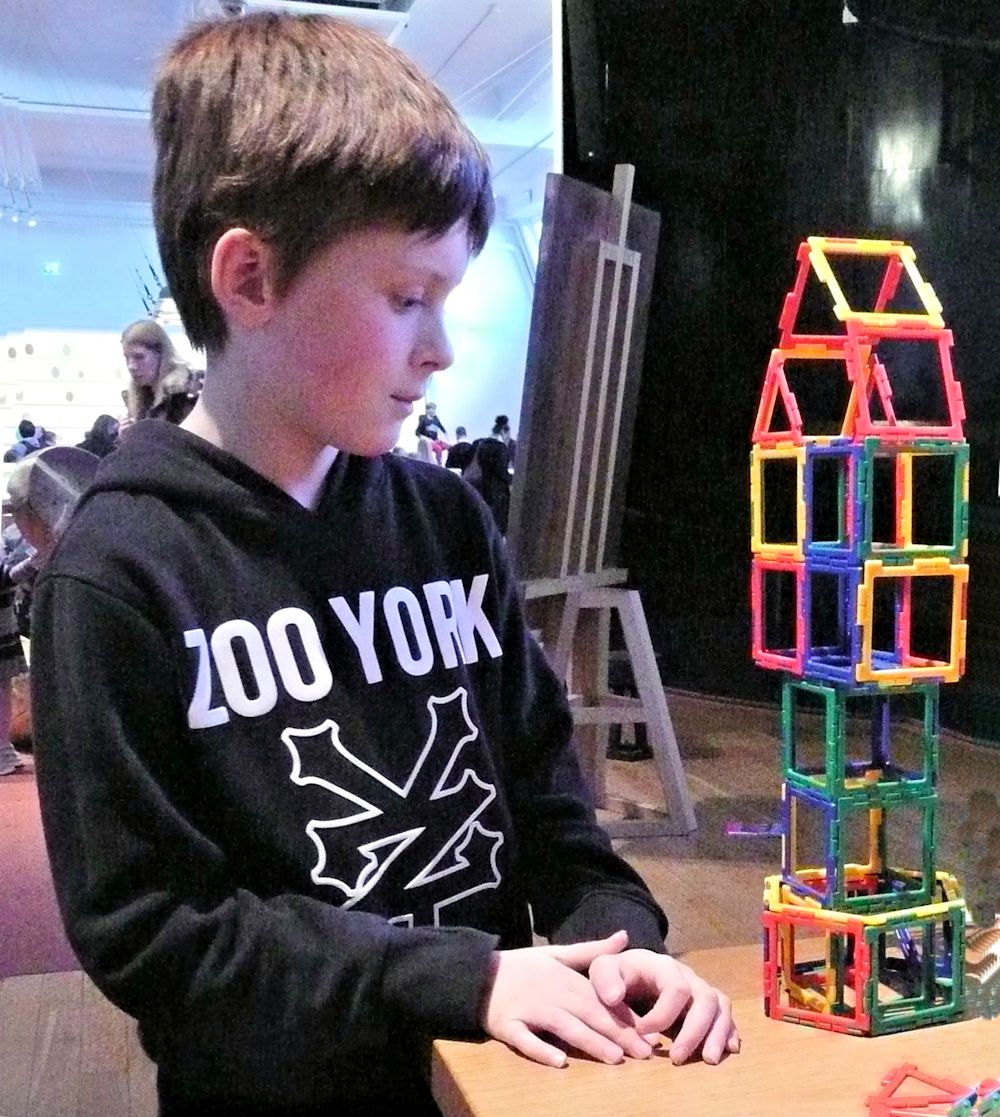
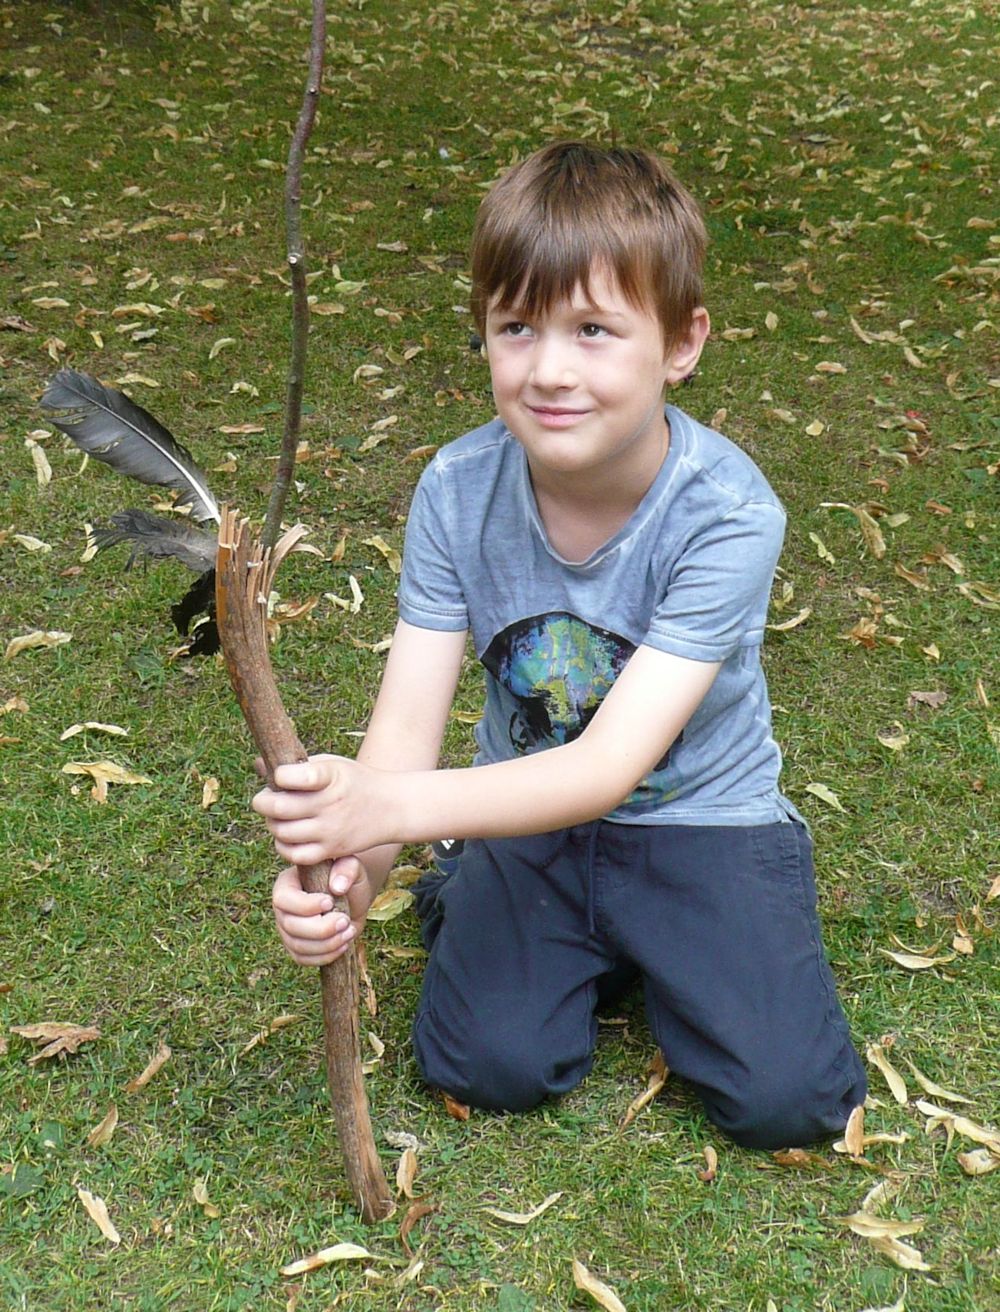
Think hard about the overall width and breadth of your figure; this will be very different in the case of standing and sitting figures. Make sure you plan the composition well and think about how the figure will be placed on the support. Similarly make sure that if you are transferring your photo reference to your support that the figure maintains the same aspect ratio i.e. the overall height and width of the figure in your reference is in the same proportion on the support.
You may like to use the grid method for this, even a simple four squares by three square grid drawn on the reference and a larger grid drawn in the same proportion on the support will help and allow you to check angles and lengths especially in complicated poses.
On your canvas or board either
1.Mark out the main lines of the composition and then work in paint or pastel
or
2.Make a tonal study in paint this week to which thin glazes of colour can be used to finish the portrait next week.
Your drawings and paintings:

by Vivienne (unfinished: minor adjustments are being decided)

Pastel by Liz (unfinished)

Under drawing by John
See the completed painting next week next week

Pastel by Norma

Oil by Virginia

Oil by Virginia