Thinking about Portraits 3: Three Quarter View
June 1, 2020
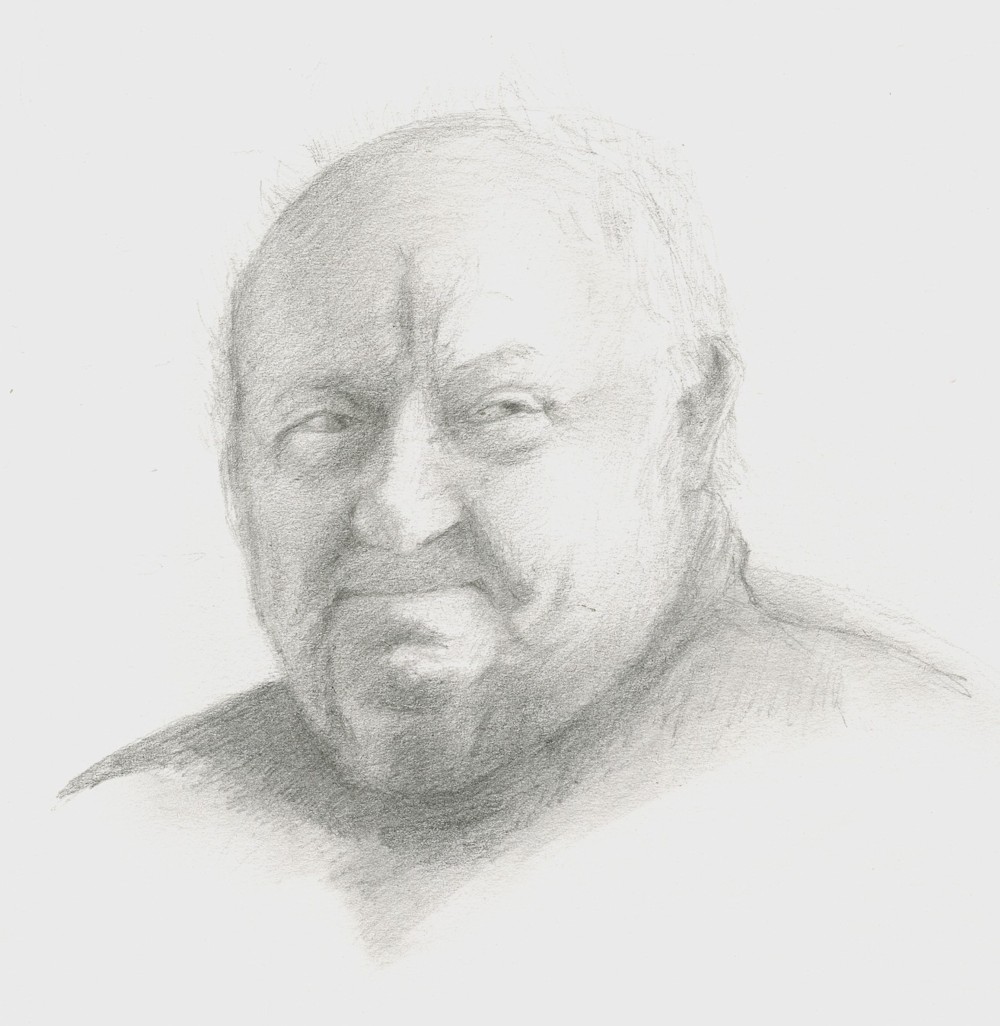
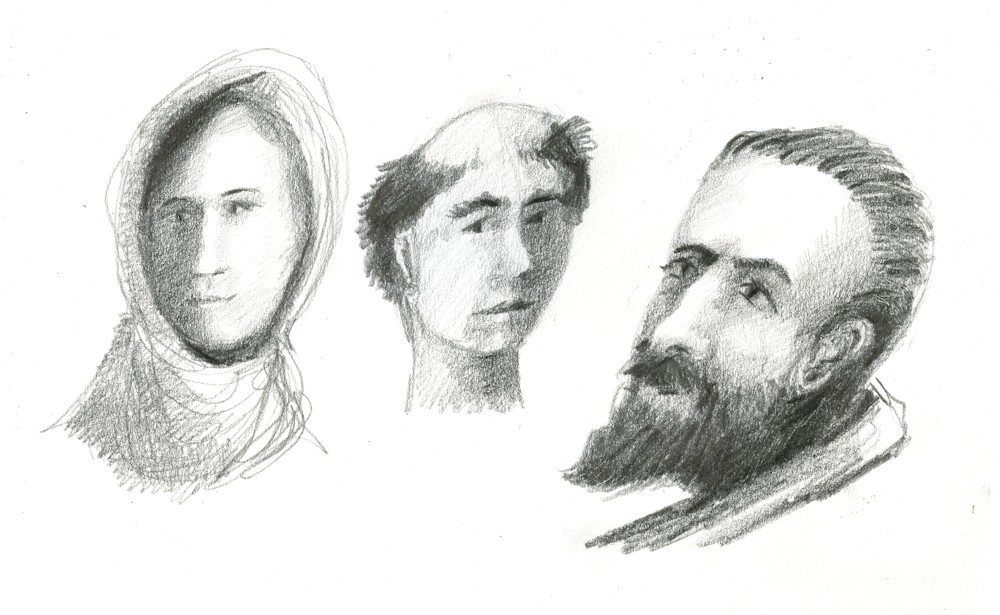
Pietro: Artisan and Collector, Bardi, in pencil
I tremendously enjoyed meeting Pietro in his Aladdin’s cave of a workshop, housing every kind of ancient woodworking tool, nails, and planes beautifully arranged among collections of old terracotta stoves and his magnificent sculptures made from ivy roots that once embraced trees in the local forests of Emilia Romagna.
The drawing above was made from a photo but I so need to make a colour portrait with a backdrop of his tools and collections. The drawing is very much in the chiarascuro tradition of revealing the three dimensional form by the use of dramatic lighting. The near frontal view and three quarter view give a huge amount of information about the sitter, including hints of the profile view as well as the frontal view. It is probably the view favoured most by portrait artists and I recommend you to study portraits by Caravaggio, Rembrandt and Vermeer who all used chiarascuro lighting to reveal the form of their subjects.
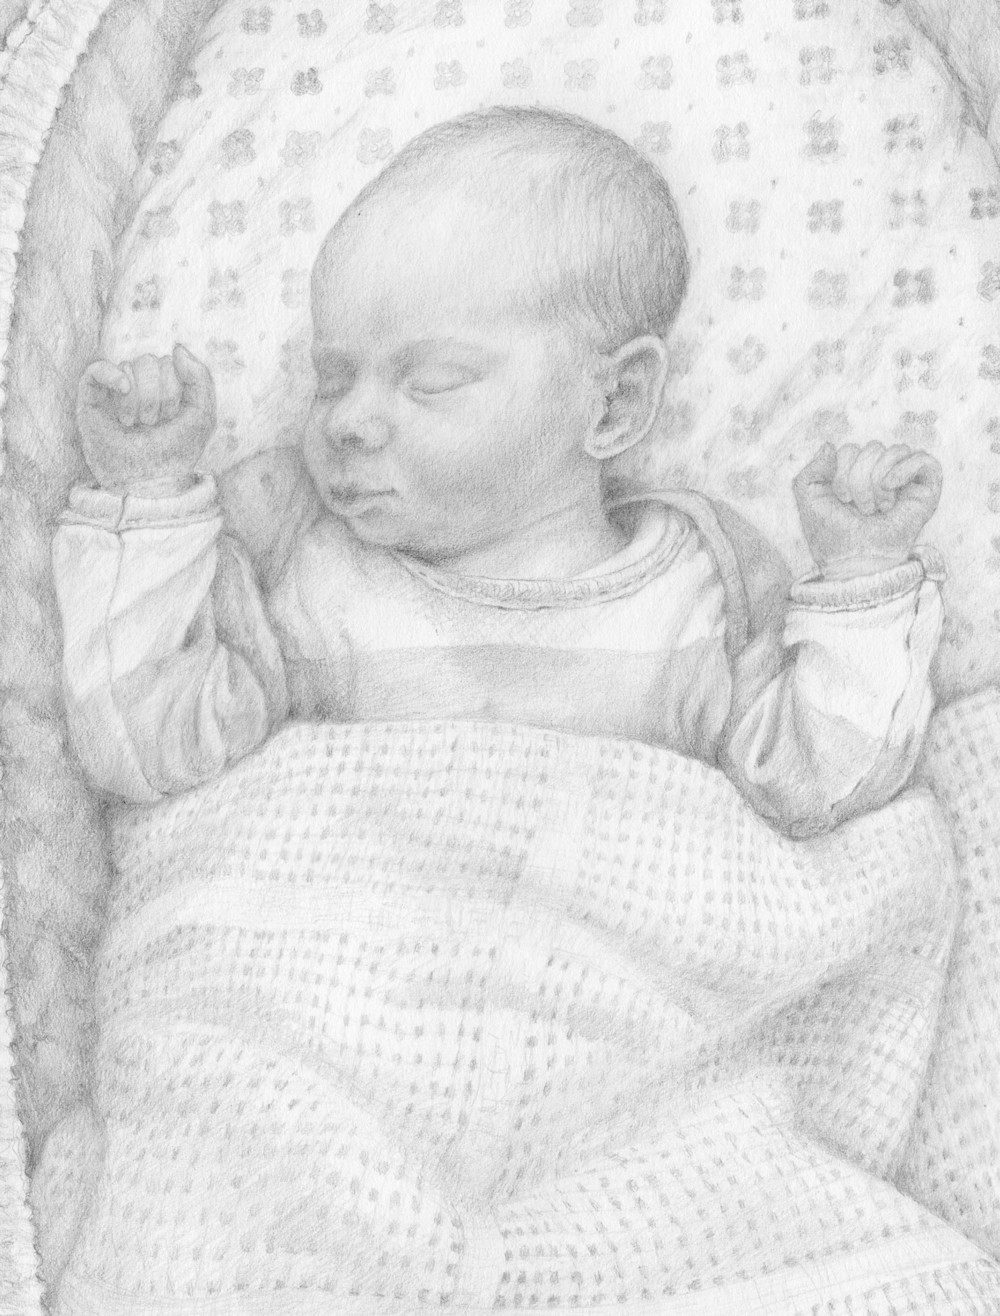
Crown prince Toby: first grandchild in pencil
It is hoped the images chosen for this post will help you think about drawing young and old, how much else to include besides the head, and a nod to putting your model in context to tell a story.
Best of all would be for you to work from life asking a family member to sit, and arrange for your model to be strongly lit from one side. Alternatively find a three quarter view photograph of someone you know or make your own version of an old master painting, again looking for a reference with strong lighting that reveals the form of the head.
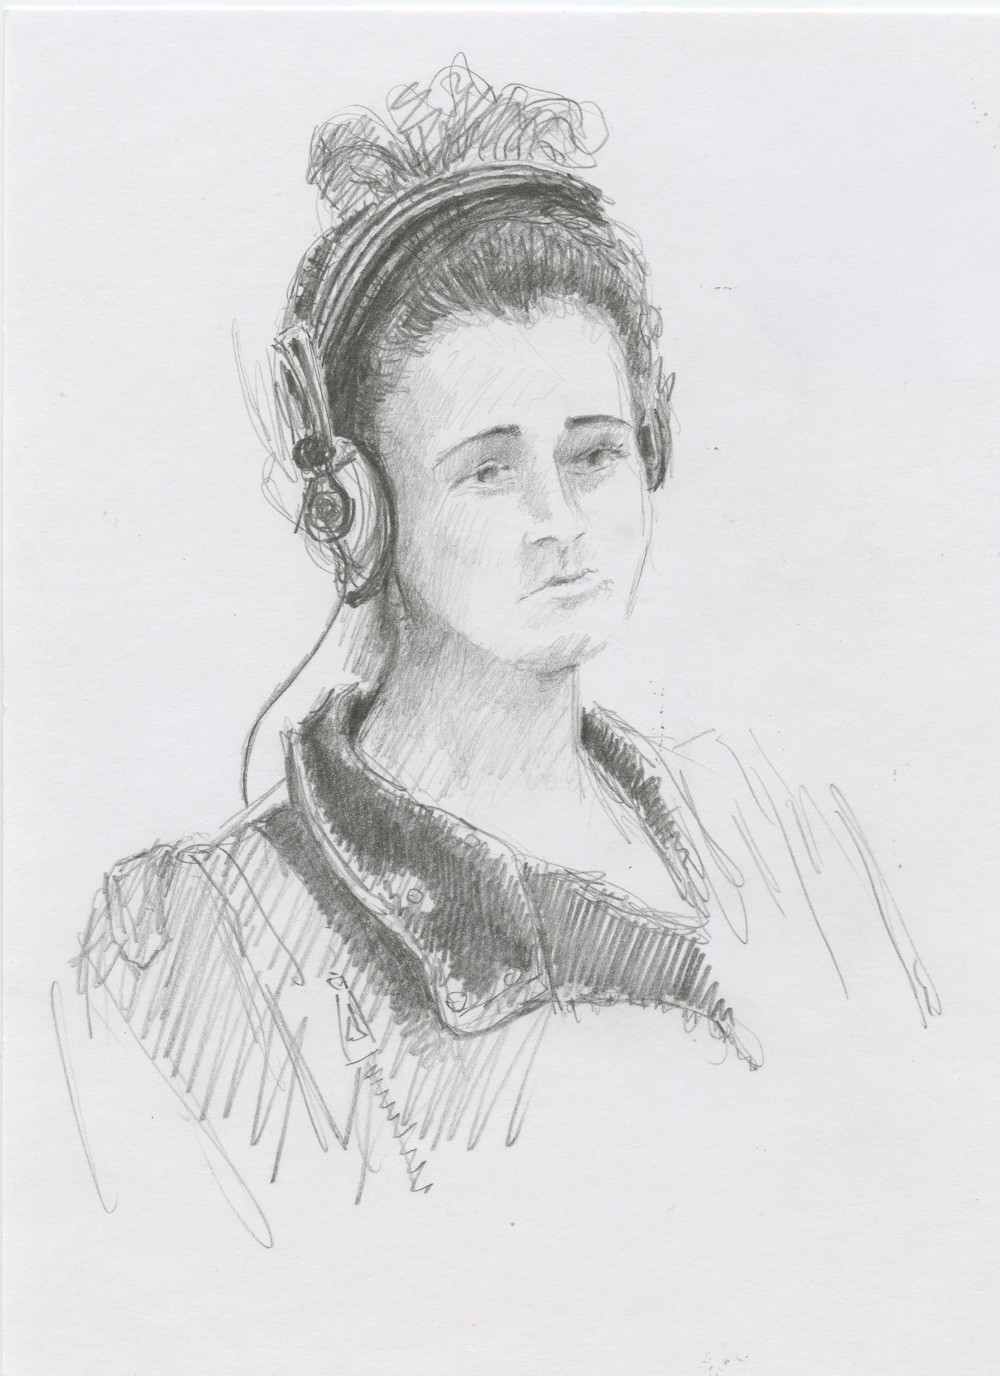
Headset on the Jubilee Line; pencil sketch
Whether you decide to work from a live model, a photo reference or make your own version of an old master painting think about the general height and width of the head and how it connects to the body. In three quarter view you wil see the neck rather differently in relation to the head and shoulders than with a head facing you directly. Lightly place the eyes, bottom of the nose, mouth and chin, noting that one eye will appear closer to or even be partly obscured by the bridge of the nose. The eyes will also appear slightly closer together. Go on to place the ear; again the position of the ear will appear very different depending on how much the head is turned away from you.
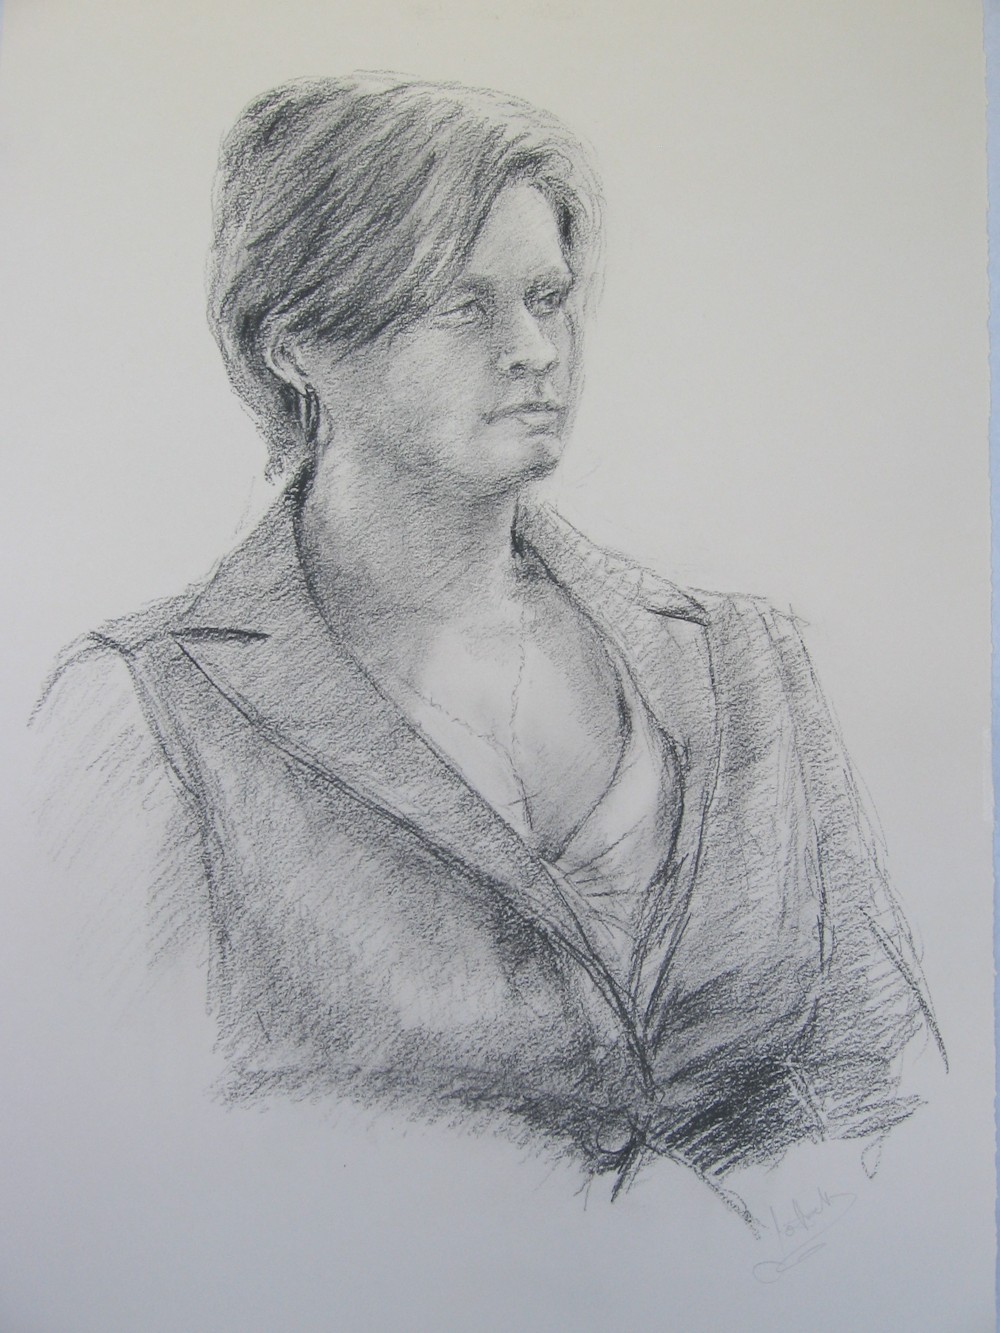
Drawing from Life; charcoal pencil
Perhaps suggest the mass of the hair, ensuring you understand the underlying shape of the skull first. Then work on very lightly shading all the areas that are not the very lightest with an HB pencil. next work on the mid tones hatching with a slightly softer pencil and start to work your hatching to describe the form. Then start to reinforce the darkest areas with some hatching and some mark making to suggest the textures you see; wrinkles, freckles etc. Adjust all the tones paying special attention to under the chin and neck, the whole of the darker side of the face, shadows under the nose and from the hair etc. till you are happy.
Not everyone has a skeleton in their cupboards but if you can find the opportunity to draw a skull in side, front and three quarter view it would help to give you a very clear understanding of the spatial relations of the eye sockets, nose and jaw line. Even with a very plump face it is the skeleton and its overlying muscles that give the head its over all structure. Exploring the head tonally by drawing will give you great assistance when painting a portrait in any medium.
Doodle heads imagined: pencil
Try to continue with sketchbook studies from life whenever you can, but don’t be afraid to invent doodle heads and give your drawings a dramatic chiarascuro lighting.
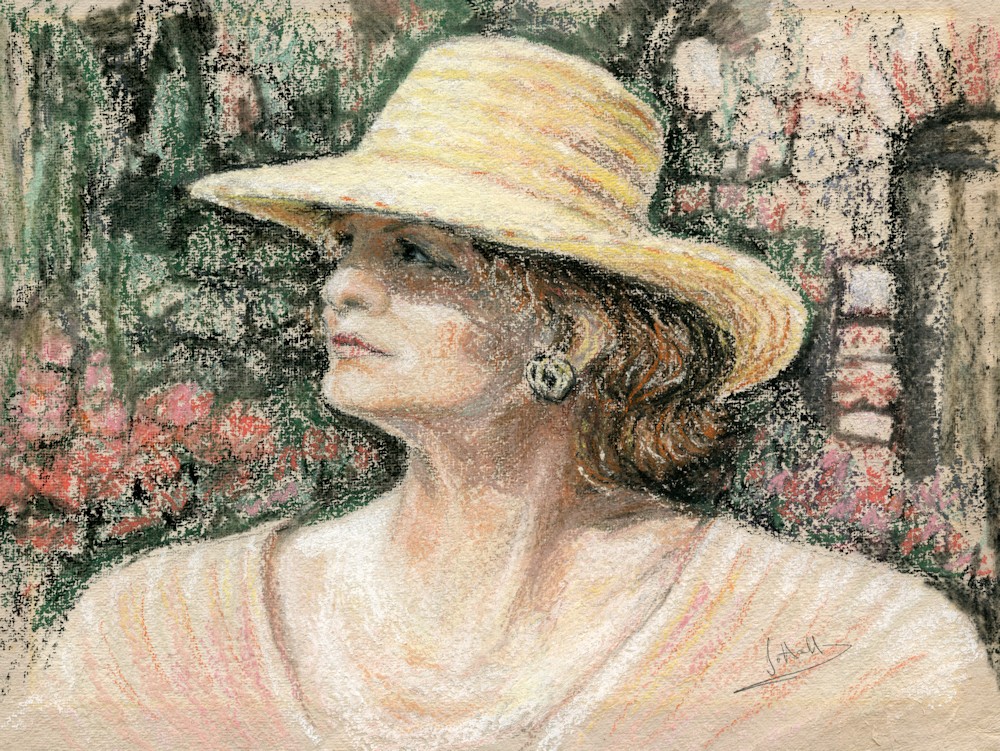
Eva in Tuscany: soft pastel
The last examples in colour are not all three quarter but all are dramatically lit. Eva’s hat provides a wonderful shadow over her face.
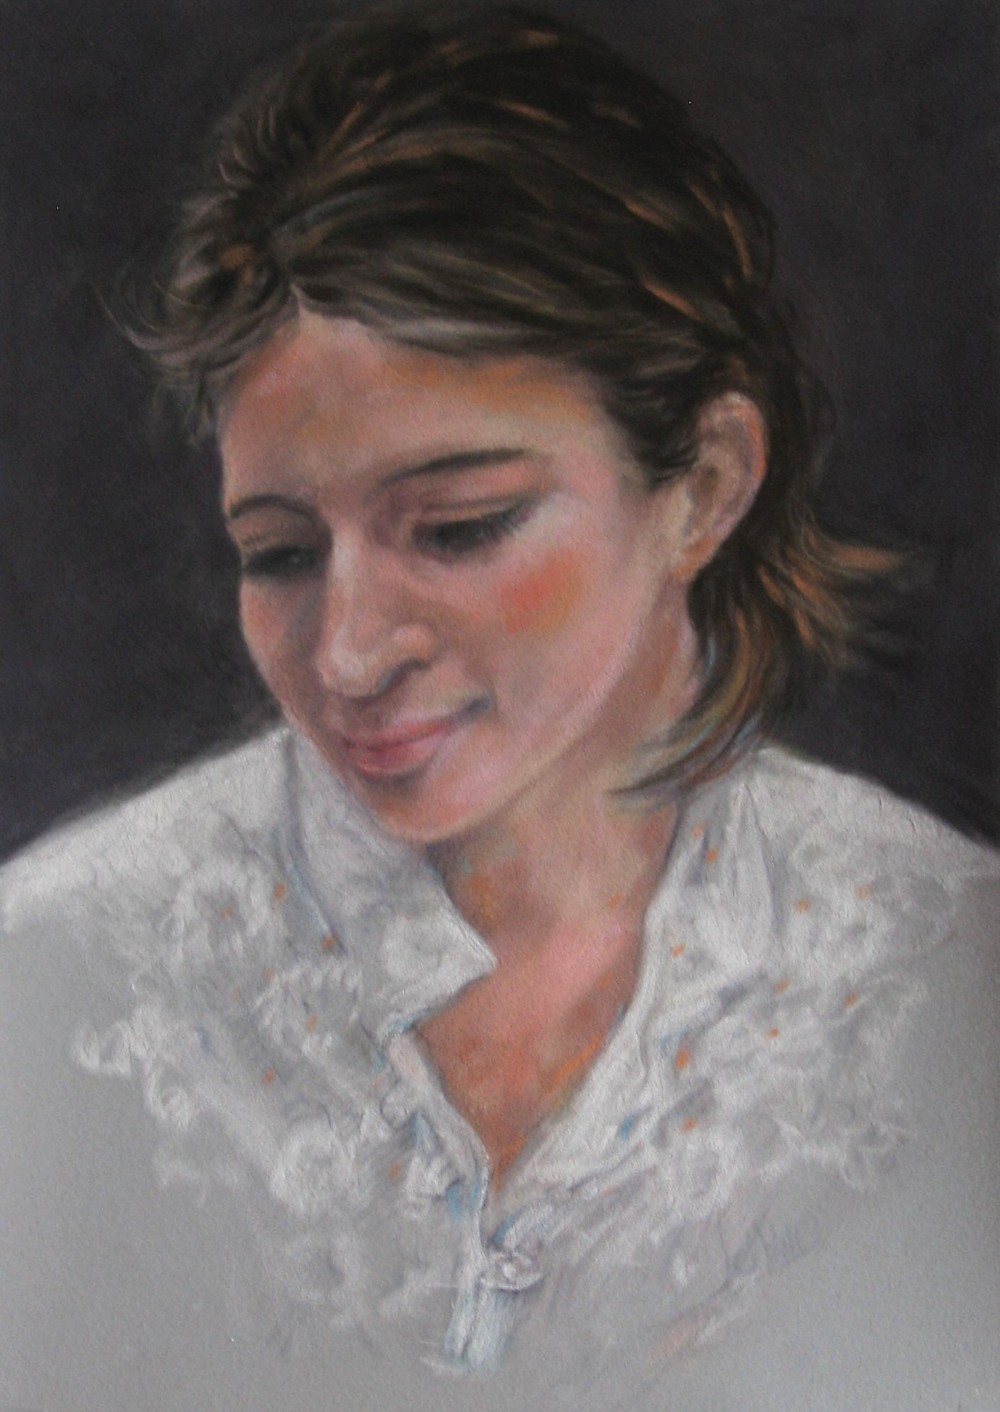
Claire: soft pastel on velour paper
Claire was painted in pastel on velour paper giving a very soft look.
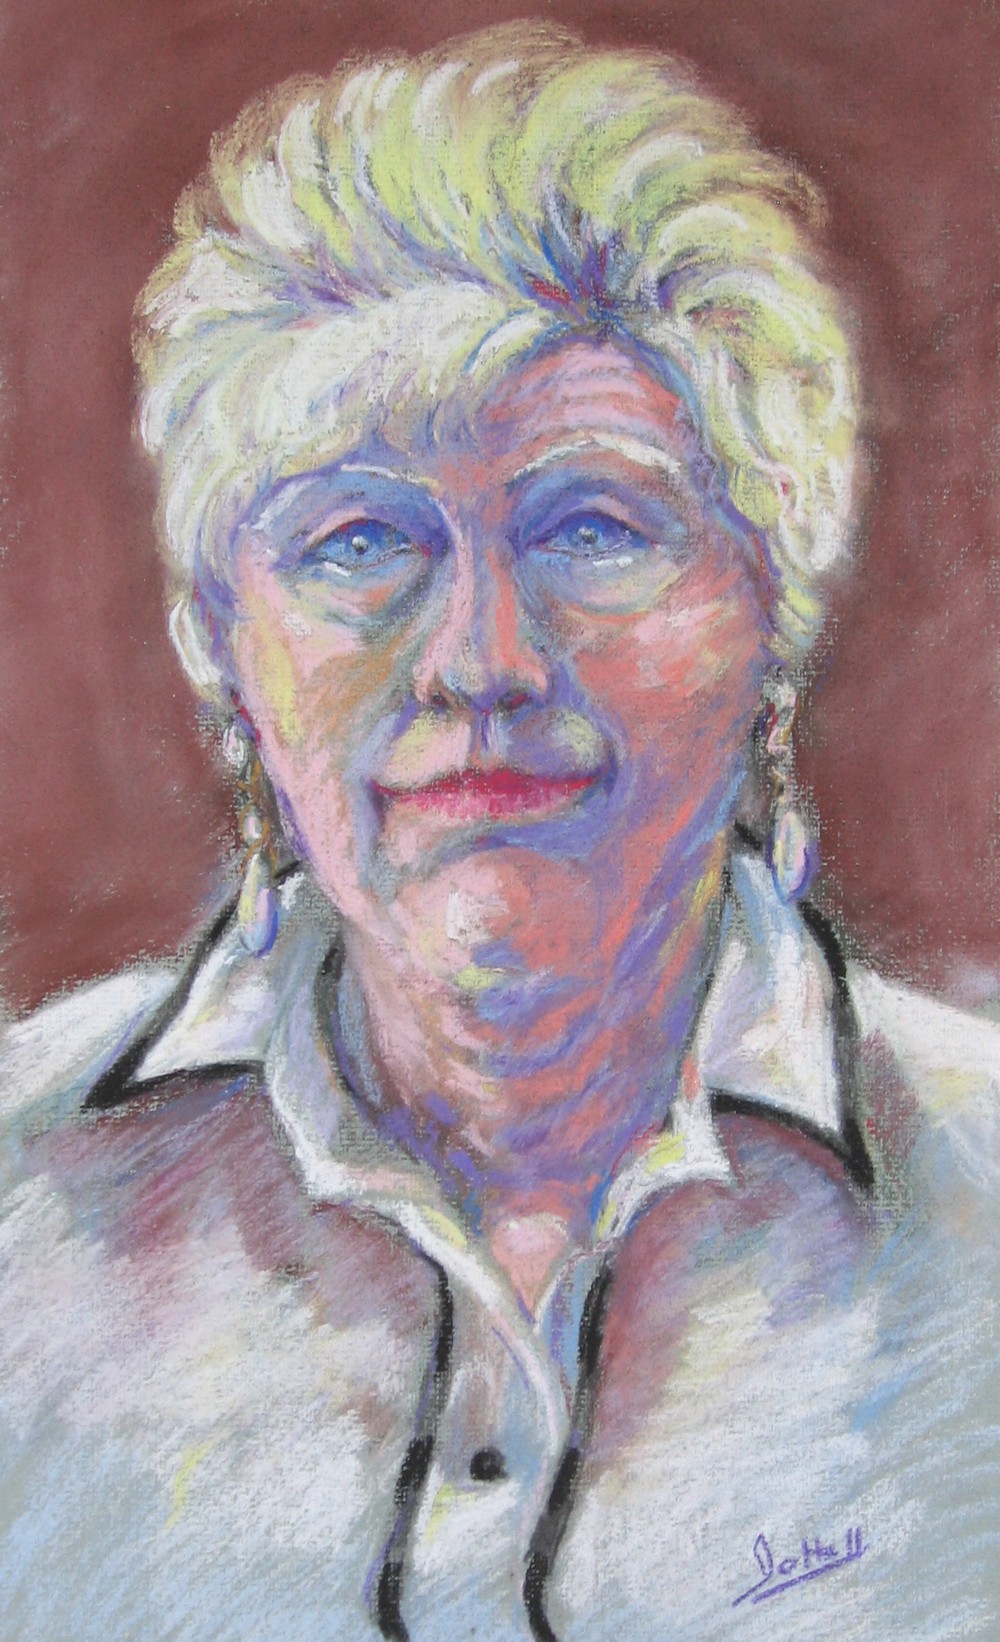
Soft pastel painting from life
The last shows how colour can be used to indicate tone and shade much in the way some Fauve paintings were made. In future posts I hope to explore colour and portraiture and also portraits that include something of the passion of the sitter in the way that a portrait of Pietro in his workshop with all his tools, sculpture and quirky collections would tell something of his story.
Your Drawings and Paintings:
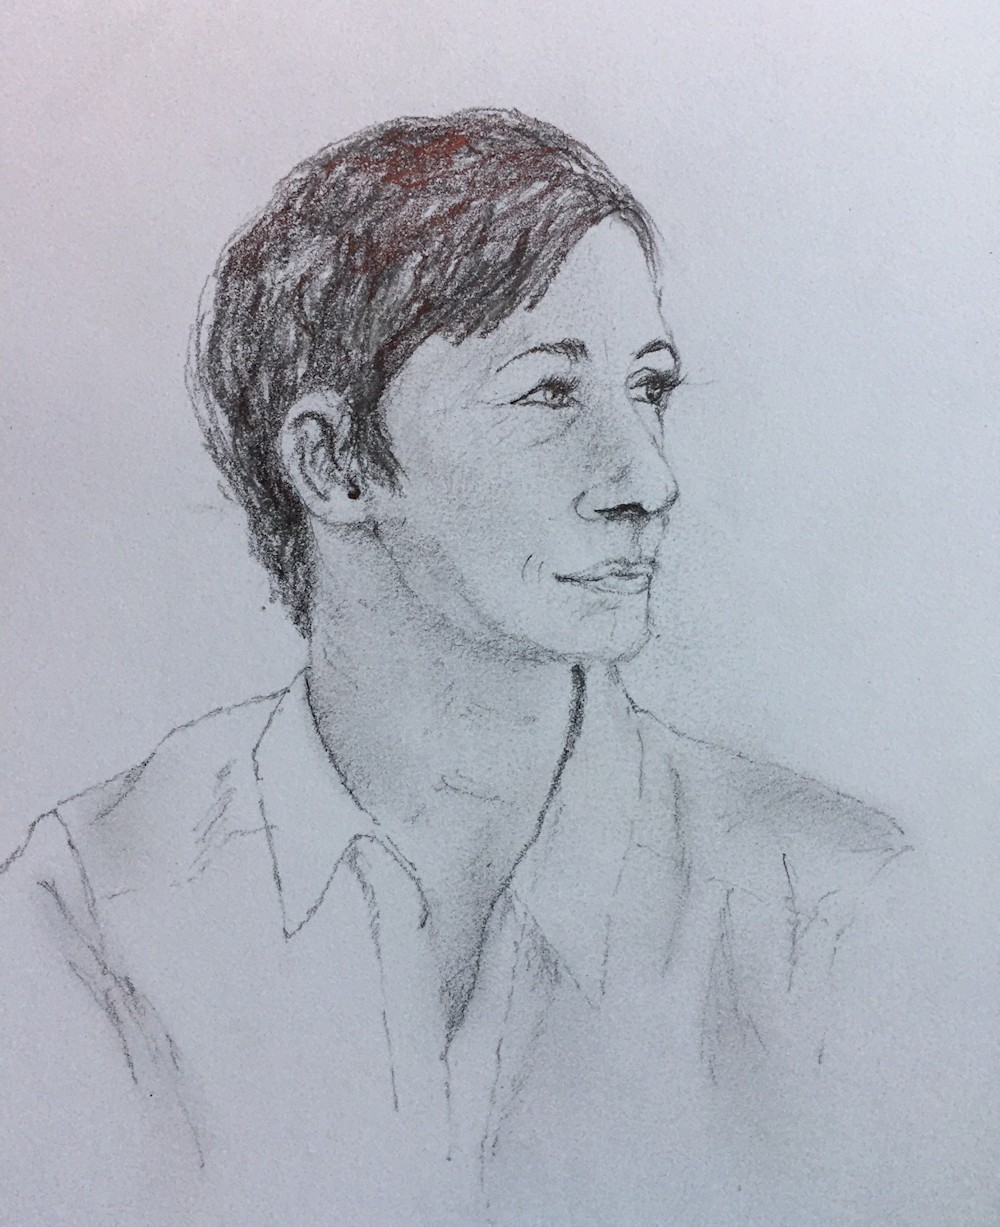
From photo reference, in pencil by Jane
Almost front view from photo reference with dramatic lighting, pencil by Jane. Totally my rule of thumb: if you can see both ears the head is approximately full front, but as you can see here the side of the face on the shadow side is slightly narrower and we can see more of the ear on the lighter side, even a small rotation from absolutely straight ahead makes a difference. Also note how the strong use of light and shade (chiarascuro) reveals the form of the head and helps us understand the form of the nose, chin and brow with tone rather than line. All very well observed.
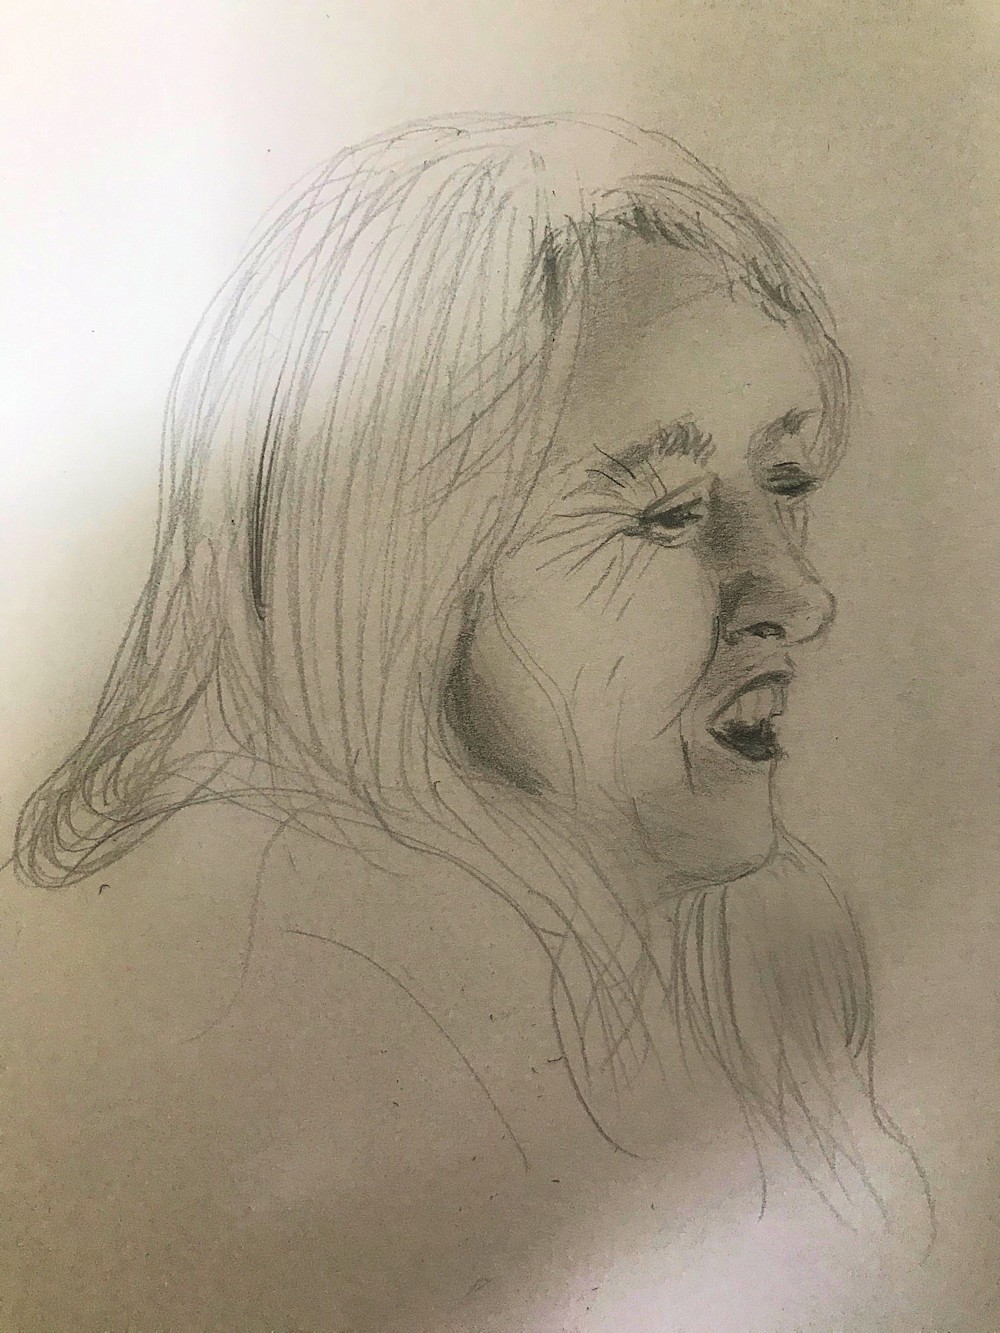
Mary Beardsley drawn from television by Shane; this is great, I can almost hear her speaking. Look at how some deft tone has helped us make sense of the form, while the line gives us the shape of her features and head. The mark making especially round the eye nearest to us and treatment of the hair are direct and not overly fussy. Drawing from people that are moving is not easy even when already translated into 2D on a screen but often produces lively drawings!
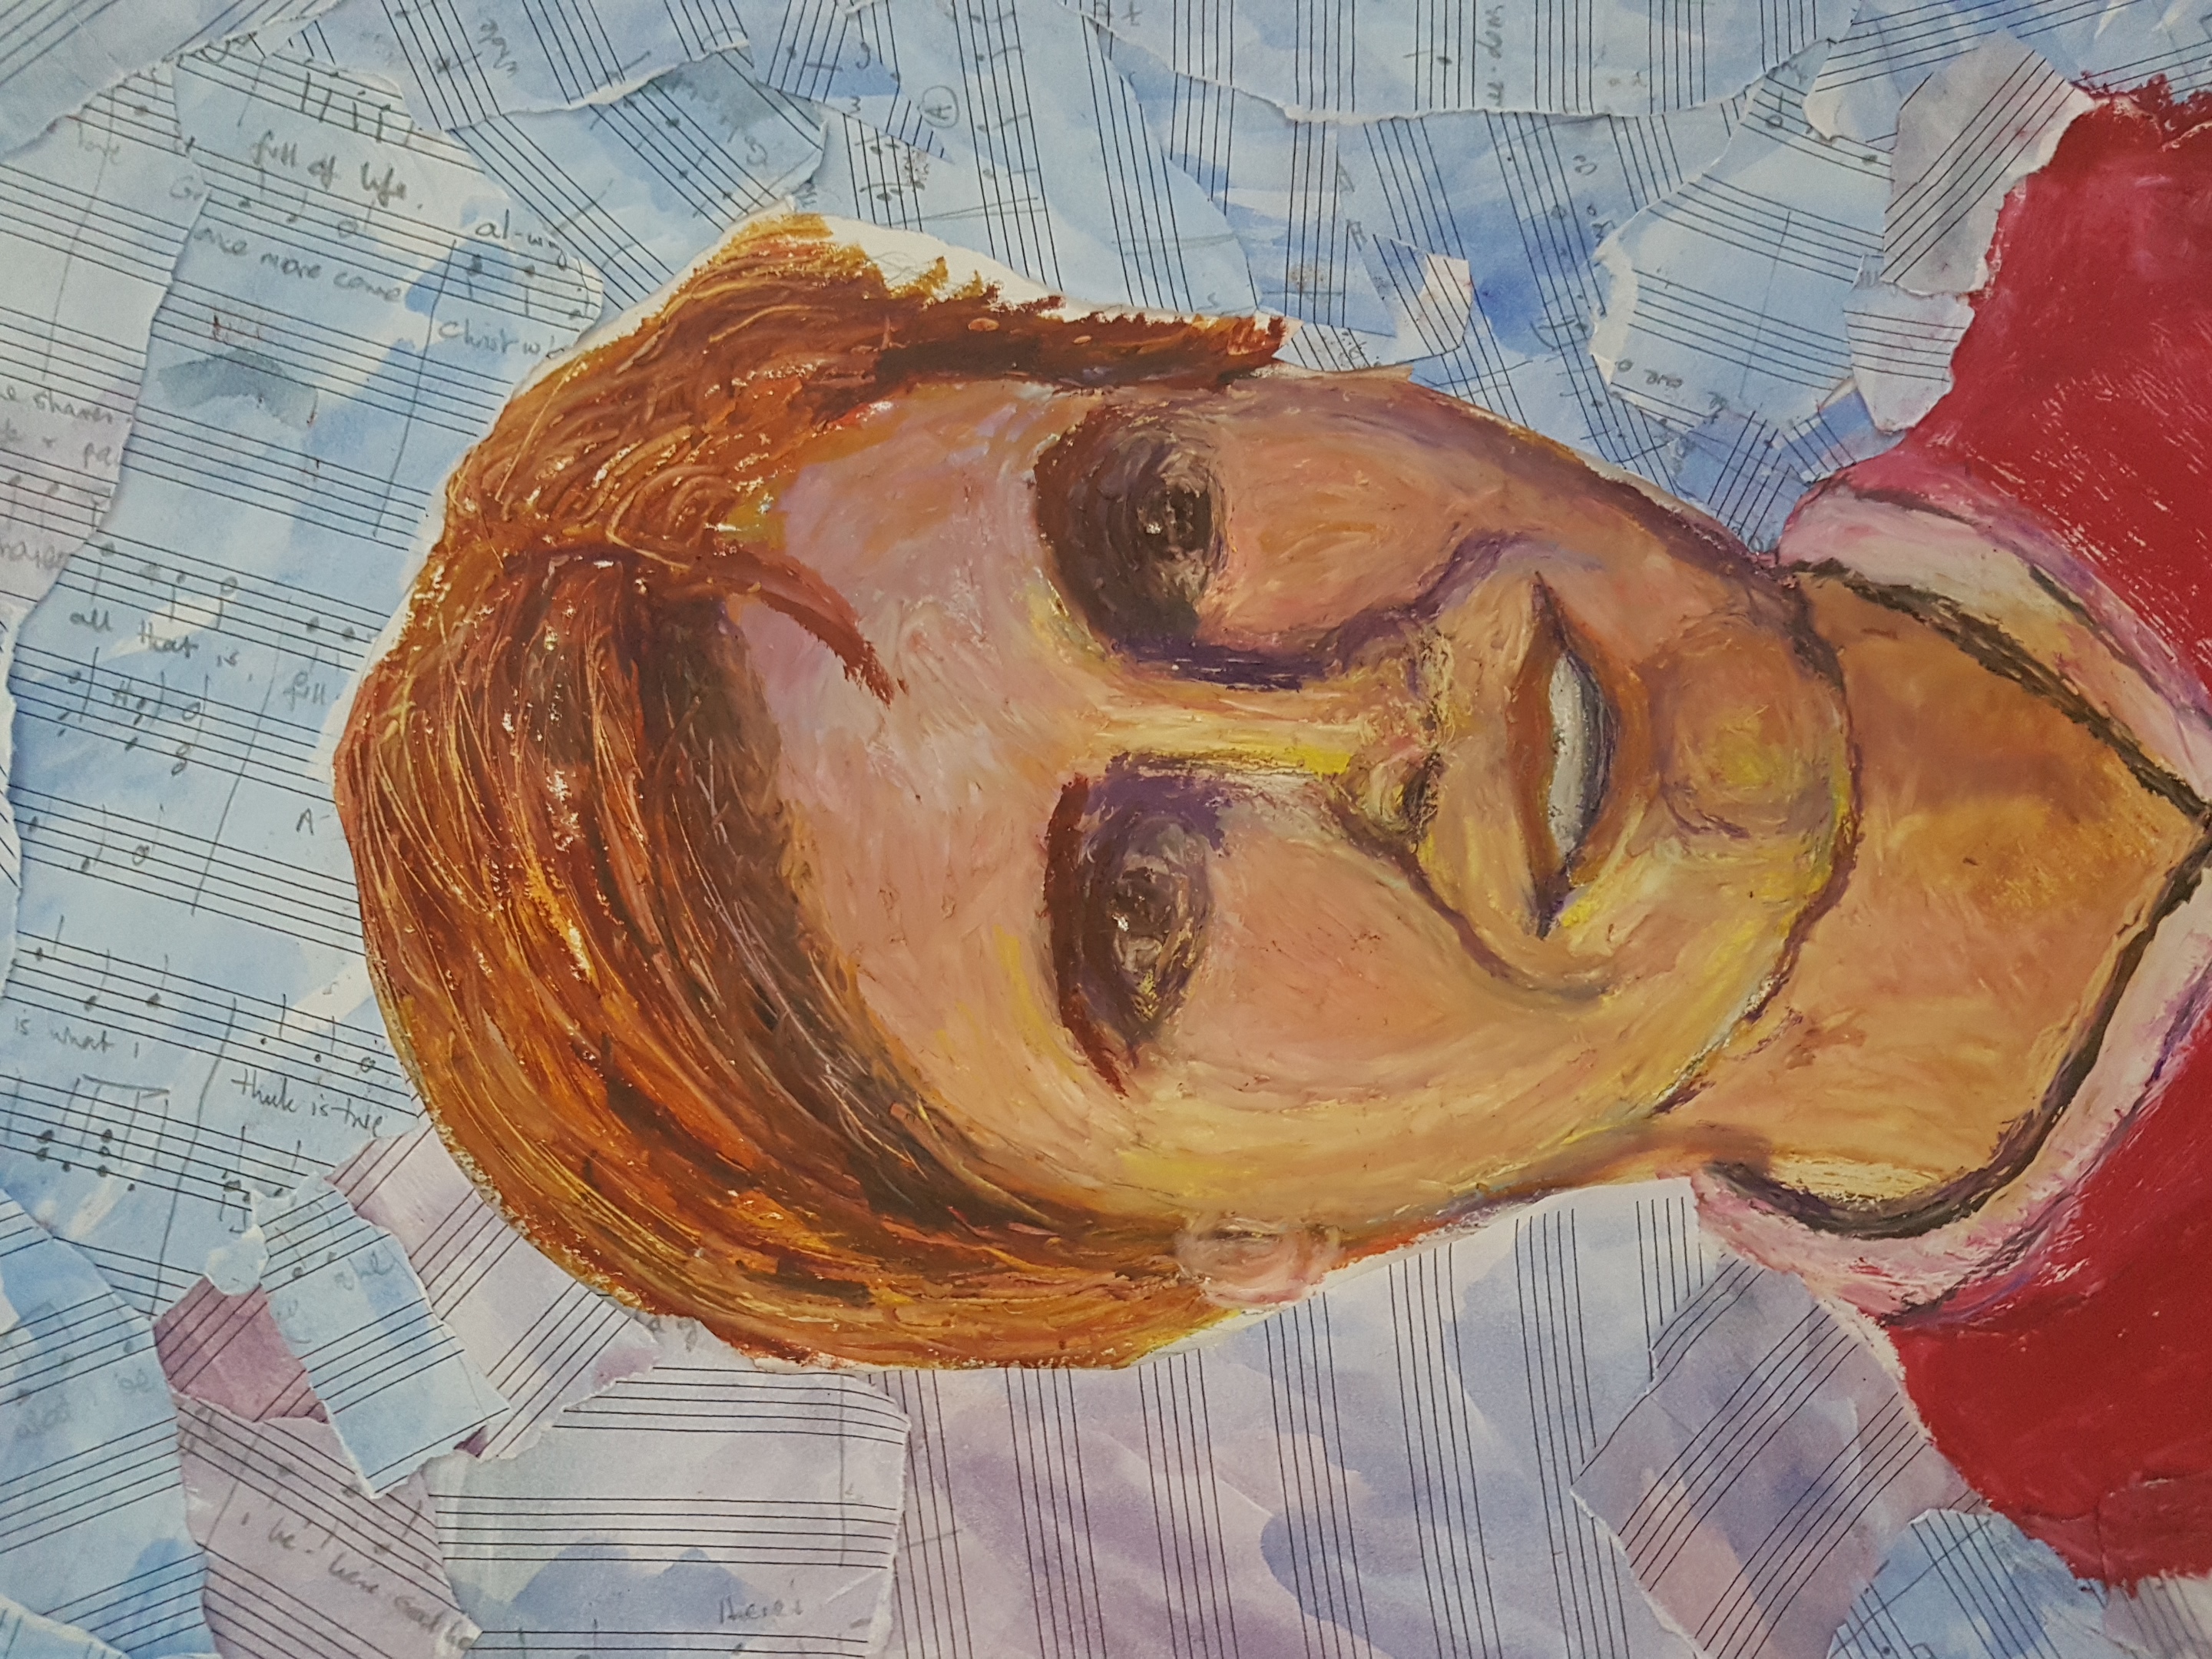
Tania by Ruth in oil pastel and collage. Tania is a musician, hence the background; another lively portrait with well observed tones.
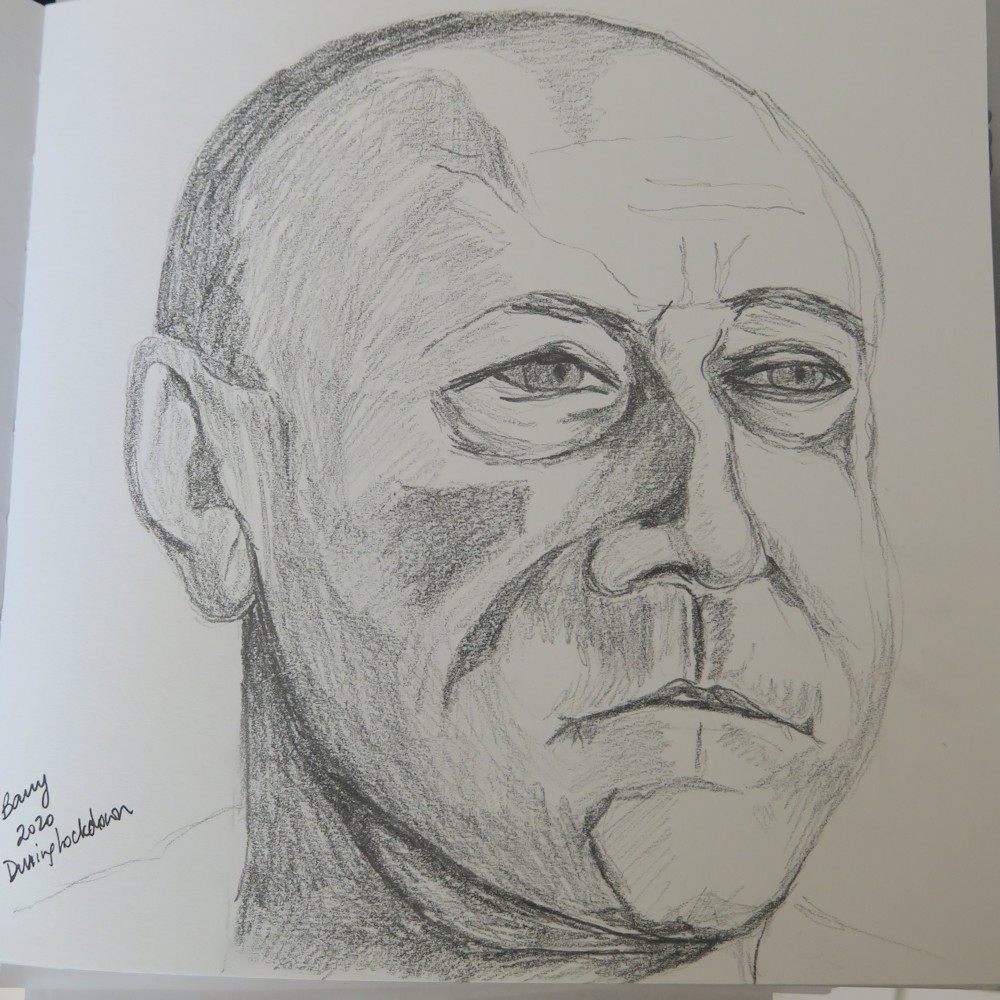
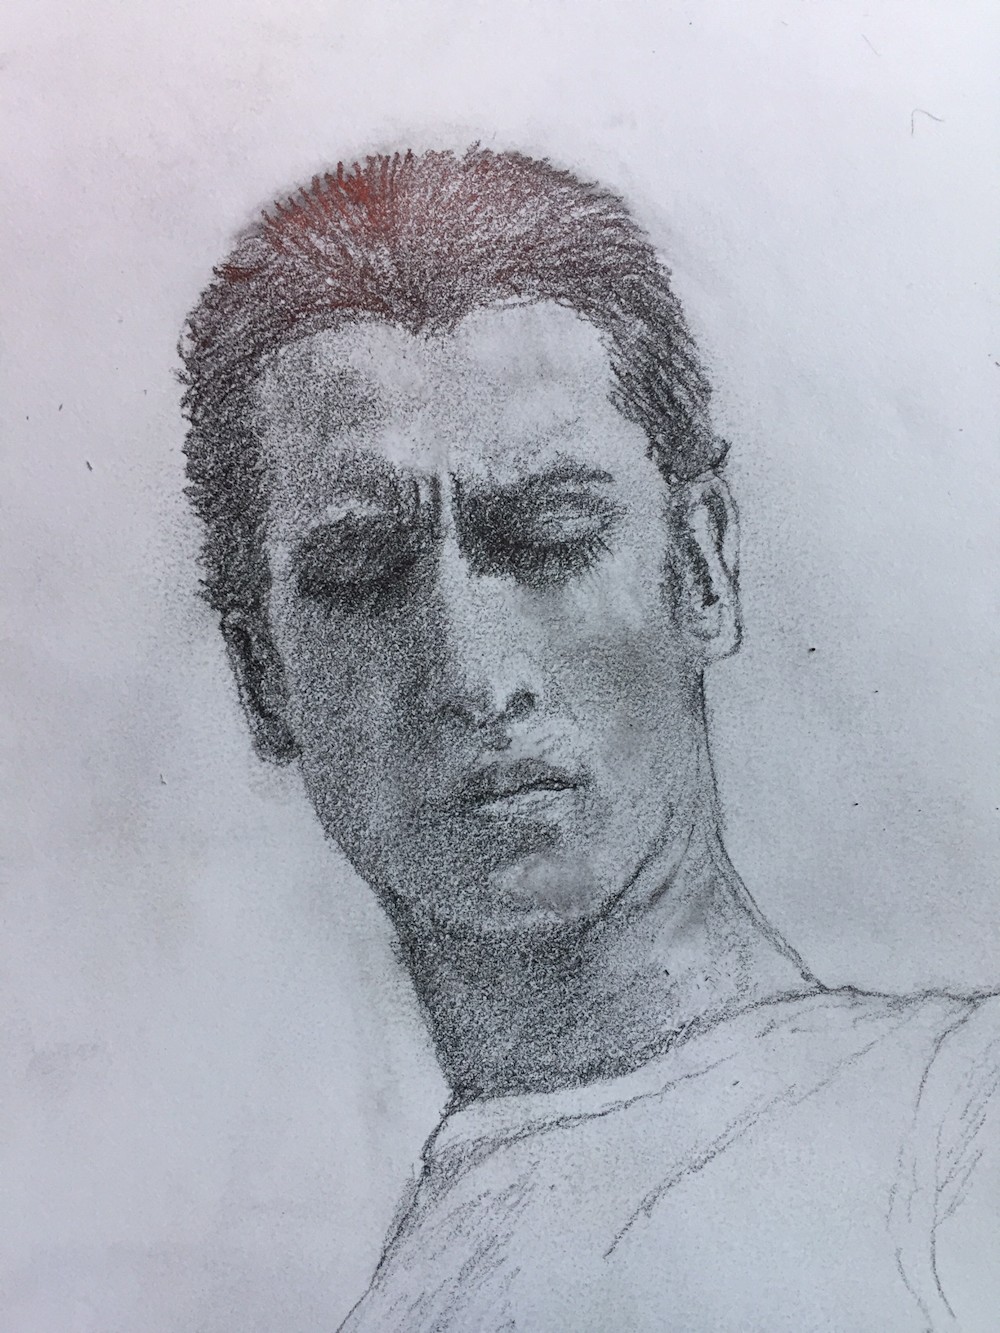
Barry in Lockdown by Maria; a very powerful image, the direction of the hatching giving a very sculptural feel to this portrait head. It looks as though Barry is looking up from the position of the eyes and the fact that we can see almost under his chin.

Another drawing from Maria: this time her version of a work by Lucien Freud, again with the head tilted up. This is very convincing as we can see the underside of the chin and nostrils, the eyes correctly positioned and the also the ear. Really good idea to try drawing like this with pen from life as well as from other artists and photo reference.
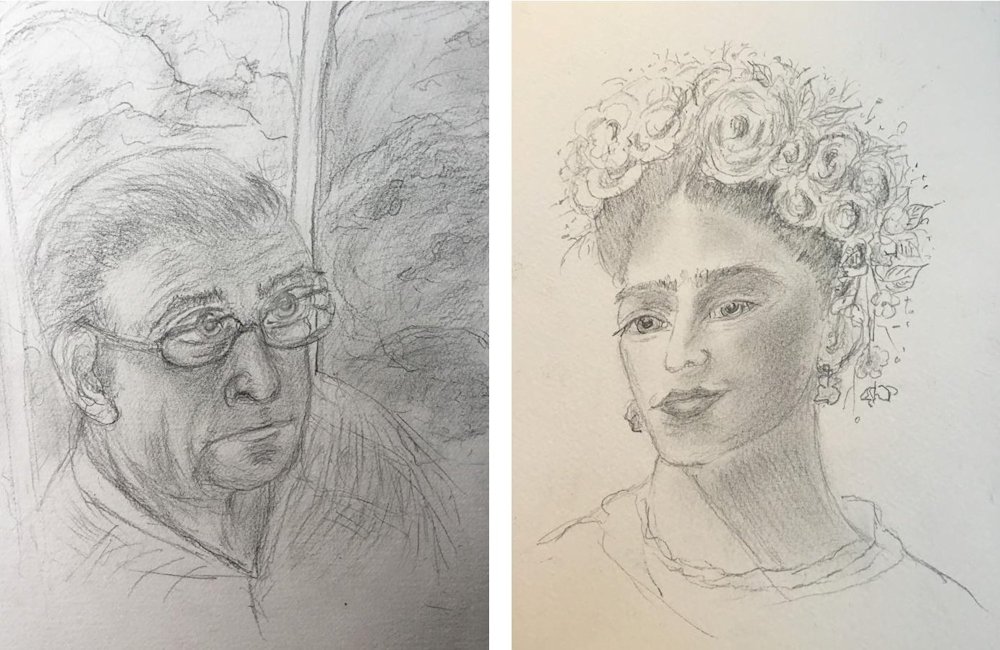
Drawings of Husband and Frida by Ann
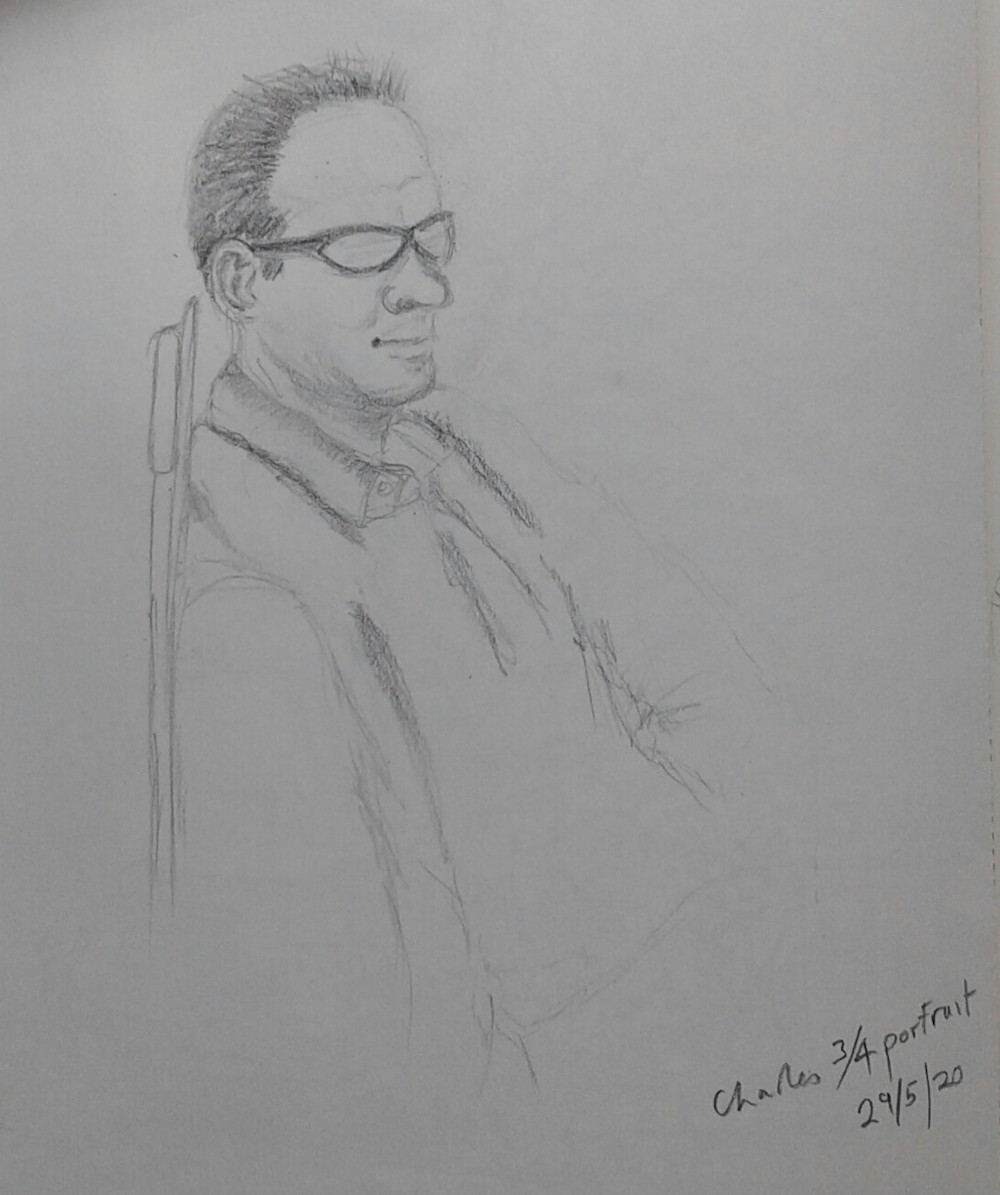
Charles by Barbara
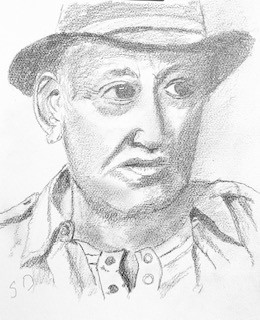
Paul Simon at 70 by Sandra

Chris by Heather; Good framework of shapes to build on; needs more tone generally except in the very lightest areas and a lot more tone round the eyes, across the brow ridge and on the dark side of his face.
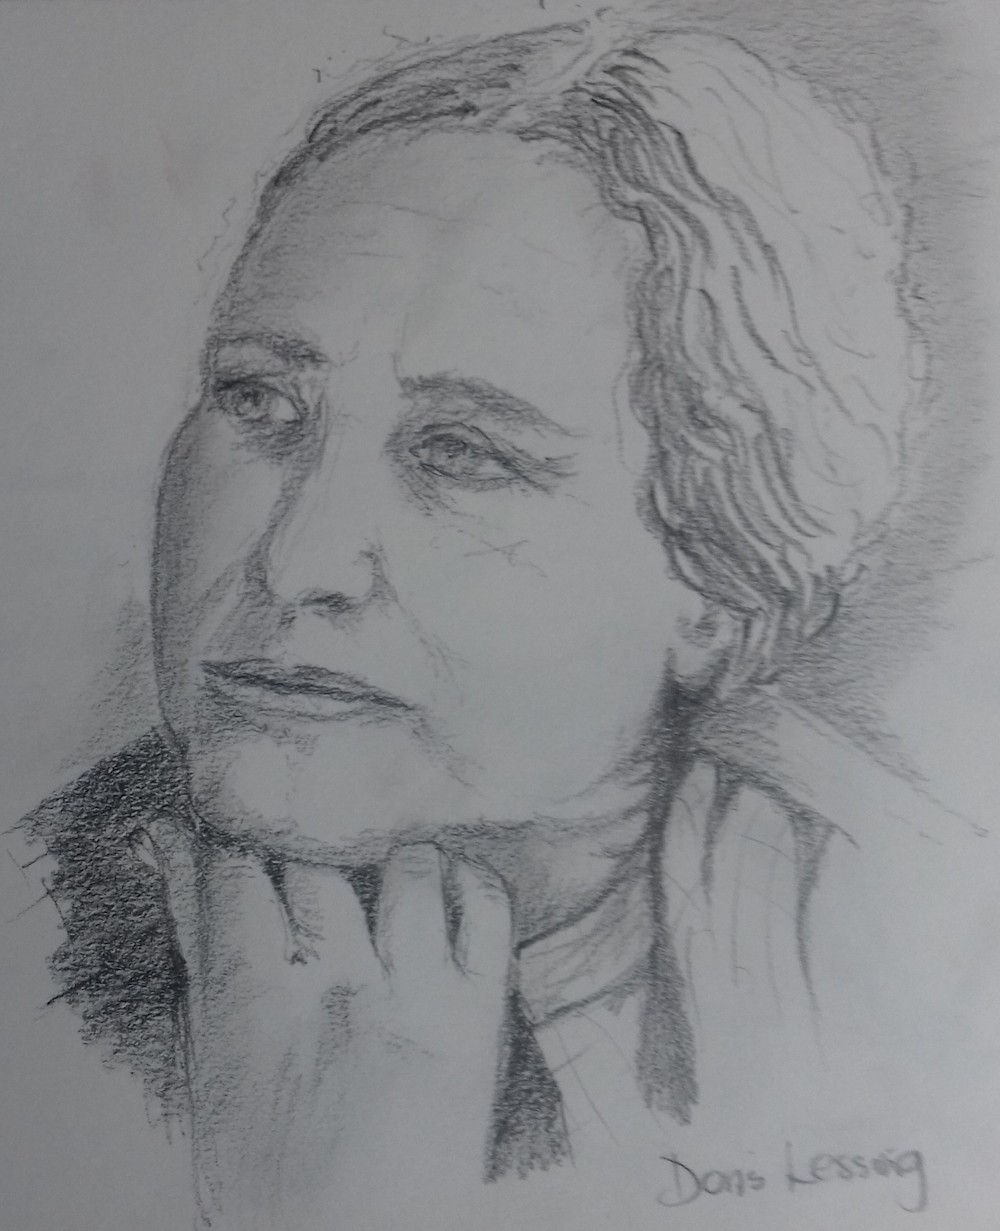
Doris Lessingham by Liz from photo
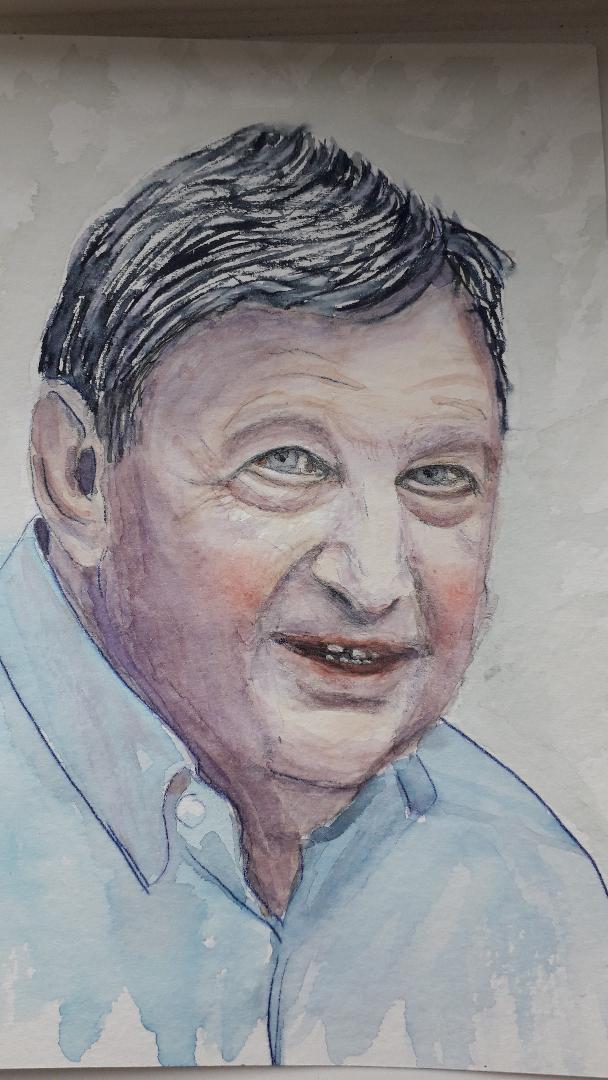
John by Maricarmen; watercolour
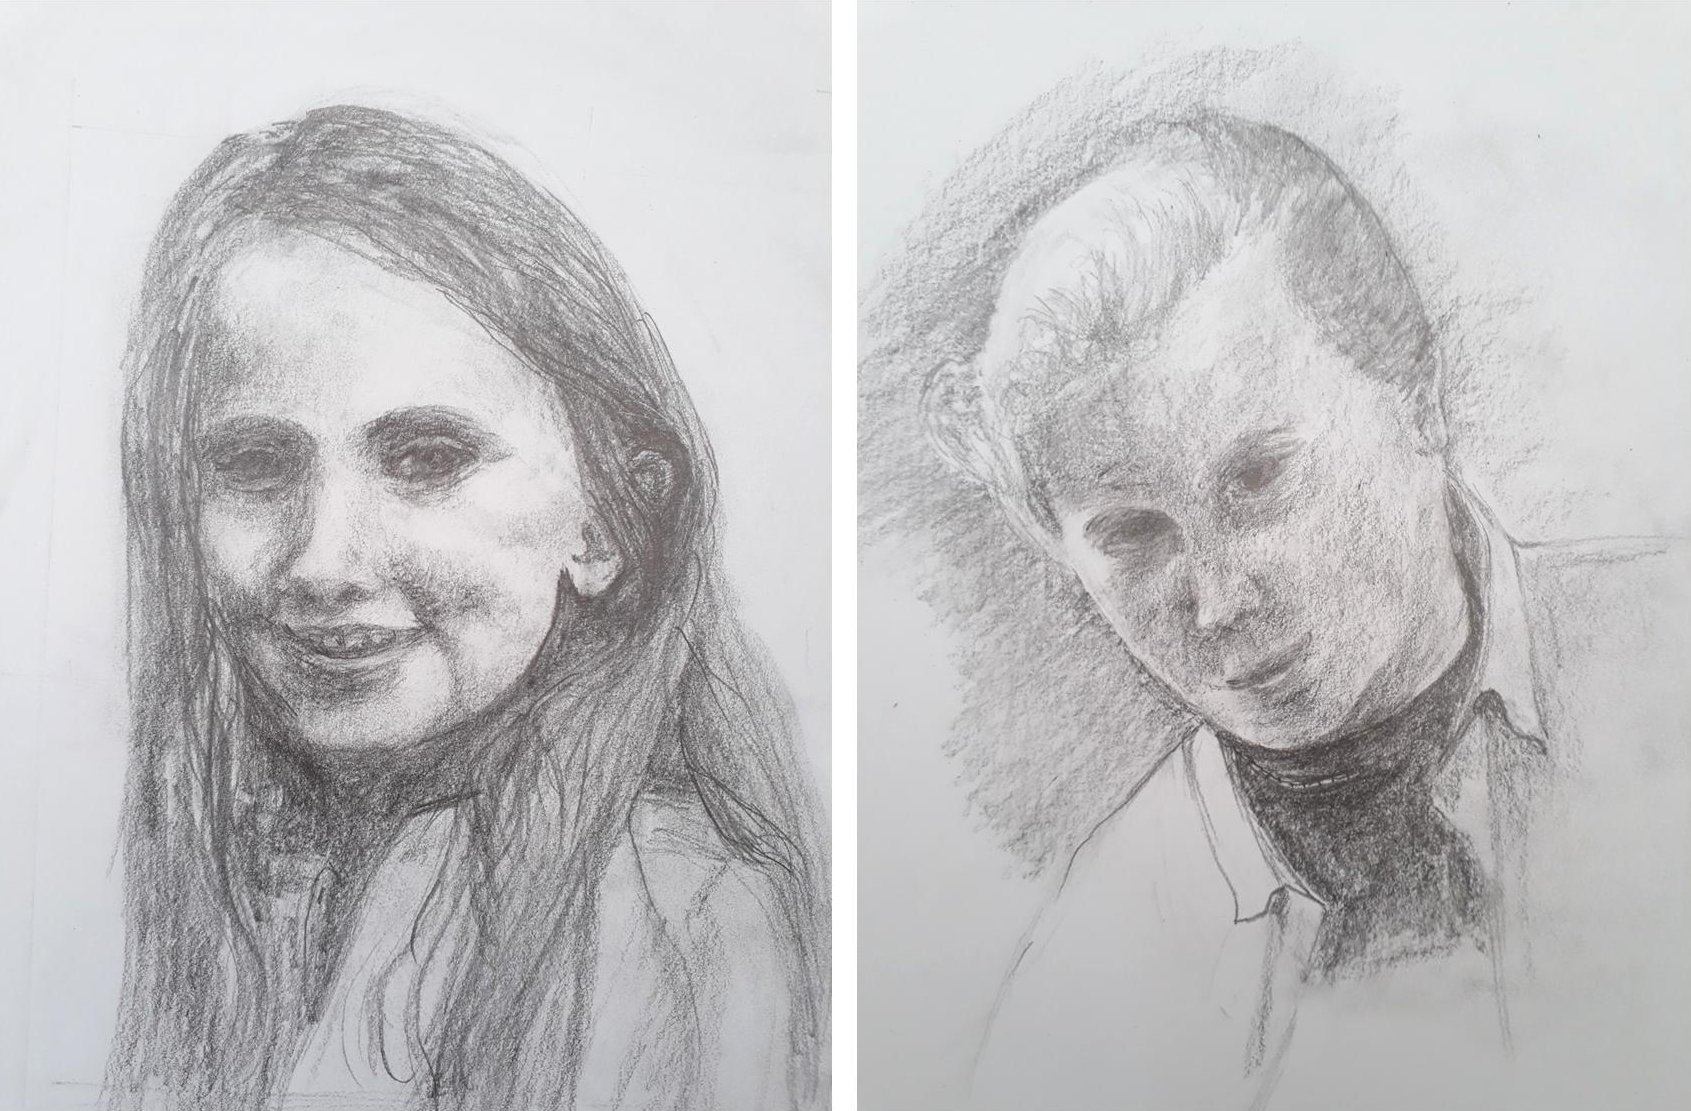
Phoebe and Helen by Vivienne
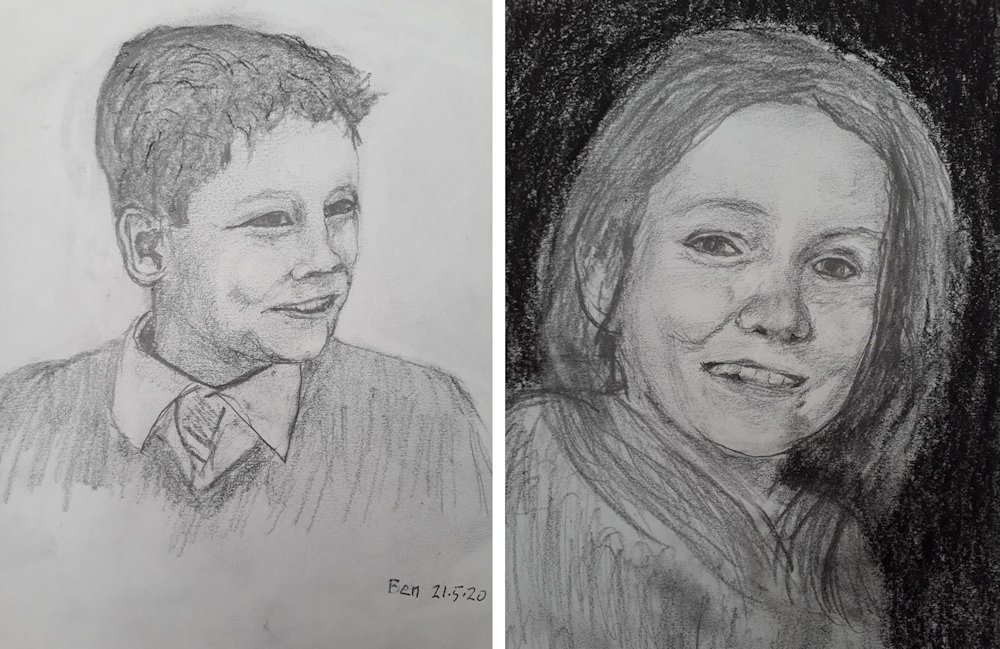
Ben and Naomi by Roger