Birds in the Garden: Week 3
November 16, 2022
Quick sketches with pencil and watercolour by Jo
First a recap on this week’s painting session
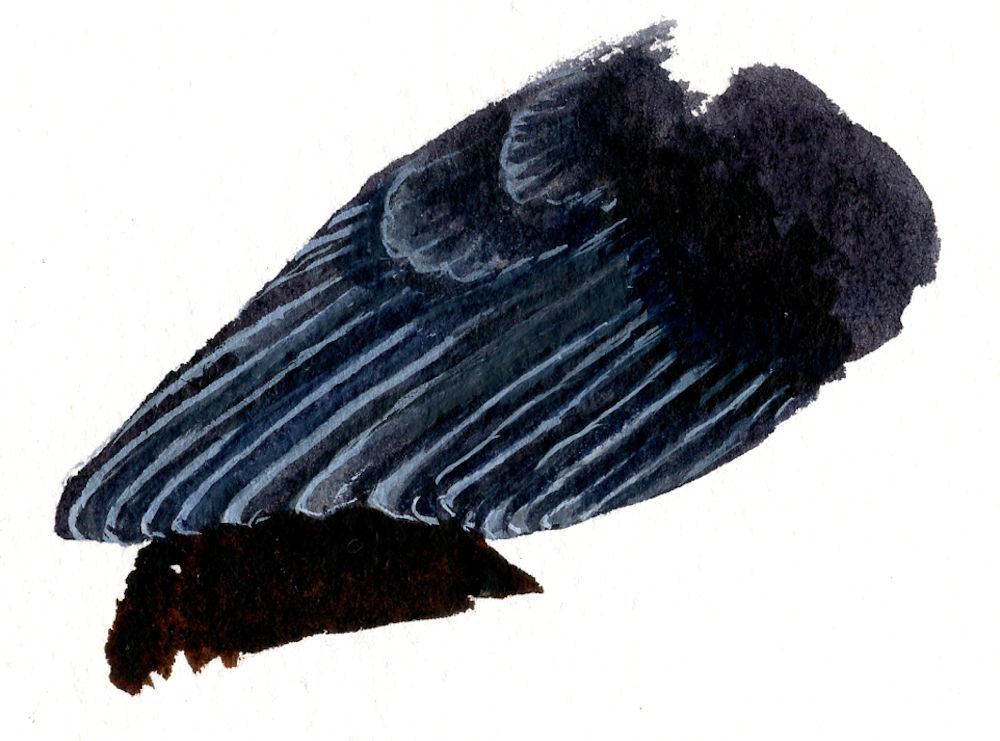
Two ways of delineating feathers on a dark bird:
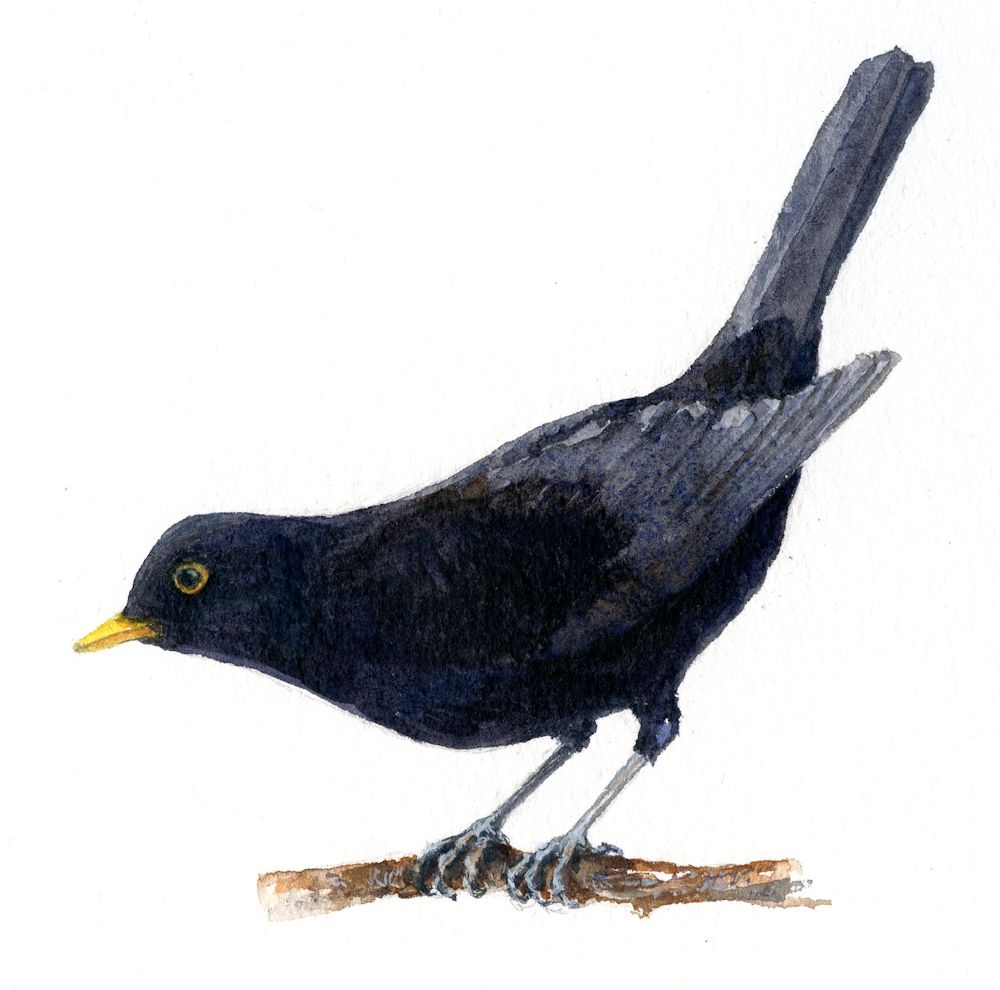
Study by Jo
The blackbird above was painted in watercolour, painting the flight feathers paler than the rest of the wing. With a fine brush the individual feather edges were painted in. When dry the wing was too light so a further wash of a dark grey mix was added and the feathers reinstated just a little.
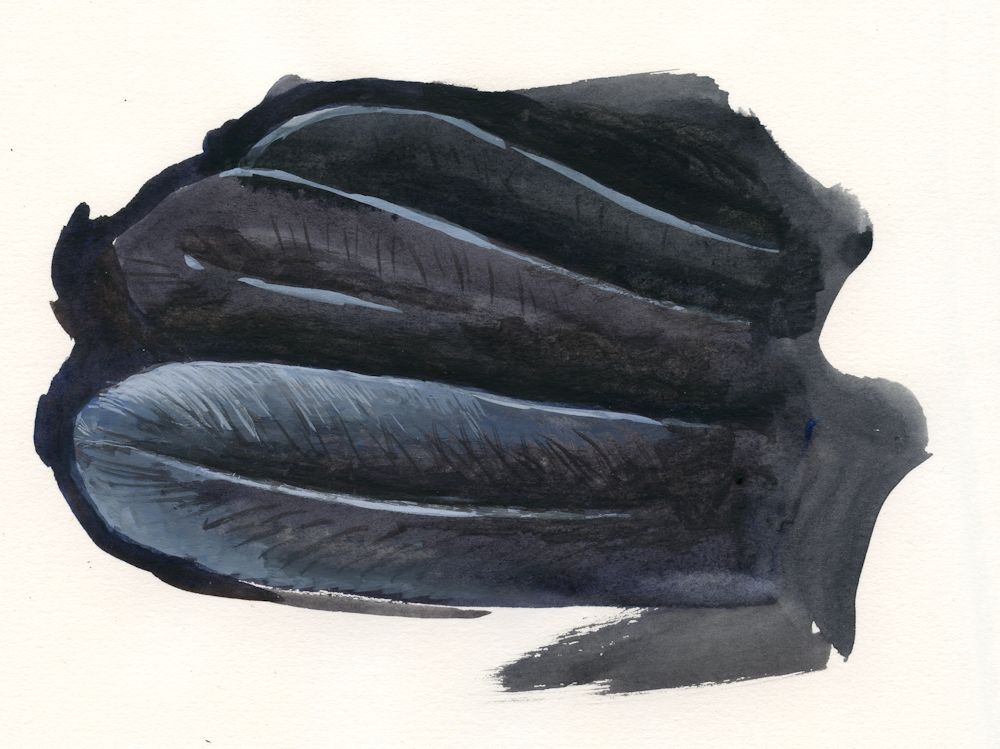
Another way to paint the details of feathers on a dark bird is to paint everything in the dark tone that it appears and to add any necessary detail with mixes of white gouache and watercolour:
This week we’ll be looking at the colourful Blue Tits and the slightly heavier looking Great Tit with its black cap. Do look at any tit family references you have and the Pinterest board at
https://www.pinterest.co.uk/jhall1282/birds-in-art-and-photos/tits-photos/
and come to grips with making a few rapid sketches either before or at the beginning of the session. As before take in what the main body and head shapes look like when the bird is perching, on the ground or turning its head. Also look at the legs and claws.
We can use these sketches to apply trial mixes of the colours needed for a more considered painting. Blue tits are often seen, two or three at a time so you may like to consider making a composition with more than one bird. If so, do plan this in your sketchbook first before making the drawing on watercolour paper. Perhaps also start to think about the background for the birds and make a tonal sketch.
The drawing on watercolour paper or in preparation for working in acrylic, should be detailed enough to show the main feathers of the wings and indicate the position of the markings, as well as placing the beak, eye, legs and claws. Draw just enough of the background to aid the composition and plan to create most of the background with paint always aiming to make the birds the focal point.
Make sure the pencil marks are not too dark and lighten them if they are. If working in watercolour, reinforce the main lines with a pale blue/grey painted line using a small brush and then put a light blue grey wash over all the slightly shadowed areas of the birds. (If working in acrylic just establish the main shapes of colour and tone and gradually build into this with the smaller shapes and marks.)
Then mix up your washes and try them on your rapid sketches. For the blue tits you will need a blue, a yellow, a green for the back and various grey/black mixes which can be added last. You will also have to be careful if working in watercolour to leave the paper untouched by paint for the white areas.
Then start to paint your bird; probably eye and beak first, then suggest the legs before painting the paler areas of colour followed by any blue and green and finally the darker areas remembering to reserve the white areas.
Try to add colour as washes where the feathers are tiny as on the breast, head and back. It is often better to suggest the texture a little in places later if neccessary, rather than paint a lot of feather like strokes in the beginning. The wing feathers need a different consideration as when the wing is folded against the body some feather edges appear as stripes of light and dark. The light is very often not white so a wash of the right pale colour needs to be painted first and allowed to dry before painting stripes of the darker colour over the top. Your initial drawing should indicate where this needs to be done.
There are no rules as to the stage when you start painting the background. If the birds are in trees or bushes it will be integral to the drawing and if on the ground, you will have to indicate whether it is grass or path etc. or your birds may be seen partly with a backdrop of trees and partly of sky. We will discuss backgrounds during the session, especially about whether these should be just suggested or more definite and what will suit your purpose best.
Your paintings:
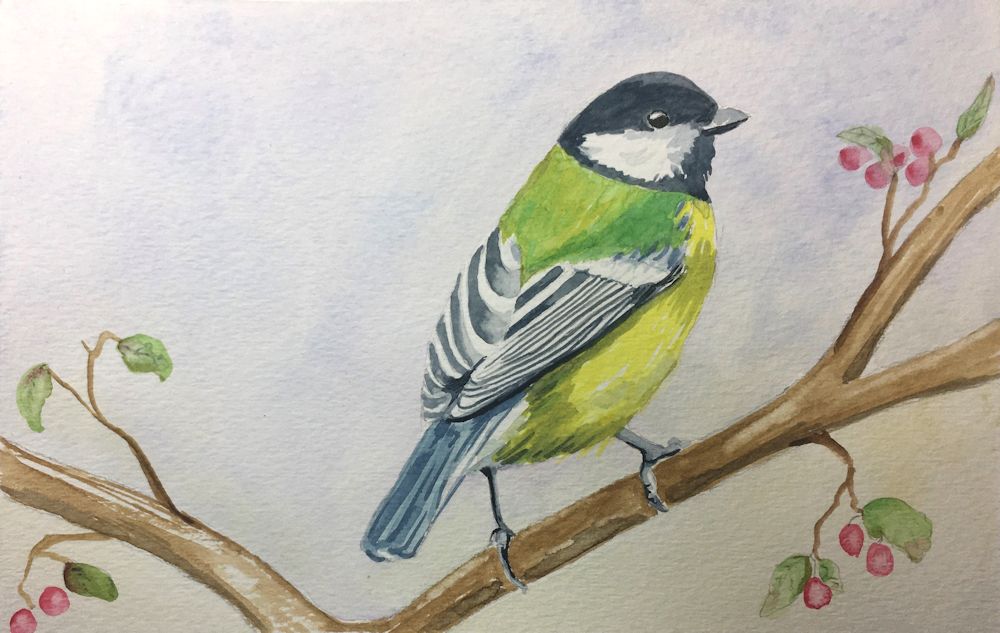
Watercolour by Heather
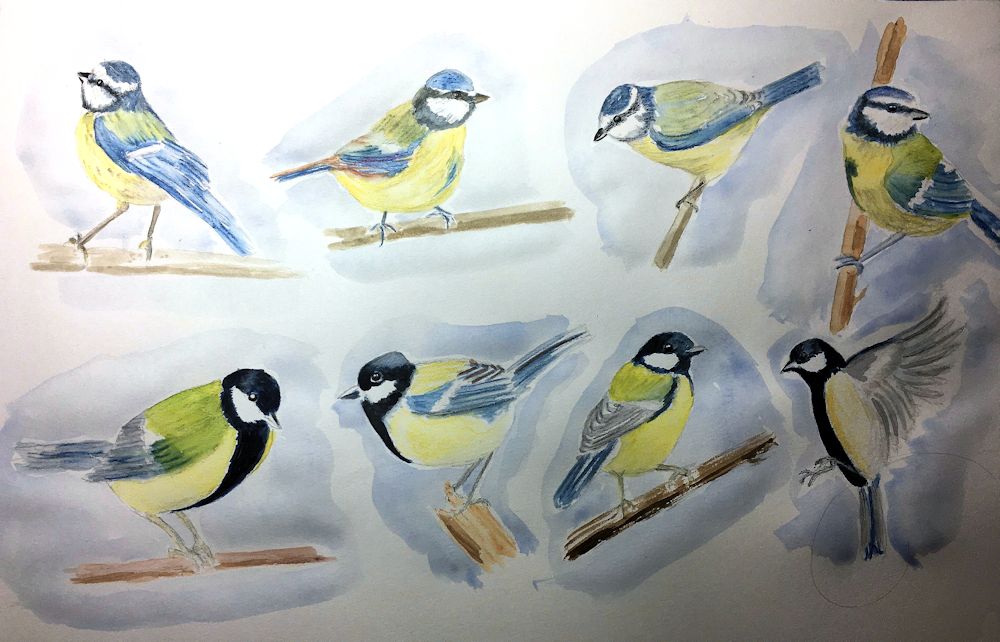
Watercolour sketches by Heather
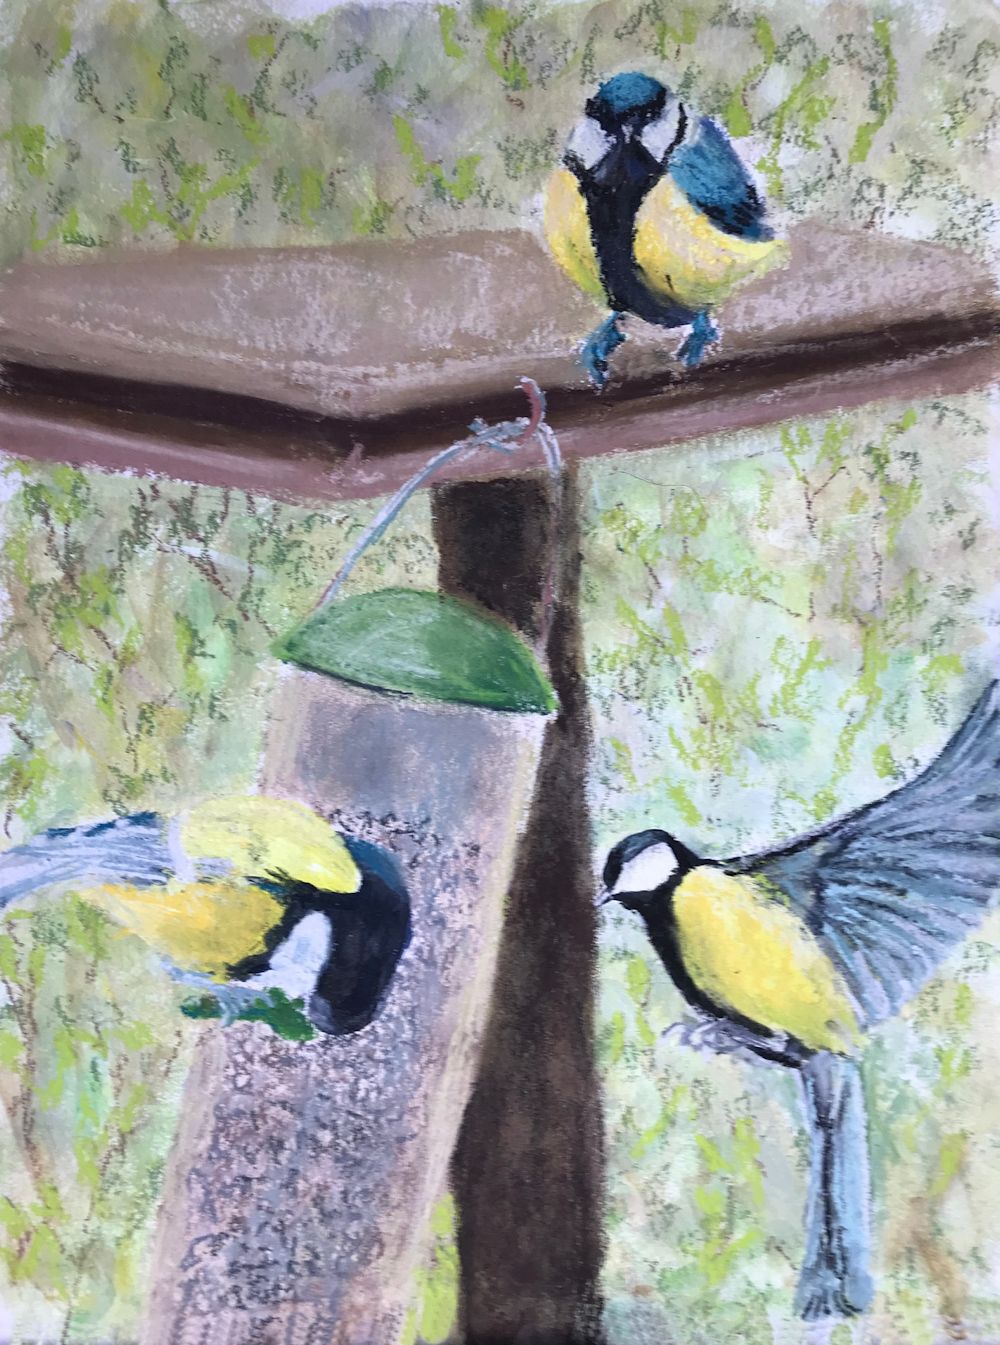
Mixed media by Mali
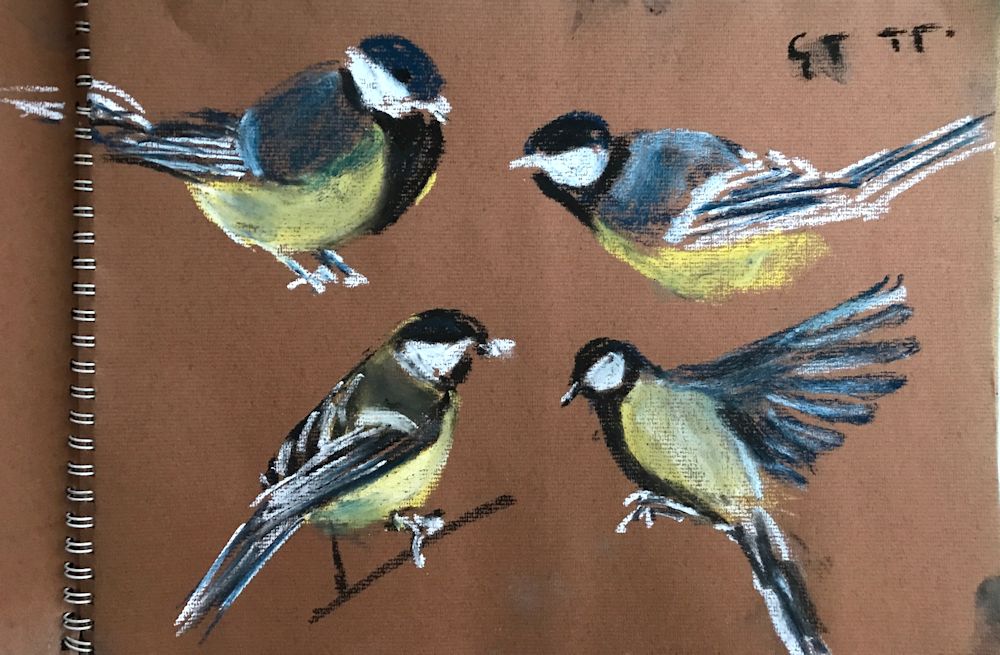
Pastel sketches by Mali
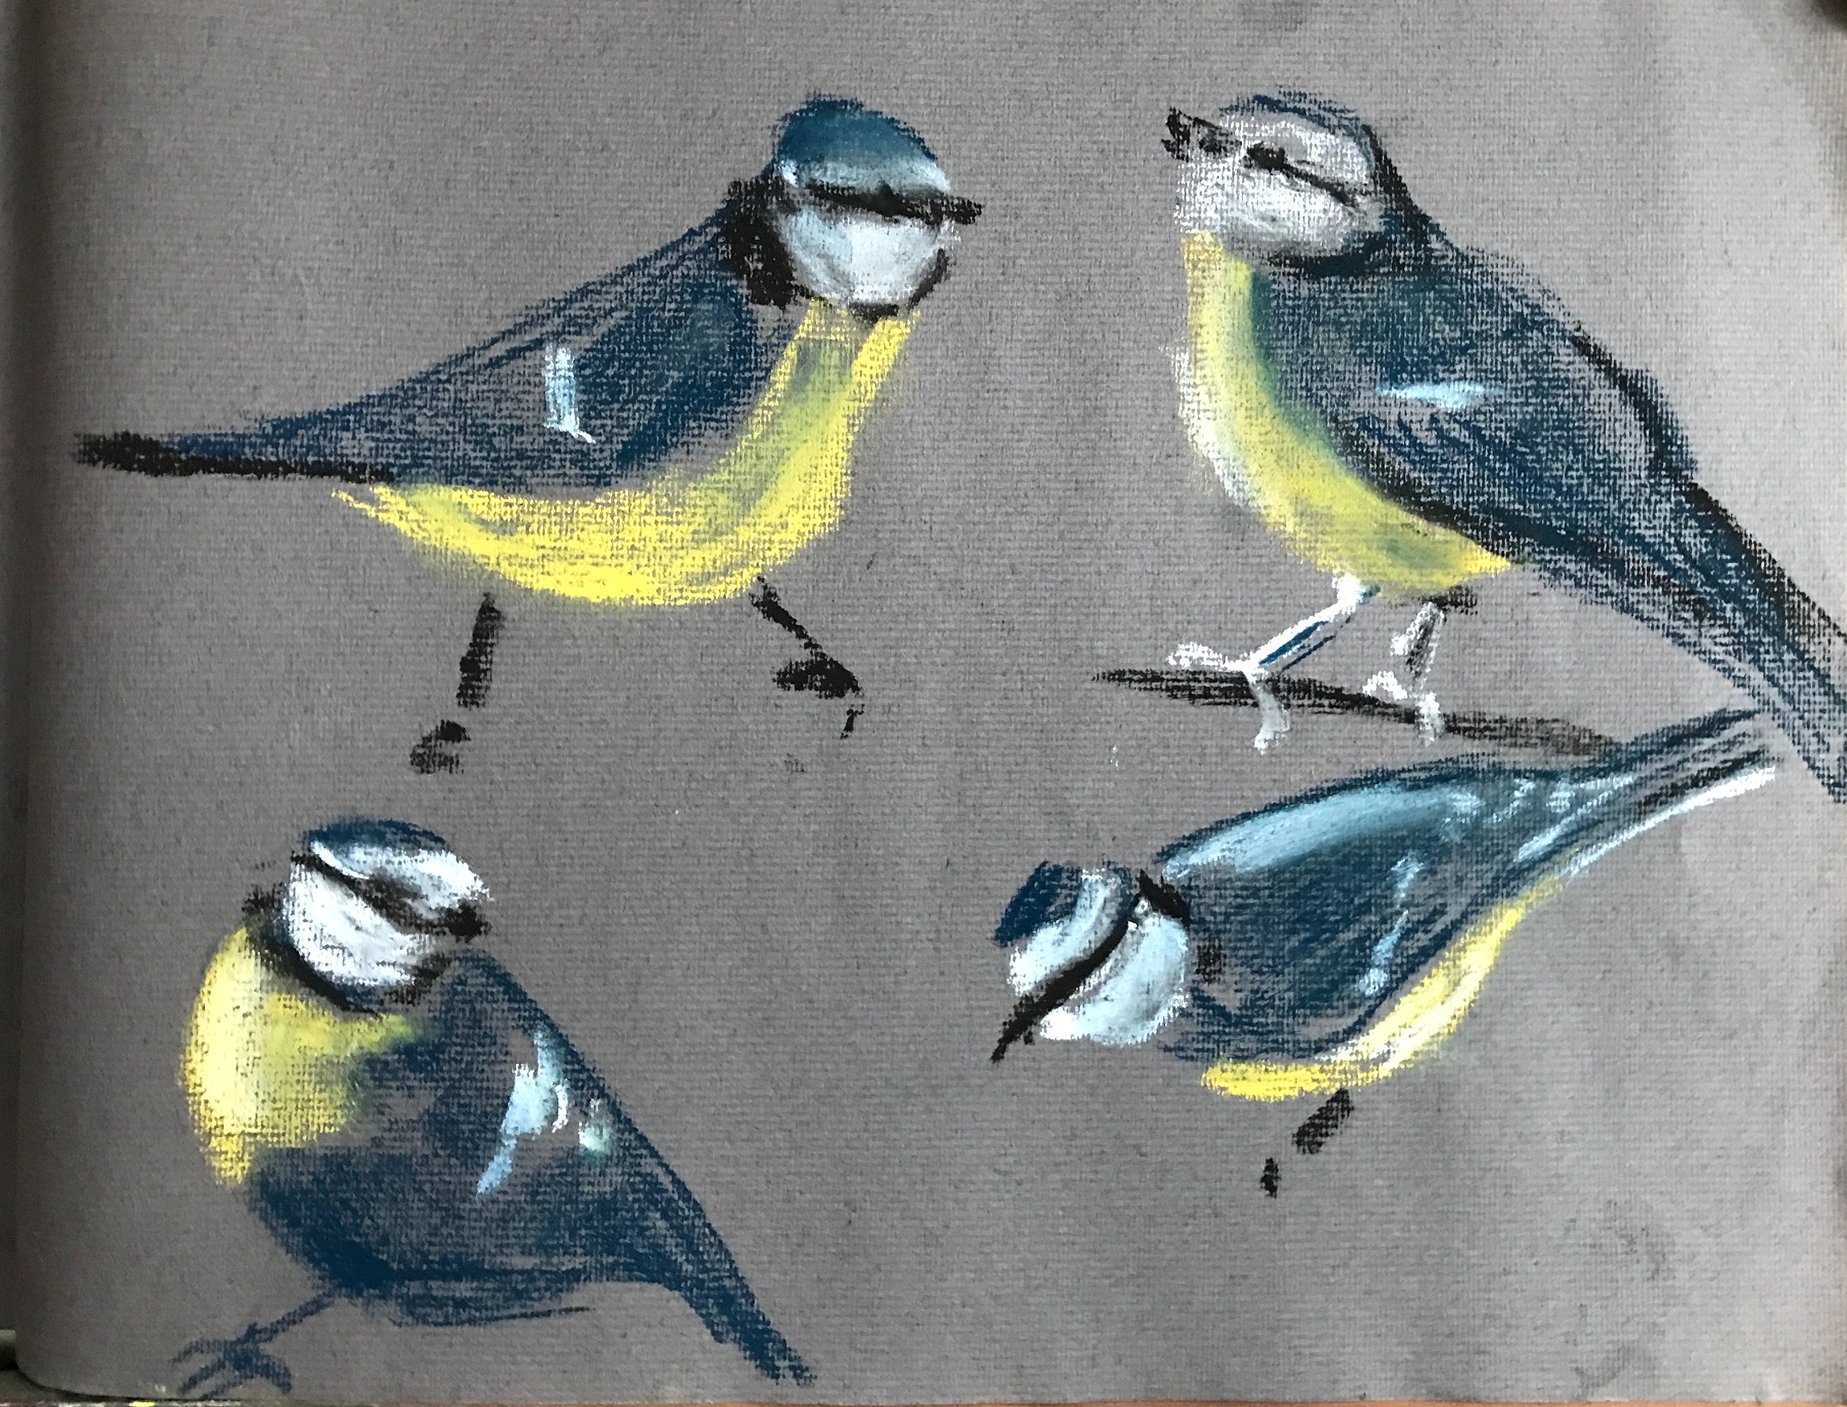
Pastel sketches by Mali
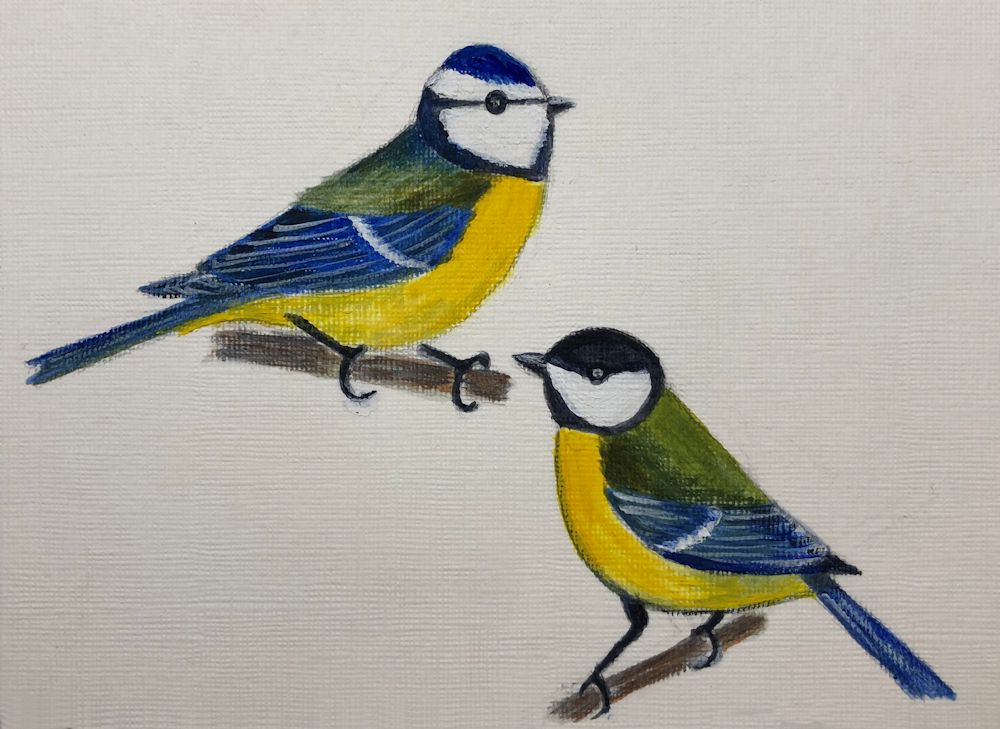
Acrylic by Pam
Acrylic by Pam
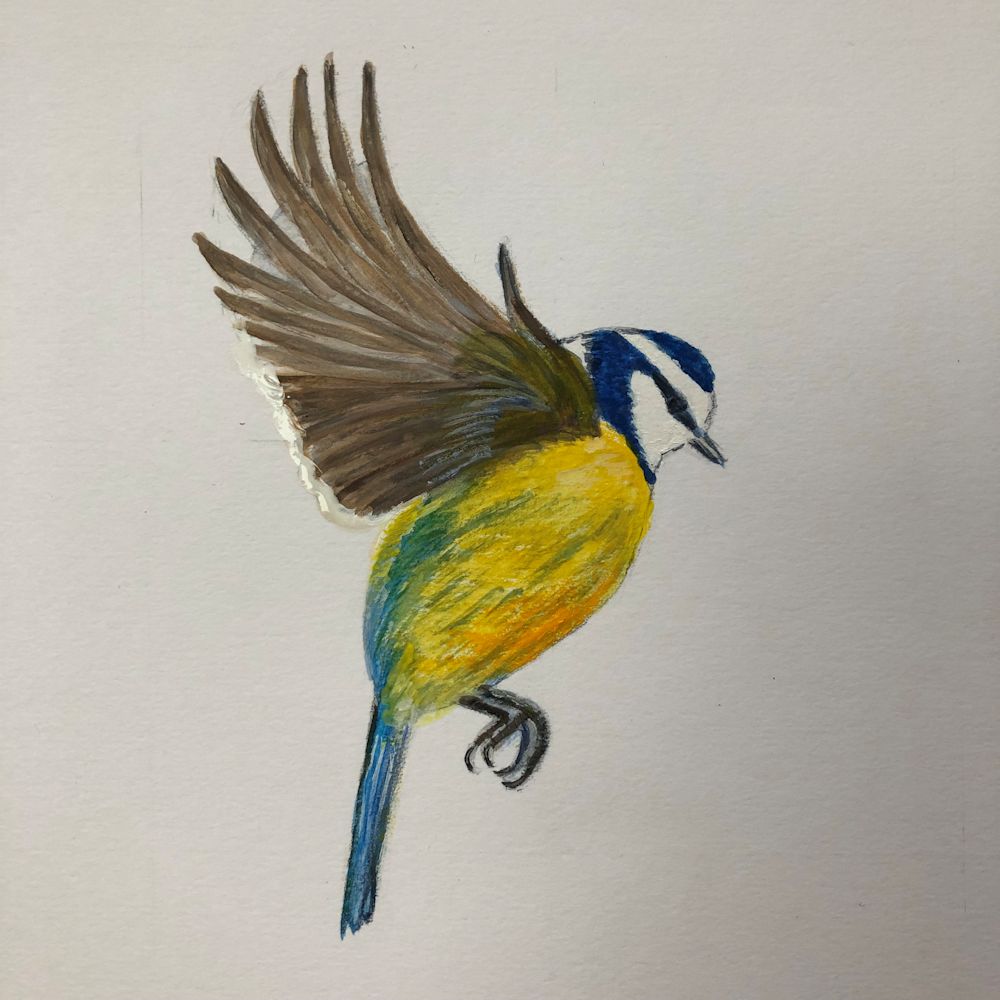
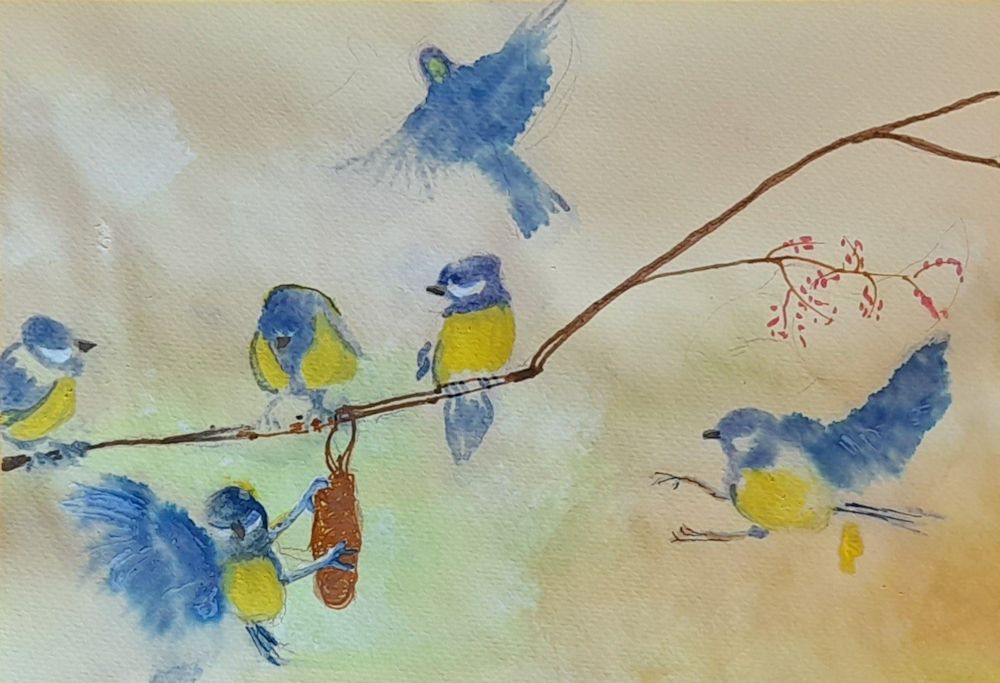
Watercolour by Ann
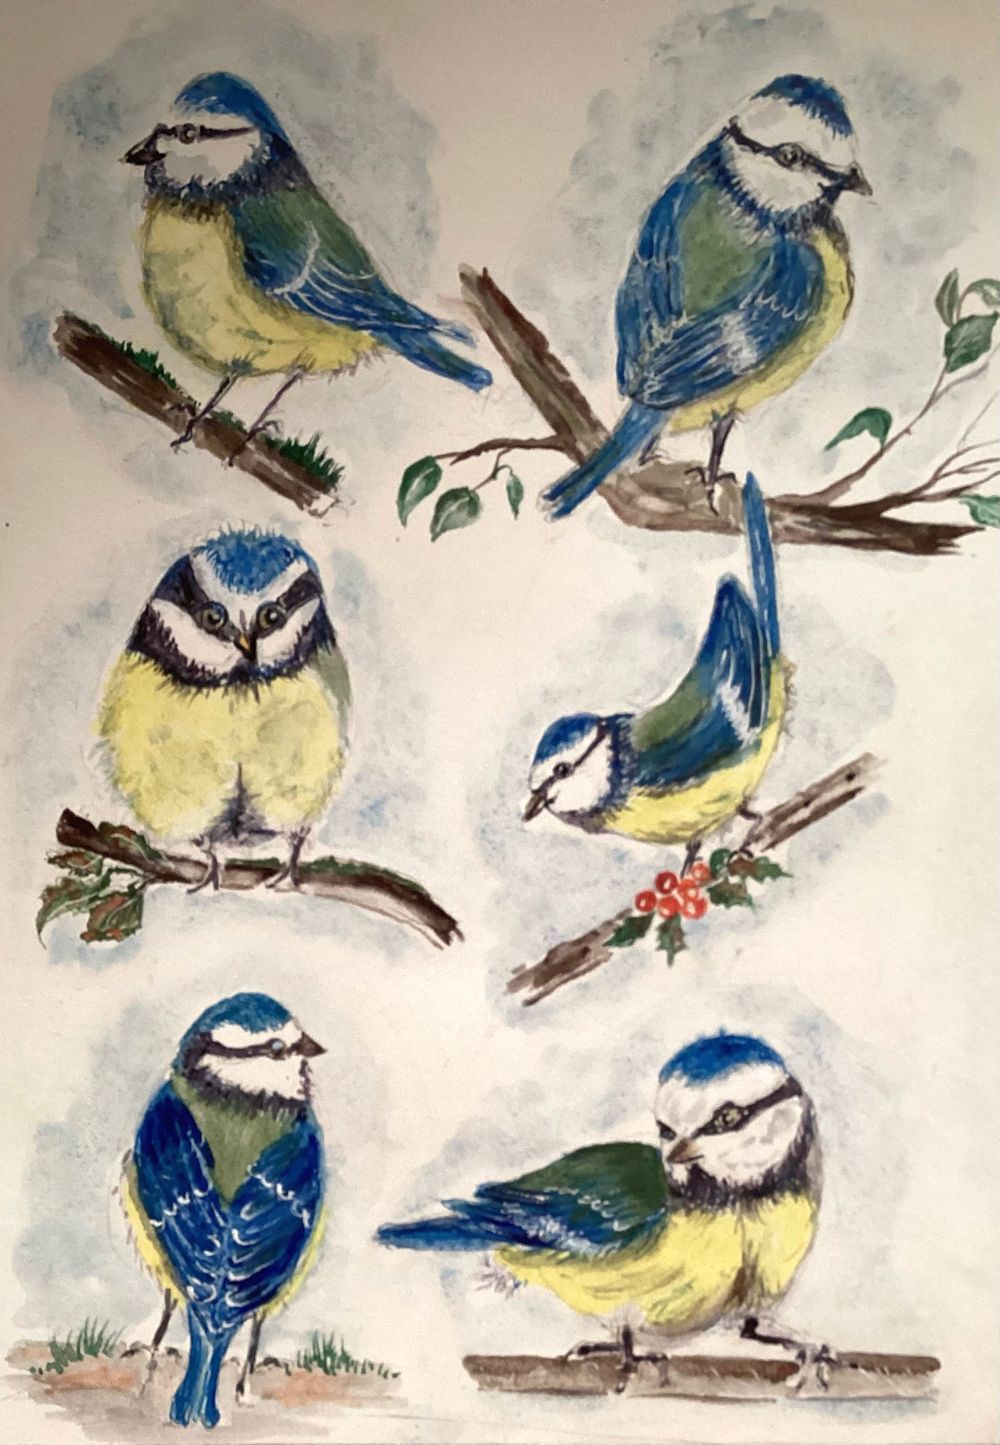
Watercolour by Kate