Birds in the Garden: Week2
November 10, 2022
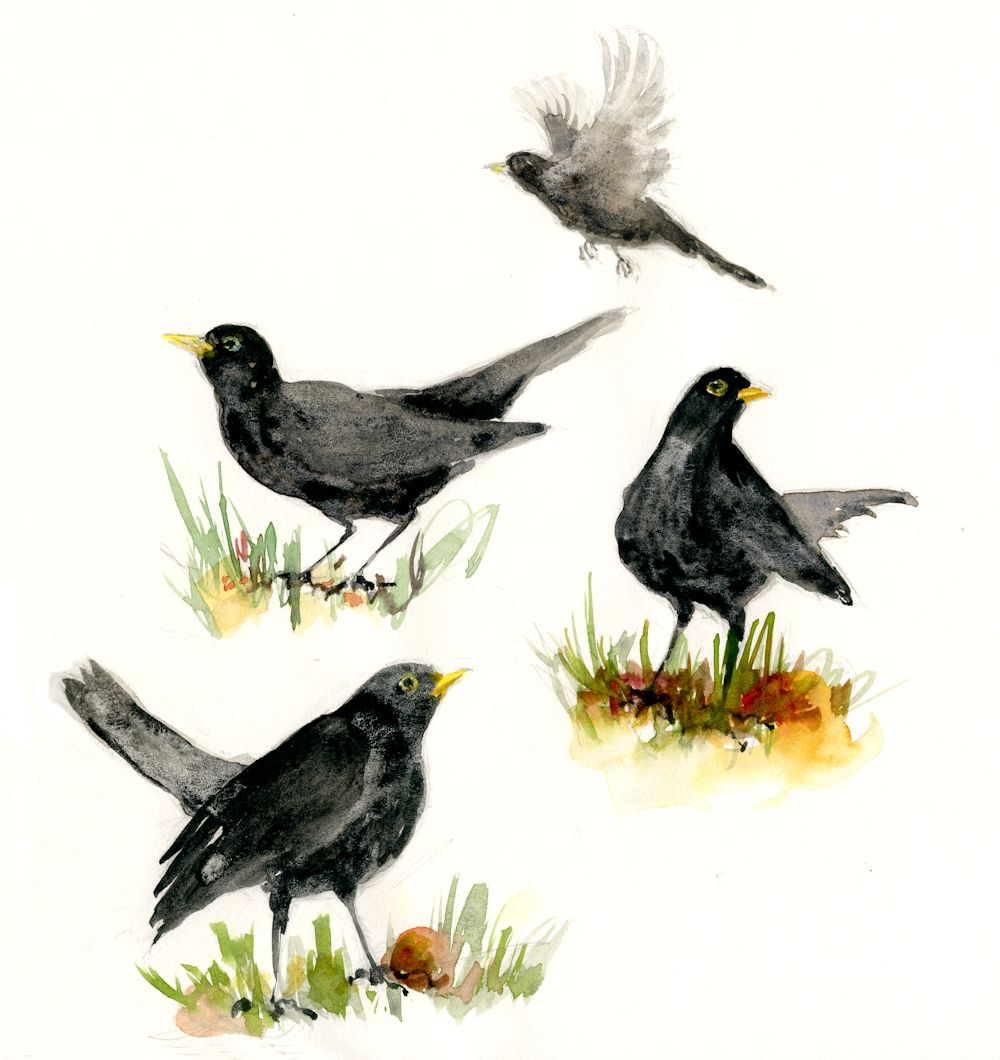
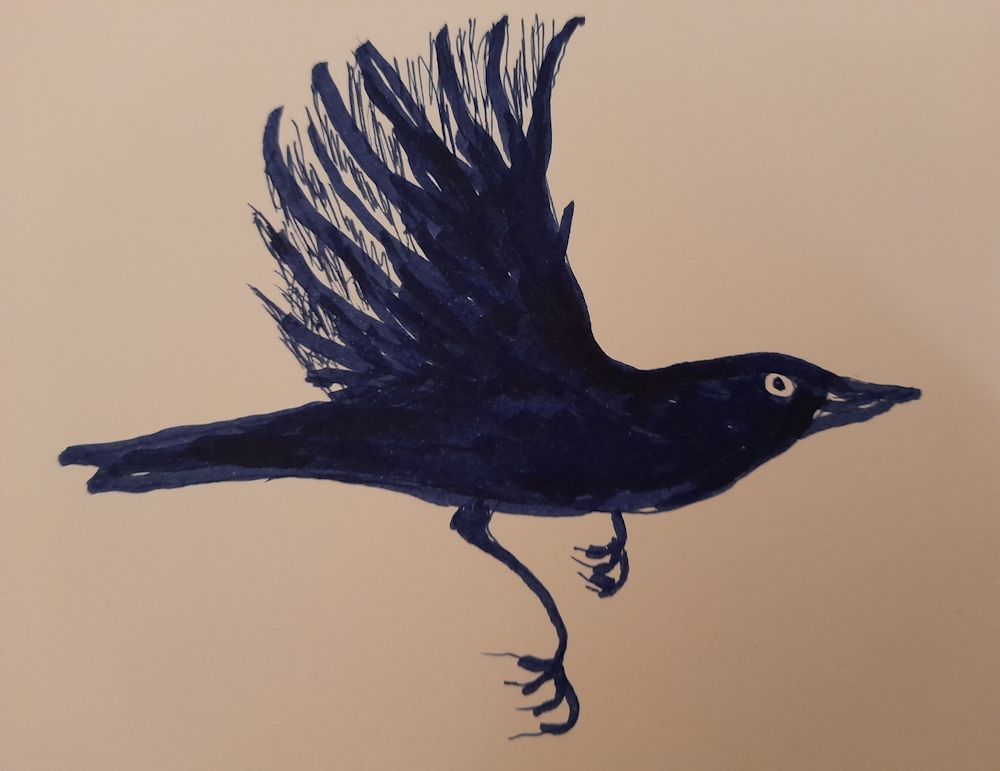
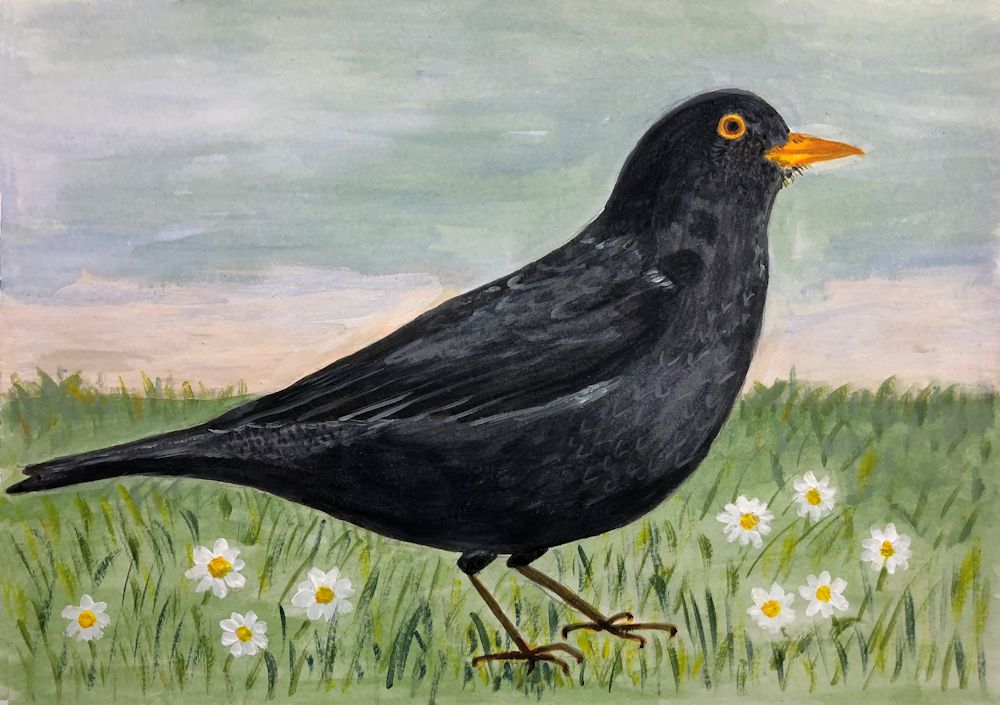
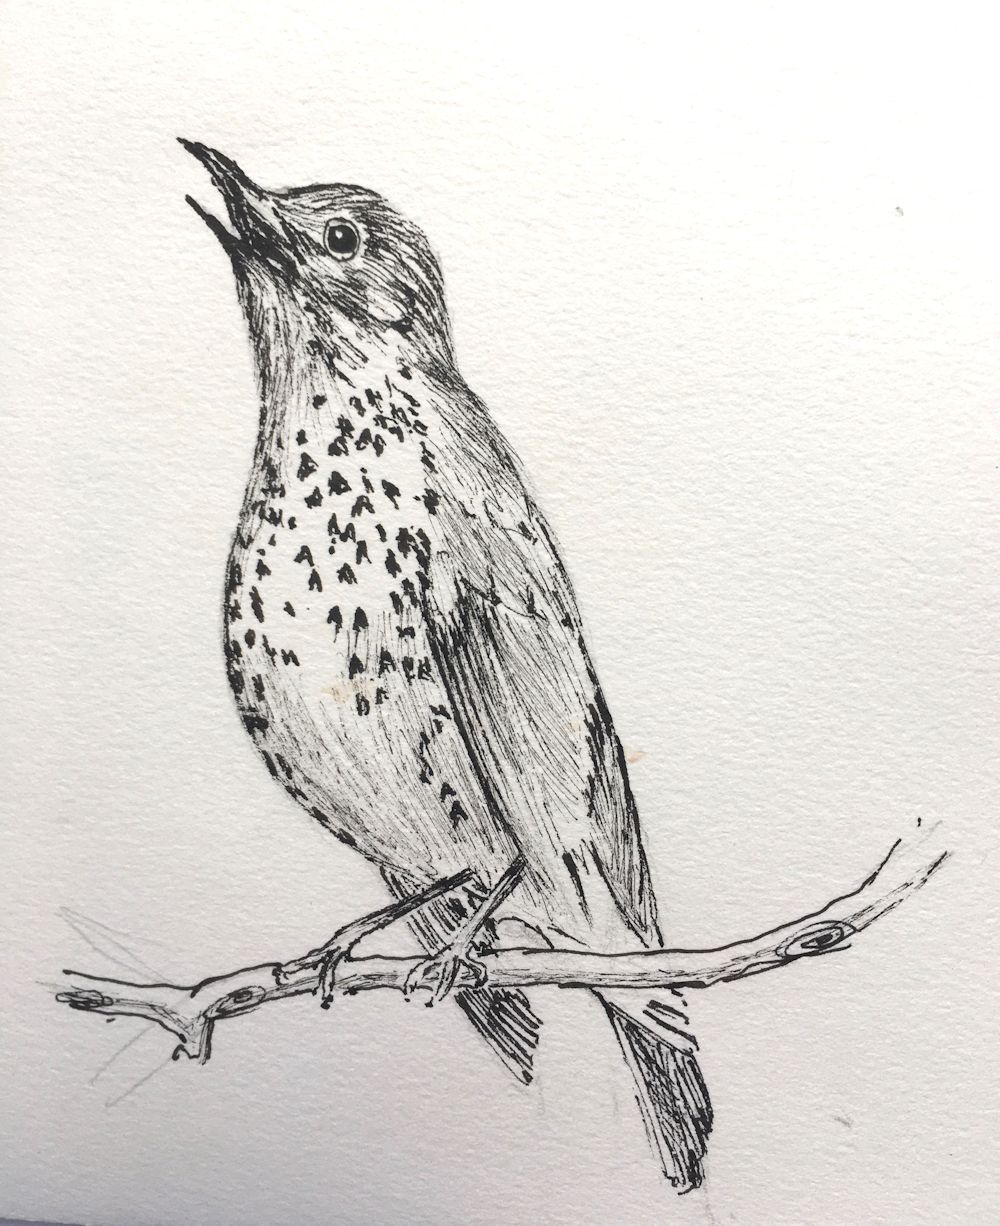
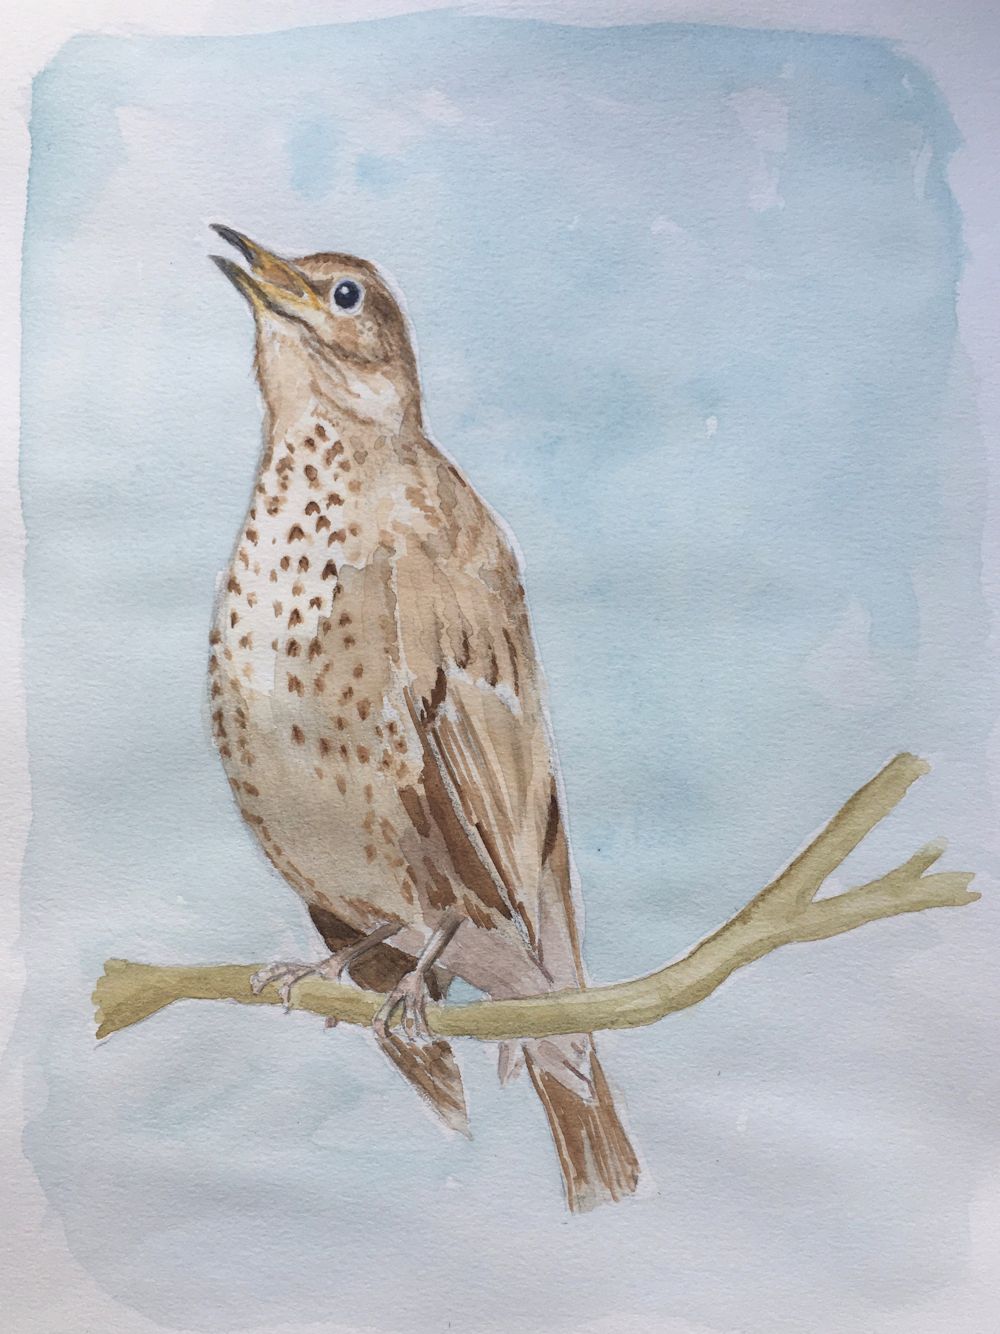
Pencil and watercolour sketches by Jo
This week we will be looking at Blackbirds and the Song Thrush, just as familiar to us as the Robin and Wren. Biologically they belong to the same family and both have a similar and much longer body shape than the very compact wren and robin. I have drawn blackbirds from life but the ones above and below were hasty sketches in pencil from photos, livened up with some watercolour washes. Apart from drawing a more elongated form the main challenge in painting the blackbird is that it is completely black! This means more attention to tones and how the light is falling on the bird. Often they can look like a silhouette against a pale background.
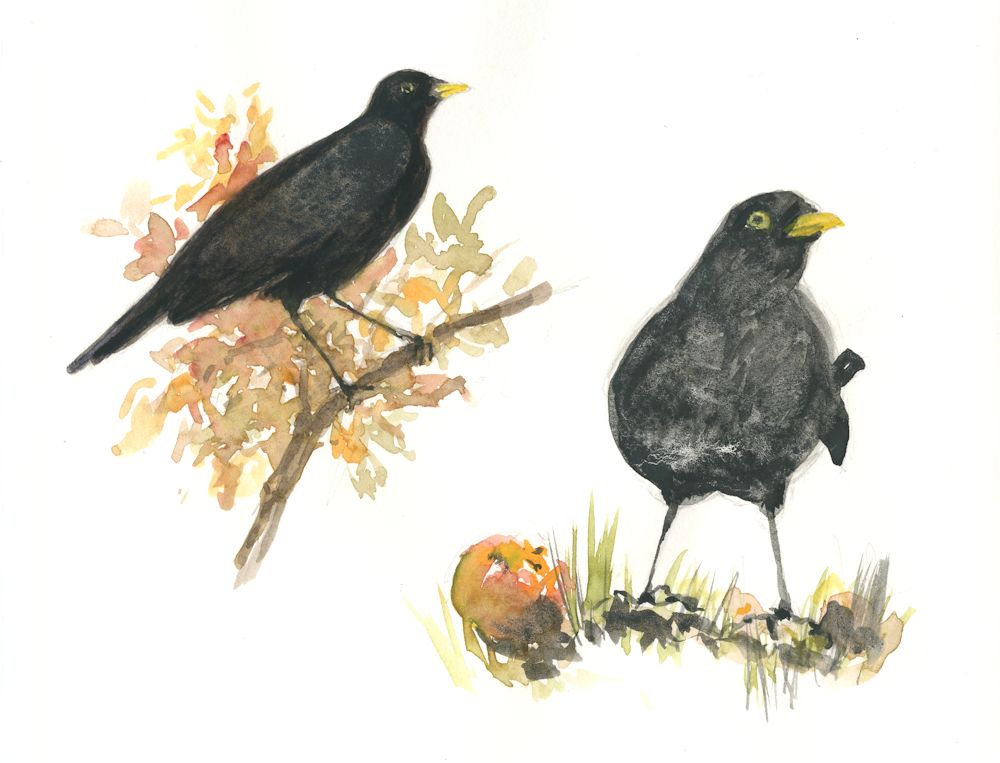
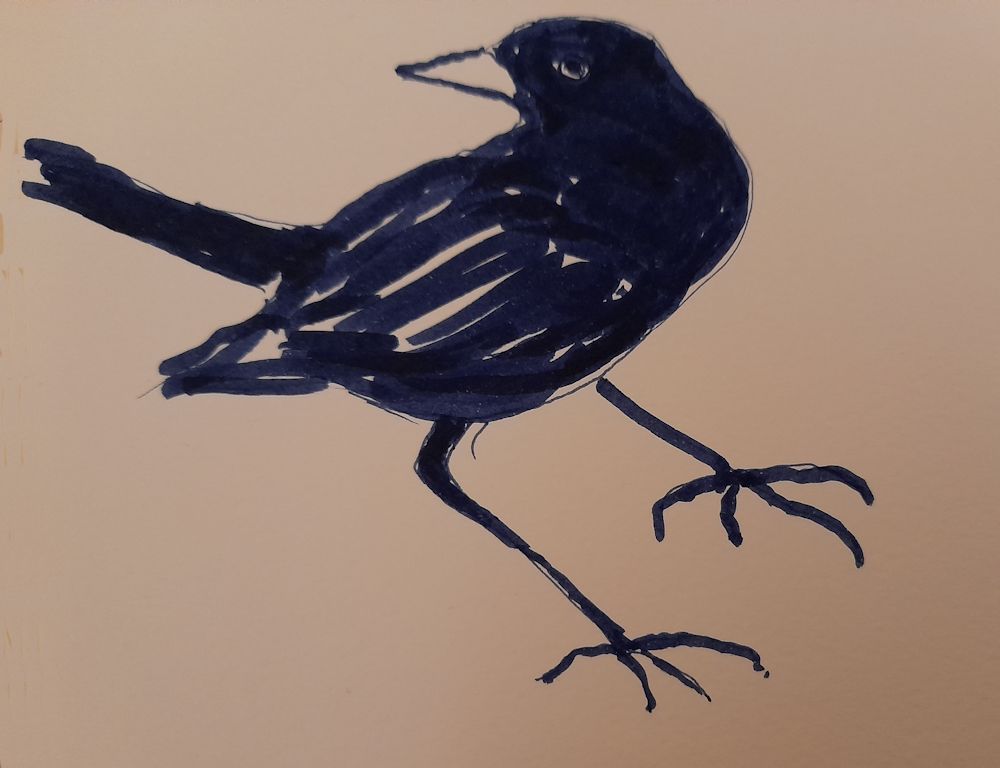
Pencil and watercolour sketches by Jo
In watercolour the paler areas will be more lightly washed. With acrylic or oil you will be mixing greys and should take care that they don’t look too chalky. You may like to experiment making black with mixes of blue and brown. I did that with the first image and then went in with some Payne’s Grey which resulted in a warmer feel. As these were on cartridge paper and some of the washes were quite wet they were not as controlable as on watercolour paper, but as in the rapid sketches we made last week the aim was to capture the body shape and some characteristic poses. Studies like these are perfectly adequate as a reference when for instance the artist wishes to include birds in a landscape painting or birds feasting on the last of the berries or apples before winter sets in. Even in these sketches I did include the yellow ring round the blackbird’s eye.
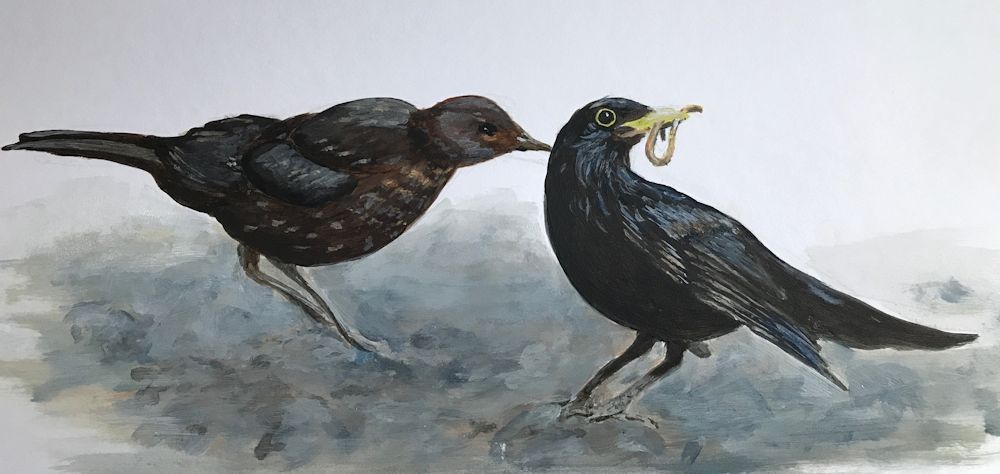
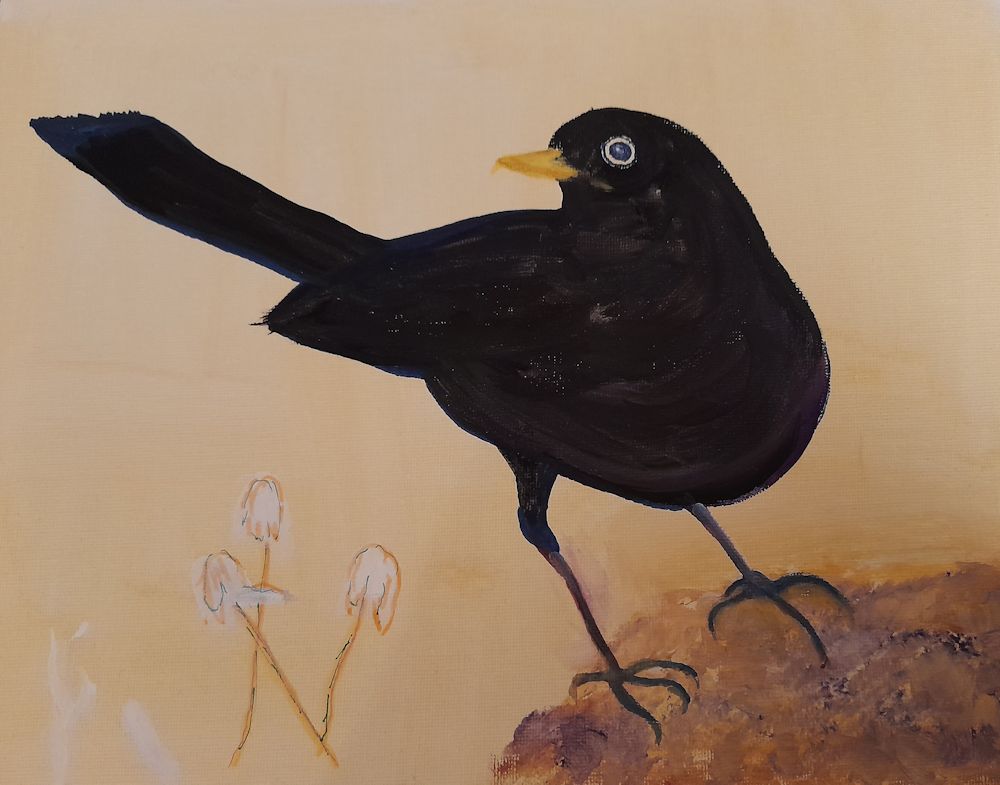
For a more detailed study of a blackbird where the artist wishes to illustrate the wing feathers and the shiny black eye surrounded by a narrow yellow rim with more definition, some different strategies are needed. There is no one right way but you may like to try the following;
1.Watercolour: This will be demonstrated at the next session by painting a wing and its feathers, using watercolour and either cold or hot pressed paper. The whole wing will be washed in with tones that reflect the overall tonal values observed. The colour mix can be made from blue plus brown and/or Payne’s Grey. For a female or juvenile bird you will need brown mixes, perhaps with a little blue or even a small amount of red in the mix.
When this is completely dry use a small(tiny) brush to apply an appropriate paler grey mix made with opaque white gouache to the edges of the feathers where they catch the light. This requires time and patience and there will be places where the feathers are better just suggested and others where more definite marks will be needed. Very often once dry a little blending may be needed to soften some lines. Another way would be to lift out the lines with a moist brush.
For paler and more colourful birds try applying a pale tonal wash over the shadow areas(usually a blueish grey mix). Then instead of adding the paler stripes you can paint the feathers one by one leaving dry paler or untouched paper below. Will try to demonstrate this for the thrush or wren drawn last week. This method also works well for birds like tits and finches where it is only needed for limited areas. For a detailed account of this look at
https://www.youtube.com/watch?v=-YCuDNFcFz8
Watercolour Birds Part 1: U-tube video by John Muir Laws; a bit long but excellent
2.Acrylic: You will need similar colours to paint the main areas of the wing first except that you will be varying the tone by adding white. Also look closely at the wing feathers, sometimes the wing coverts are a slightly different tone or hue to the flight feathers. The wing of a female bird is browner and may show more variation n colour. Again think about where it is essential to show feather edges and where a suggested texture is desirable, then mix up a suitable colour and apply lines for the individual feathers with a small brush.
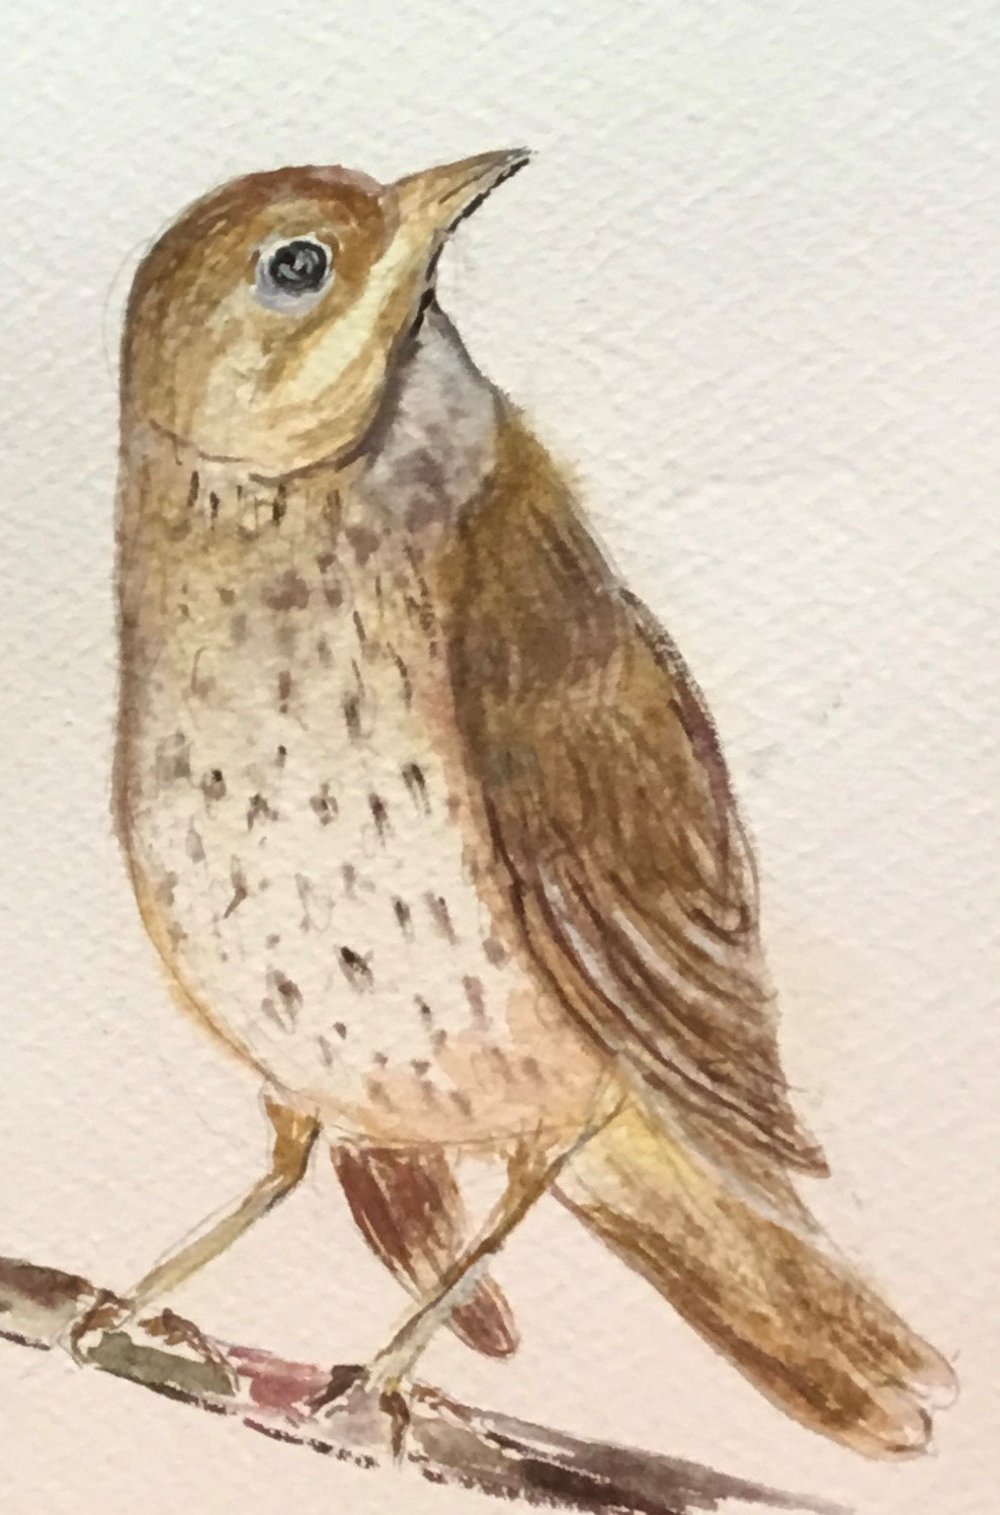
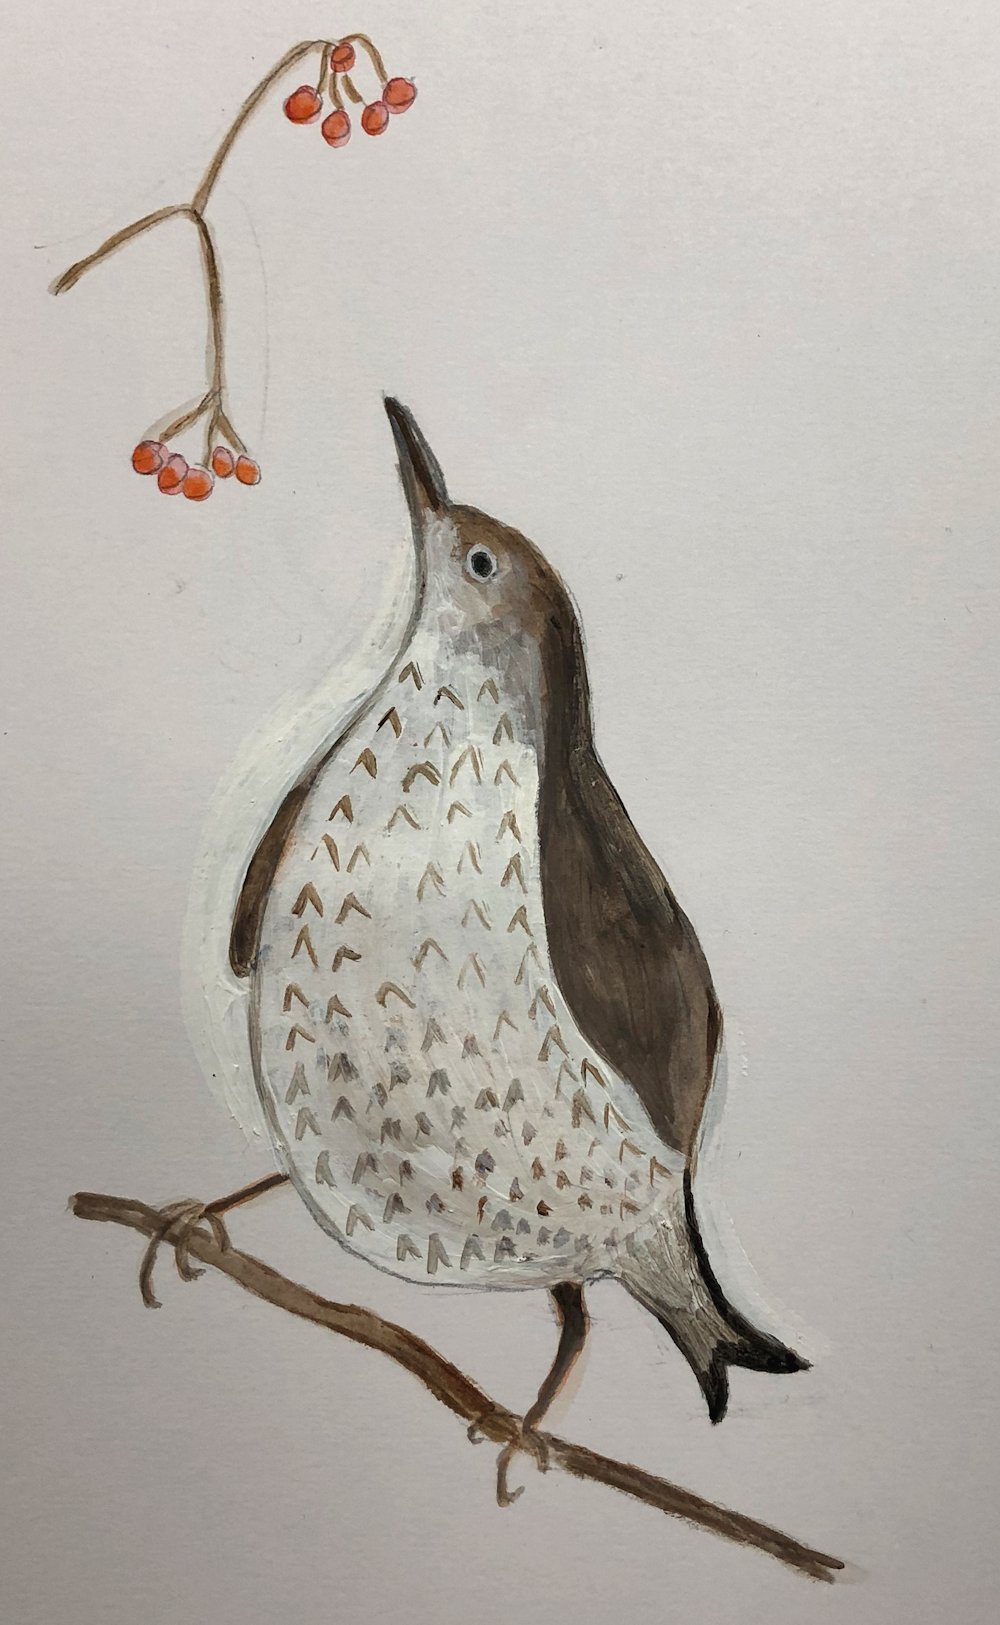
During the session we will make rapid sketches of the blackbird and the song thrush. Strategies for painting feathers will be discussed and demonstrated and we’ll talk about the markings on the front of the thrush. Note that the thrush is a slightly smaller and slimmer bird and although it doesn’t have the yellow rim the blackbird has around around its eye, the thrush eyes appear a little larger and have a surround that is very pale.
Blackbird pictures can be found at
https://www.pinterest.co.uk/jhall1282/birds-in-art-and-photos/blackbird-photos/
Thrush pictures can be found at
https://www.pinterest.co.uk/jhall1282/birds-in-art-and-photos/thrush-photos/
At any stage after the warm up sketches feel free to start your own study of a wing, or a picture that includes blackbirds or a song thrush. You may like to paint a few blackbirds at the base of a tree picking up worms or pecking at apples.
Your paintings:
Acrylic by Mali

by Ann
by Ann
Drawing by Kate
Drawing by Kate
Watercolour by Kate
Watercolour by Pam
Acrylic by Pam
Pen and Ink by Heather
Watercolour by Heather